This week, I’ve had more of an insight into the MoGraph feature in Cinema 4D. As I mentioned before, it has to do with all motion and animation purposes.
First thing that I’ve learned is the Time Effector, which works in a very similar manner to the time in Adobe After Effects, allowing us to add an animation to any parameter (scale, movement etc.).
It also contains effectors such like ‘Random’, adding random variations to elements of the object/animation and ‘Plain’, which gives us control over defining which parameters it affects.
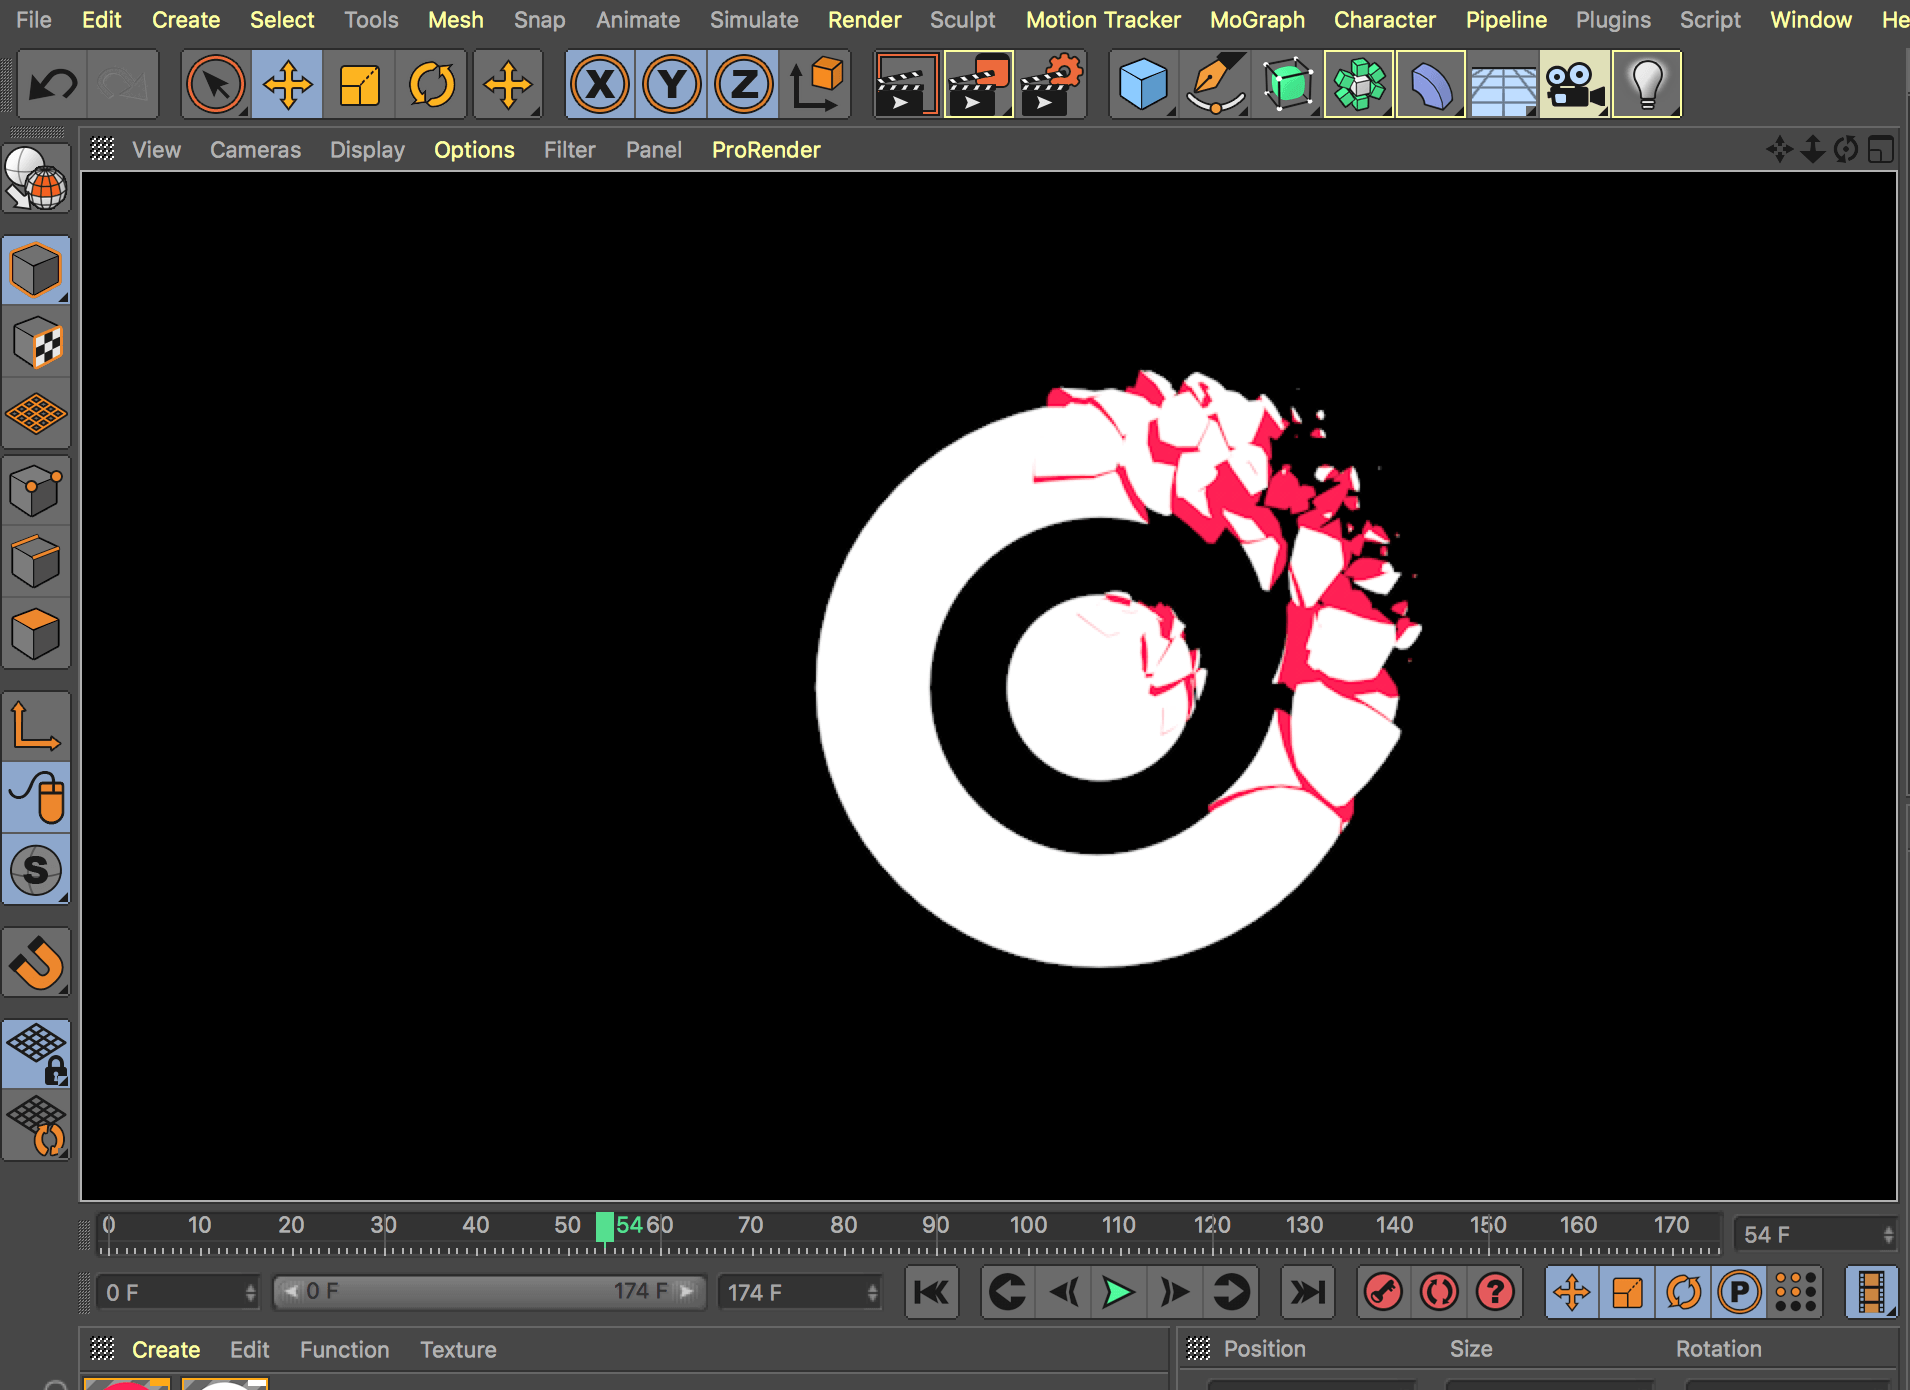
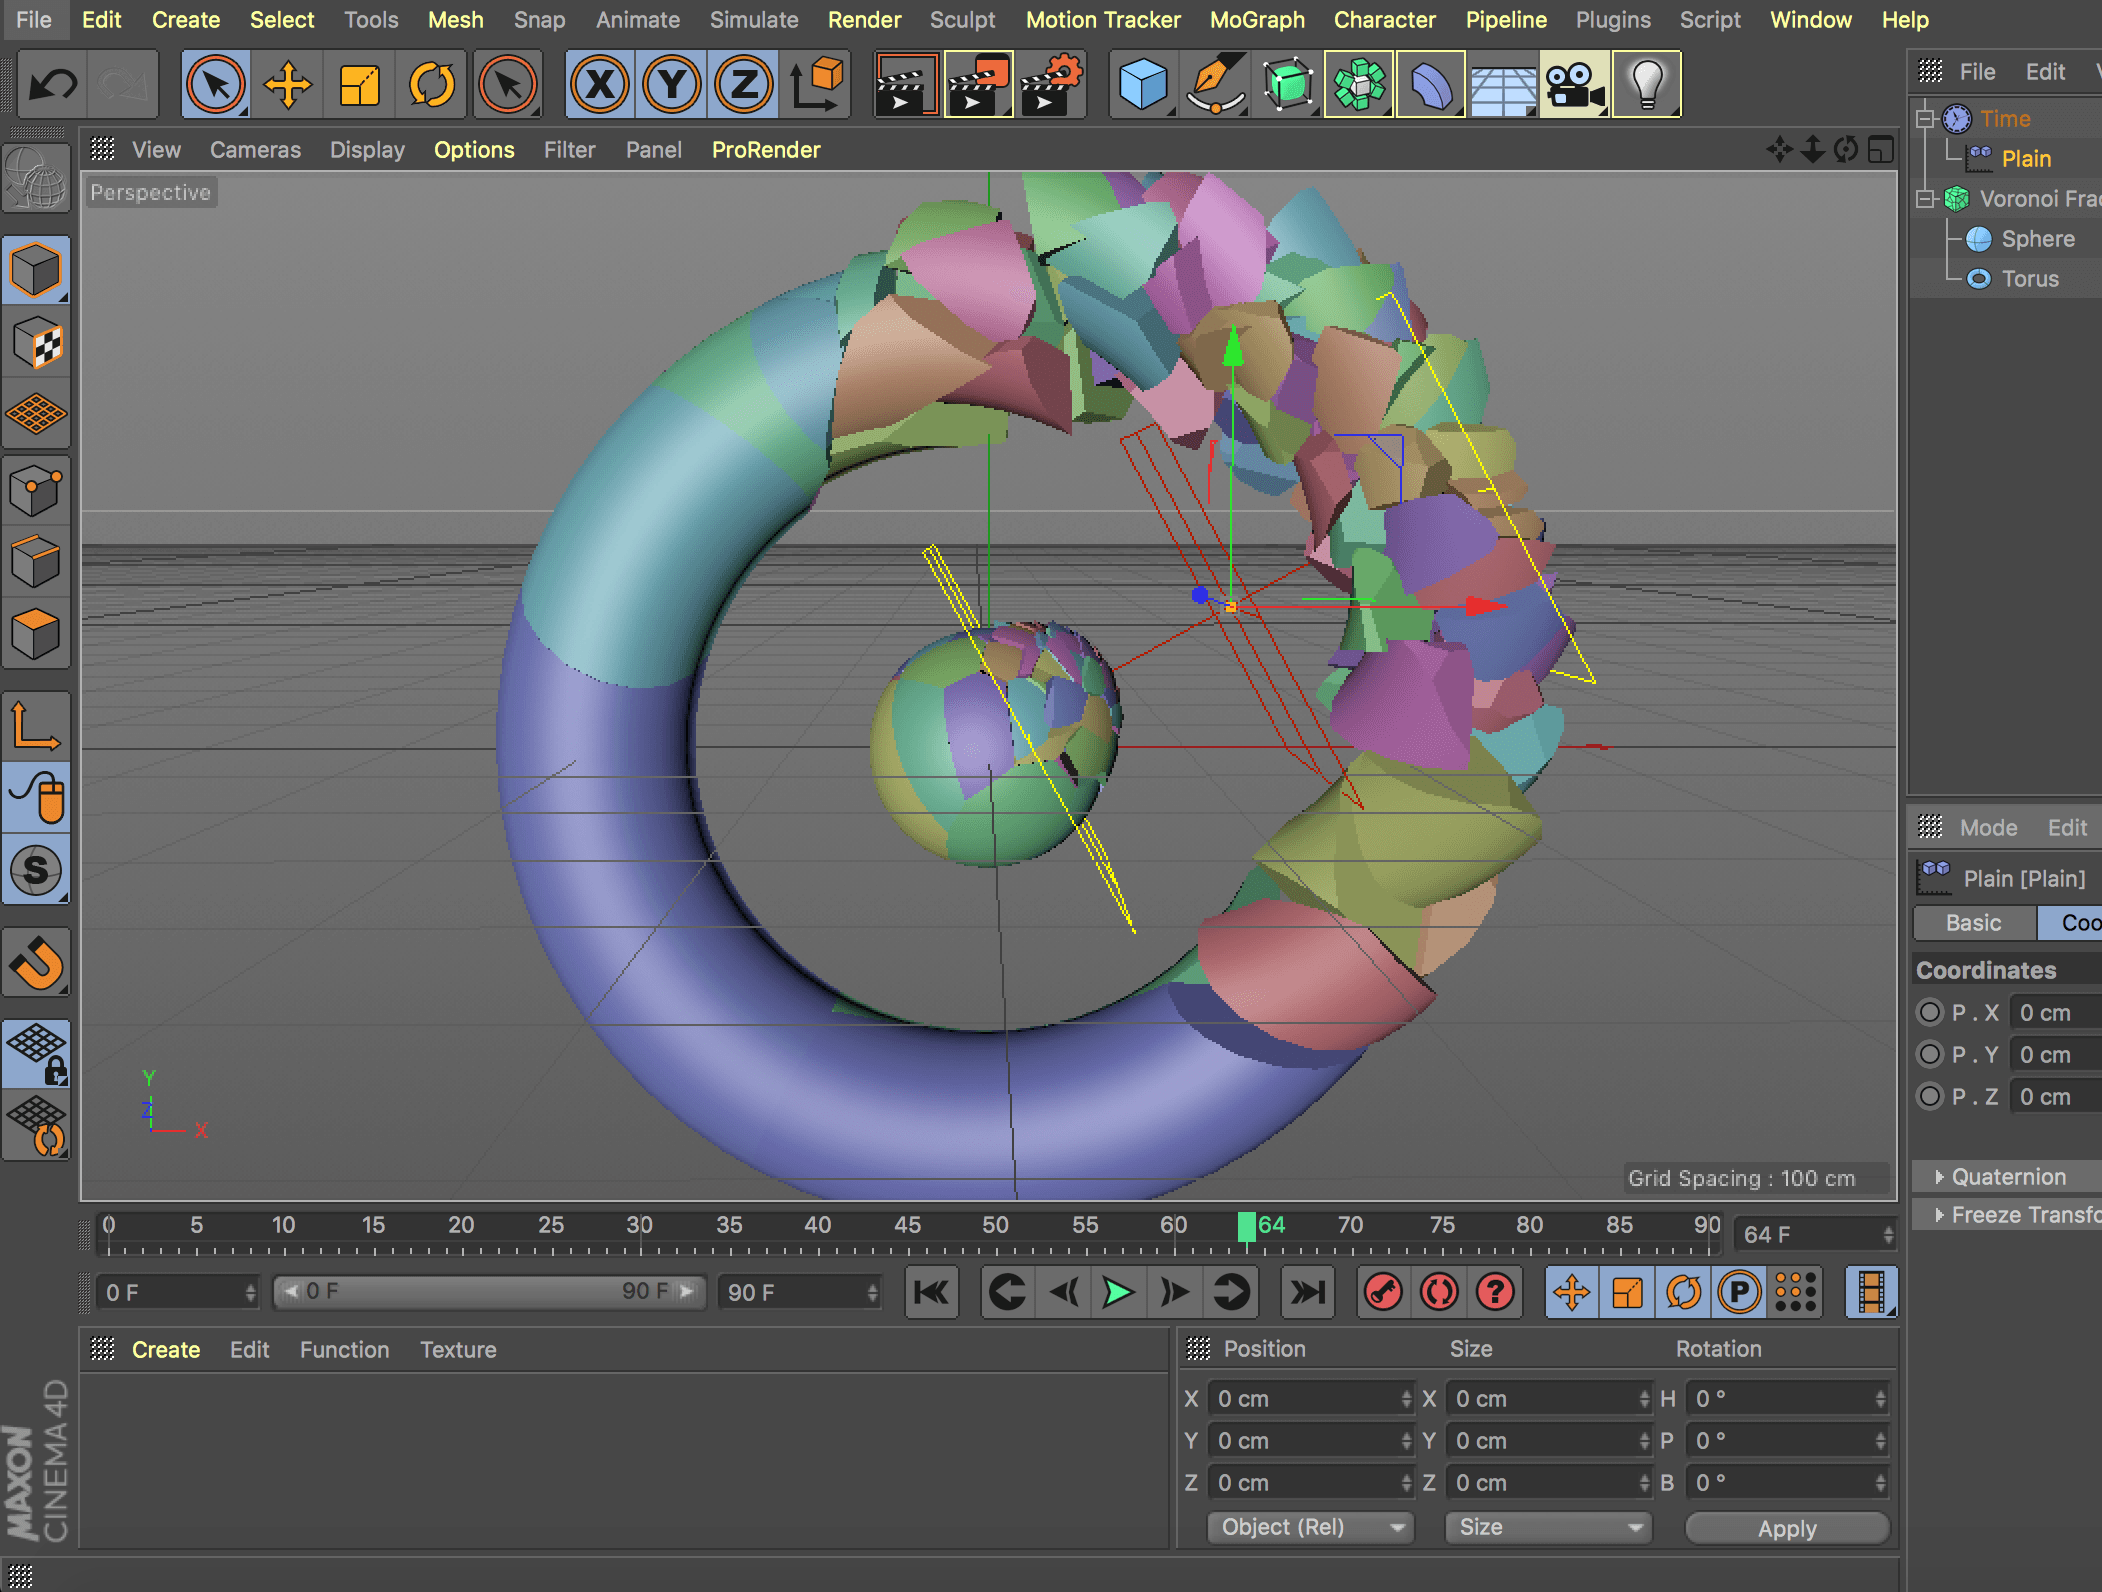
Although, the most important aspect of MoGraph in this tutorial, was Voronoi Fracture, which divides the object into elements and adds points, defining how fractured it is and how the points are spread. Setting the Falloff to ‘Linear’ and placing it where we want our fractured elements to move, defines the area within which they interact.
Tutorial also explained how to apply the inside and outside materials to the model and fractured particles, with a use of various kinds of noises and blending modes (similar to those in Photoshop). It also presented how the Area Light affects the scene.
The next tutorial I’m planning to go through focuses on filling an object with a bunch of other objects using cloners and Cinema 4D dynamics and elements of Photoshop editing.
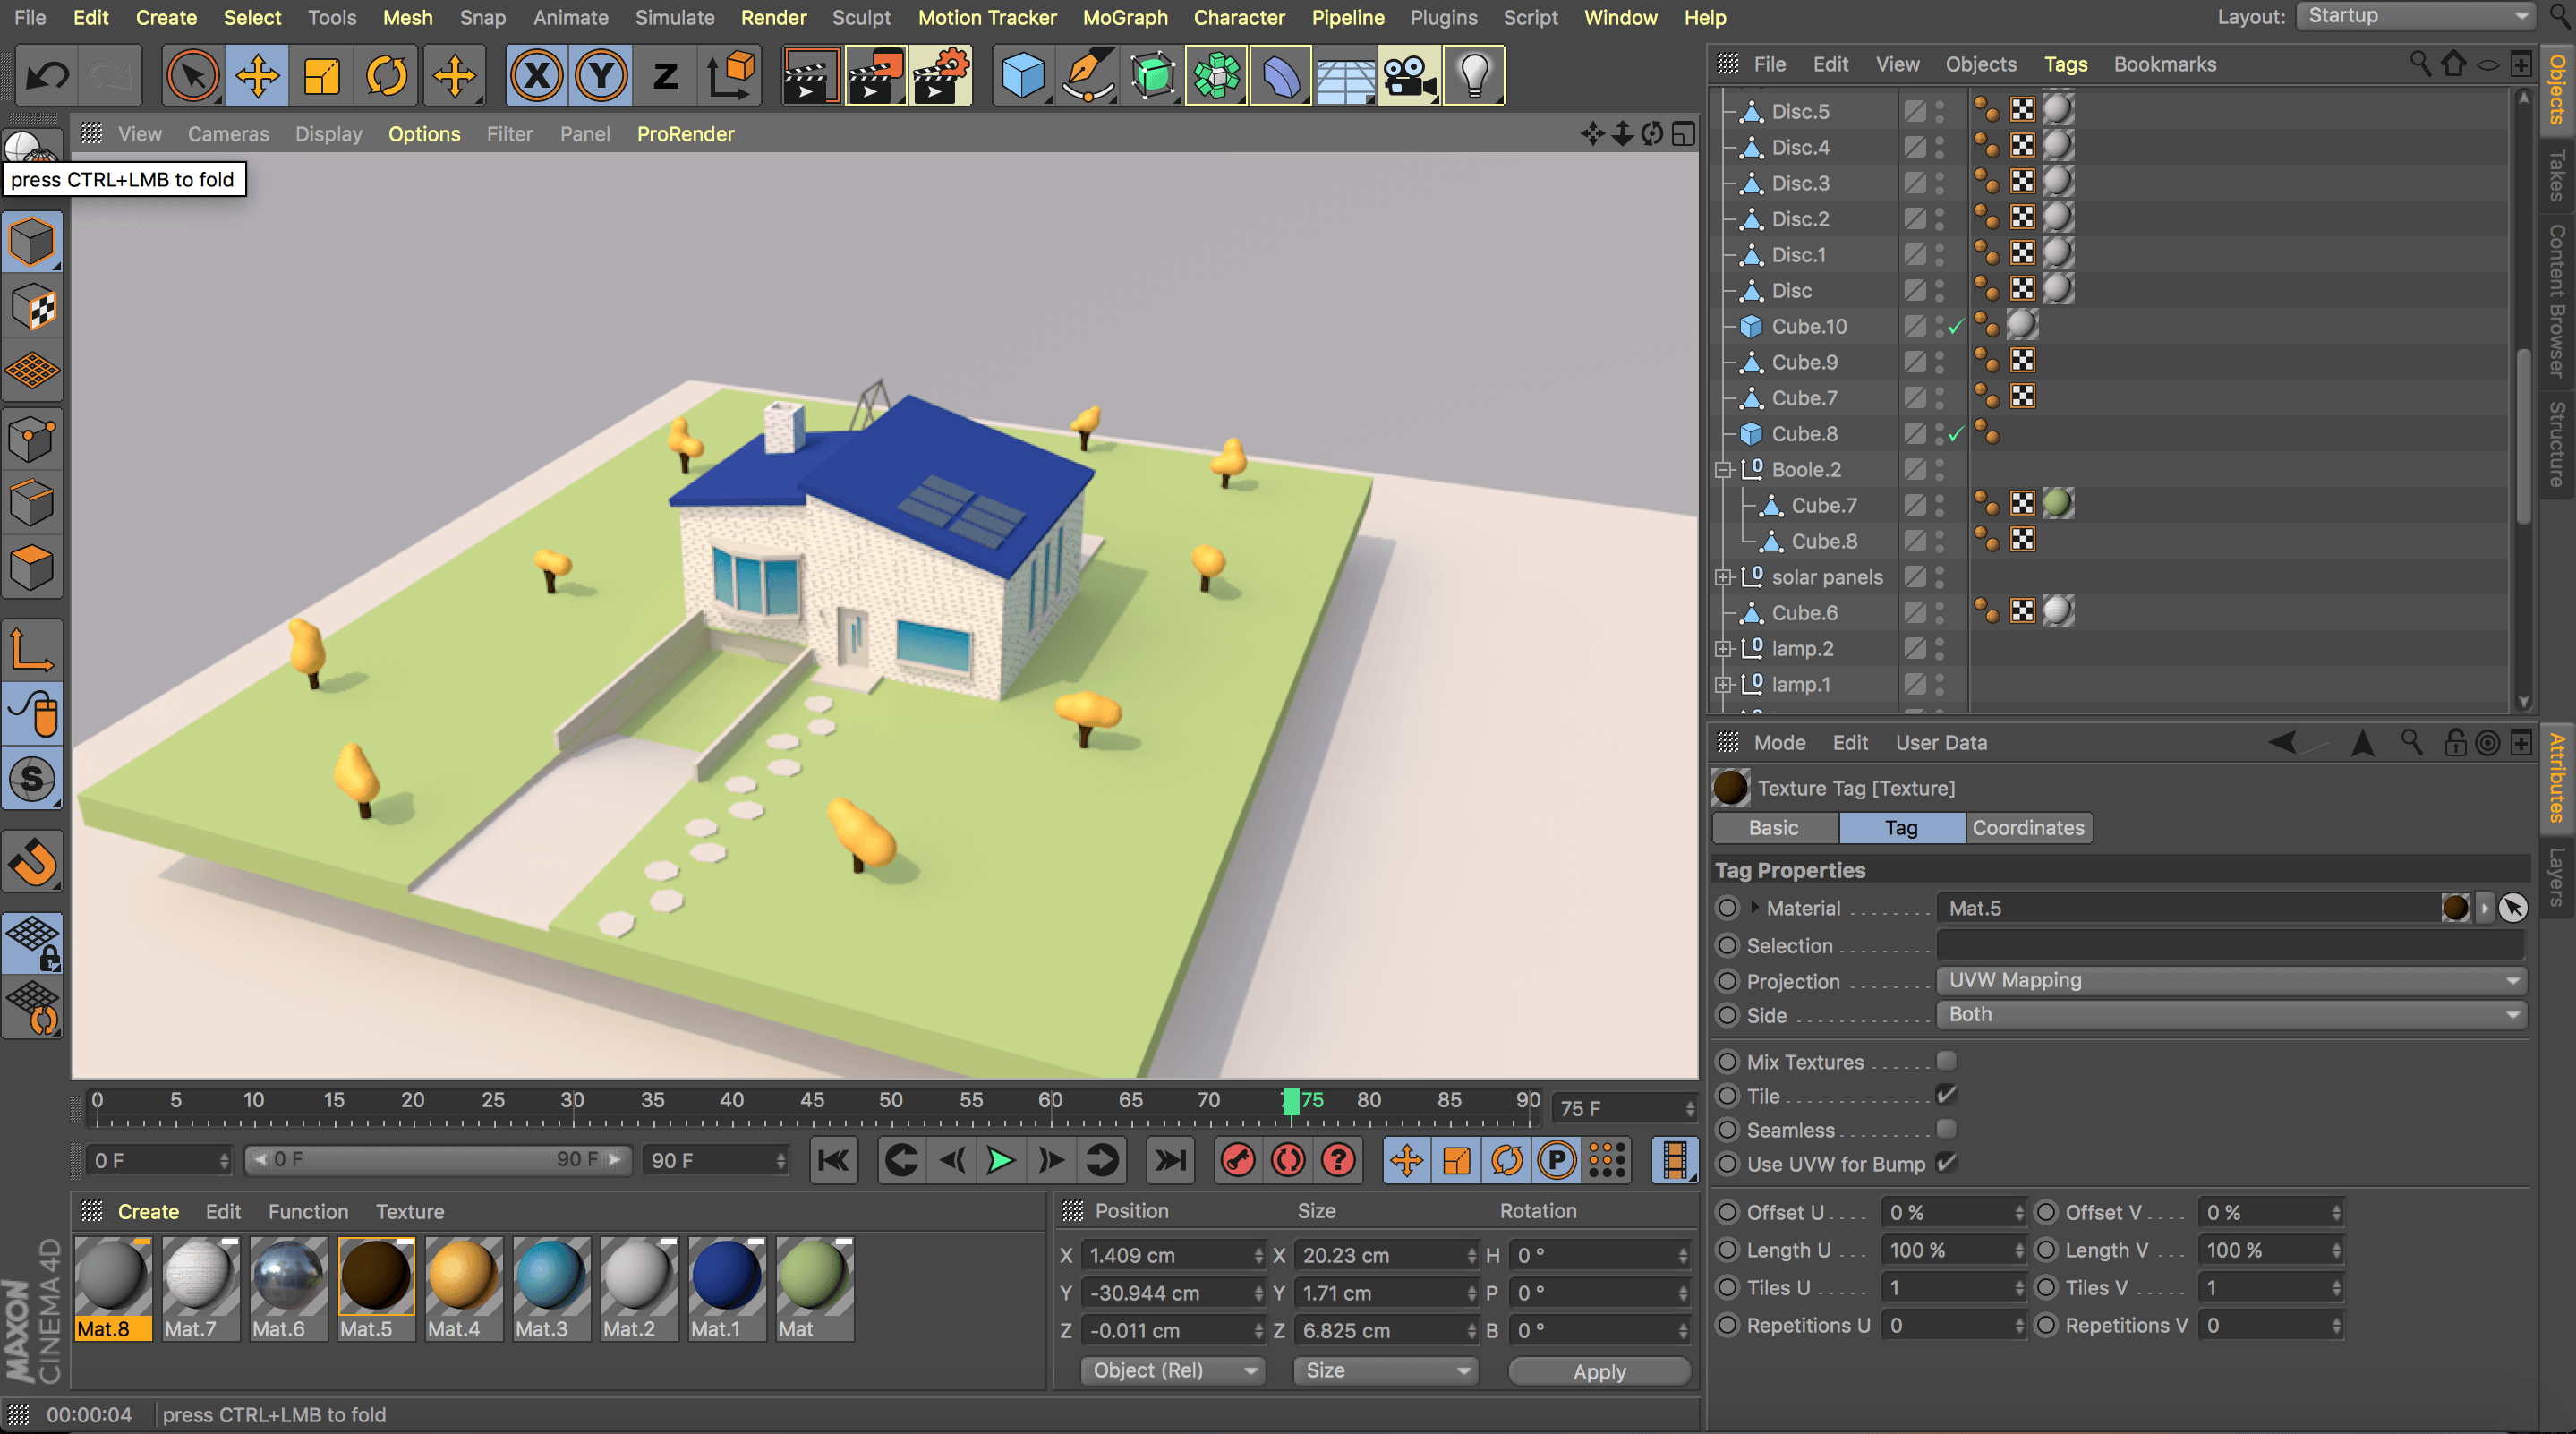
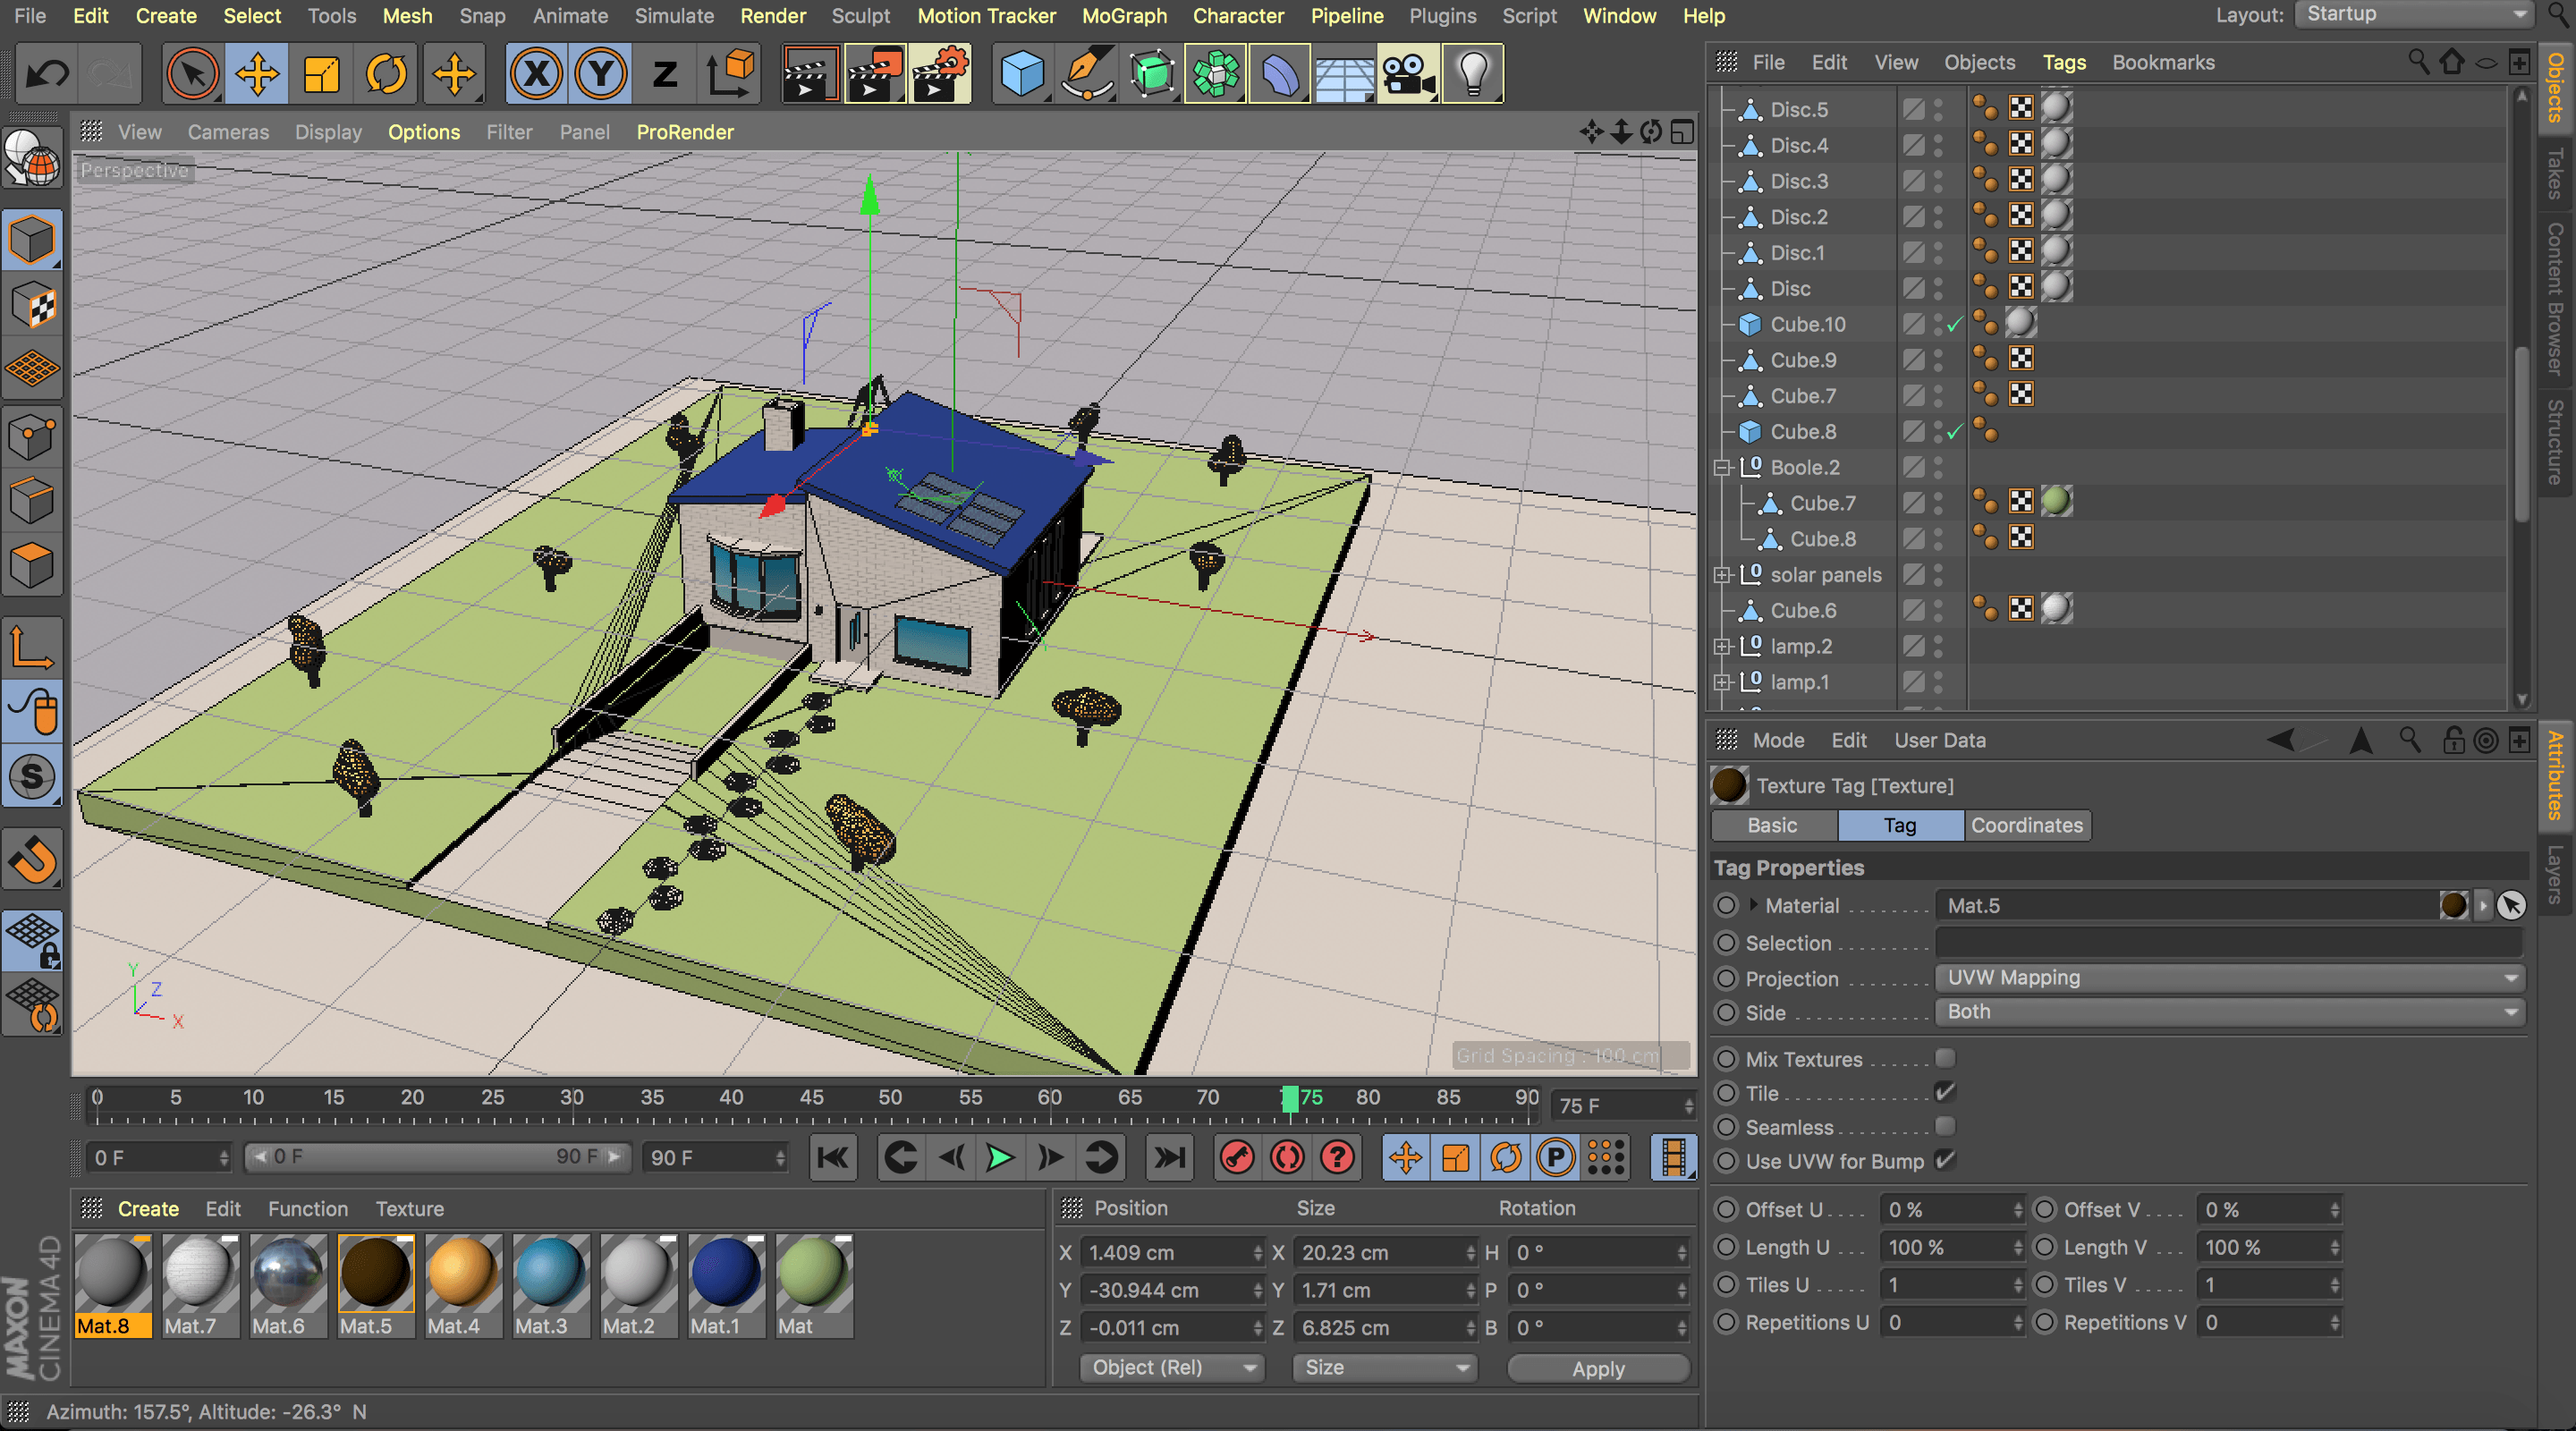
After the house-building tutorial I went through another one. It was quite similar so instead of building along (which takes much longer), I just followed it to see if I can learn anything new.
For most part, it was about the same principles, but I also learned about:
– editing edges and Loop/Path Cut option
– adding text to 3D models
– smoothening the edges with the Fillet
– rendering with the Ambient Occlusion
– various times of the year and day influencing the lighting
– creating a spotlight
– locking the camera
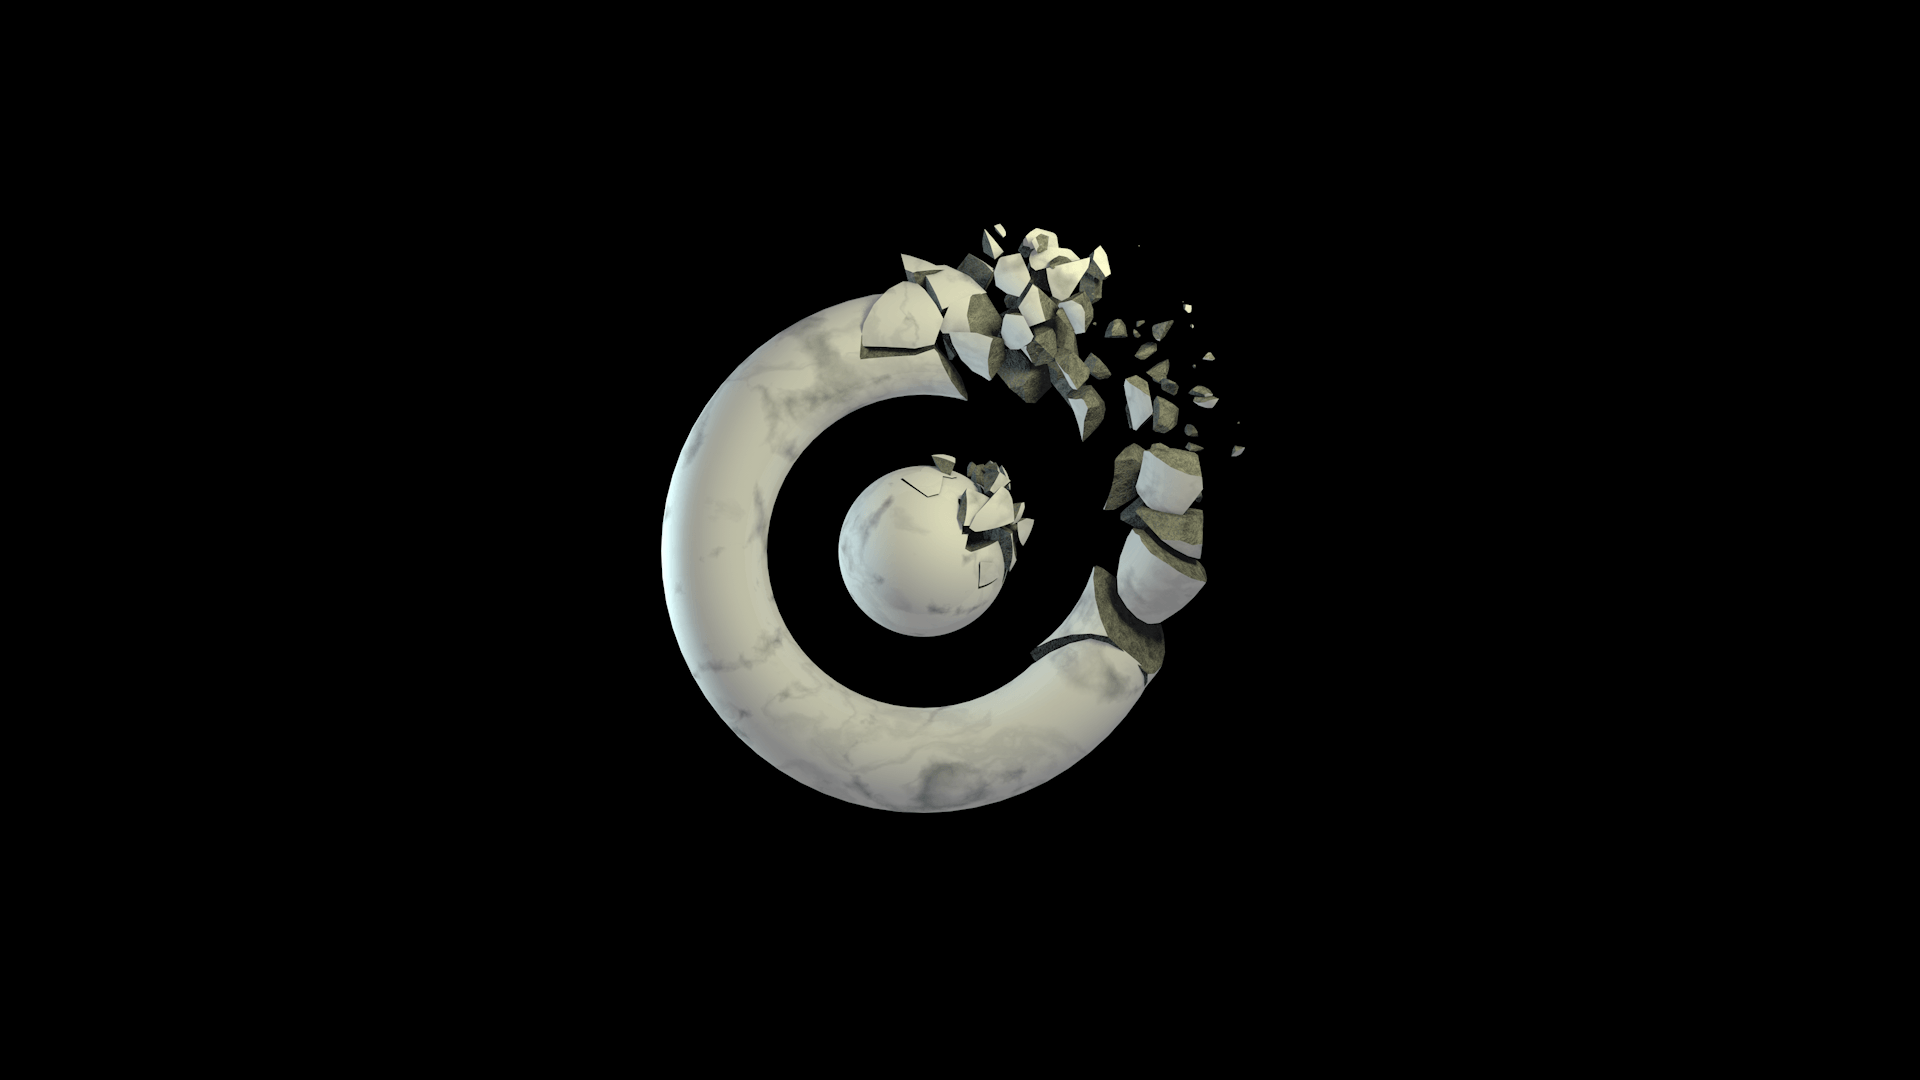
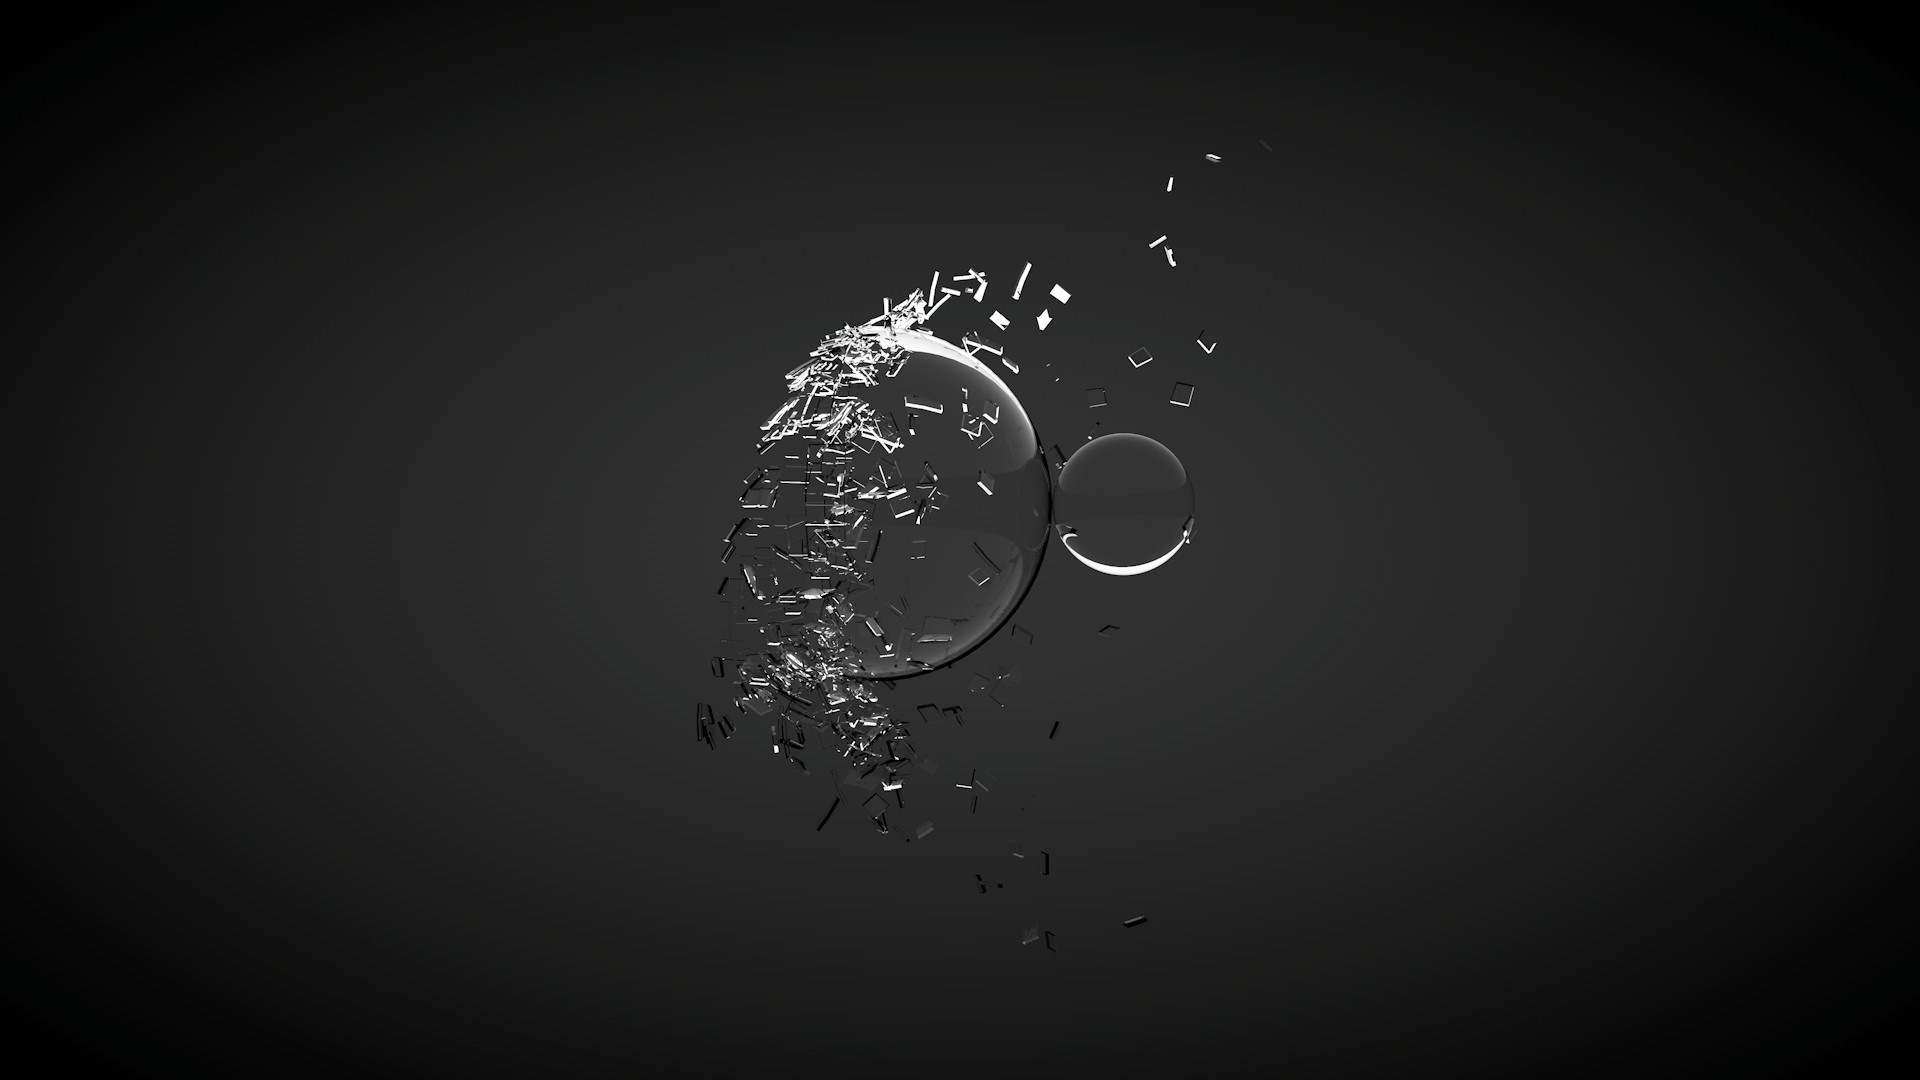
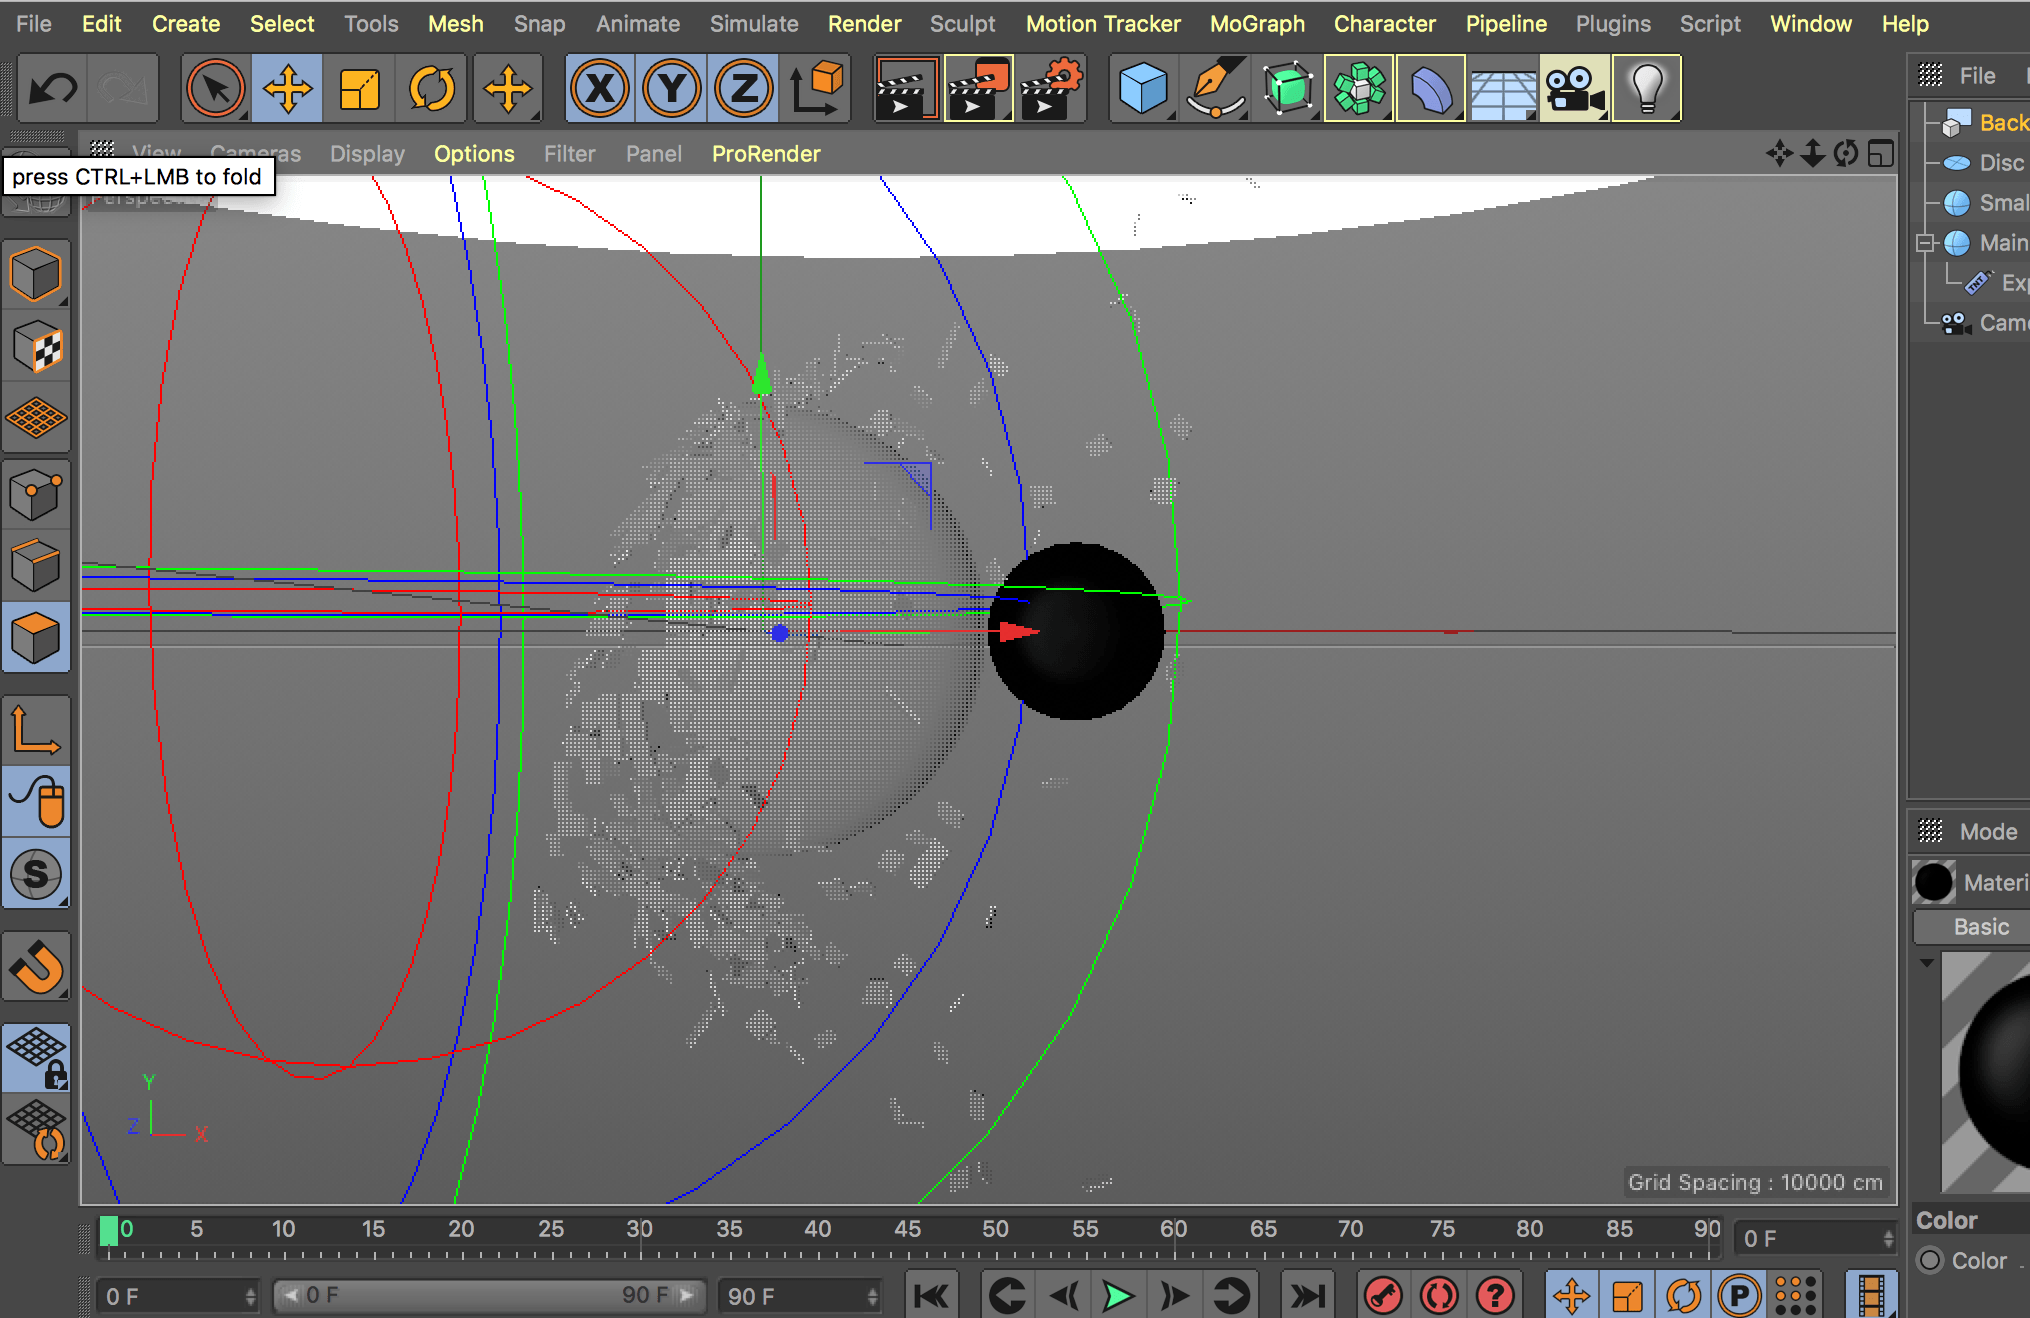
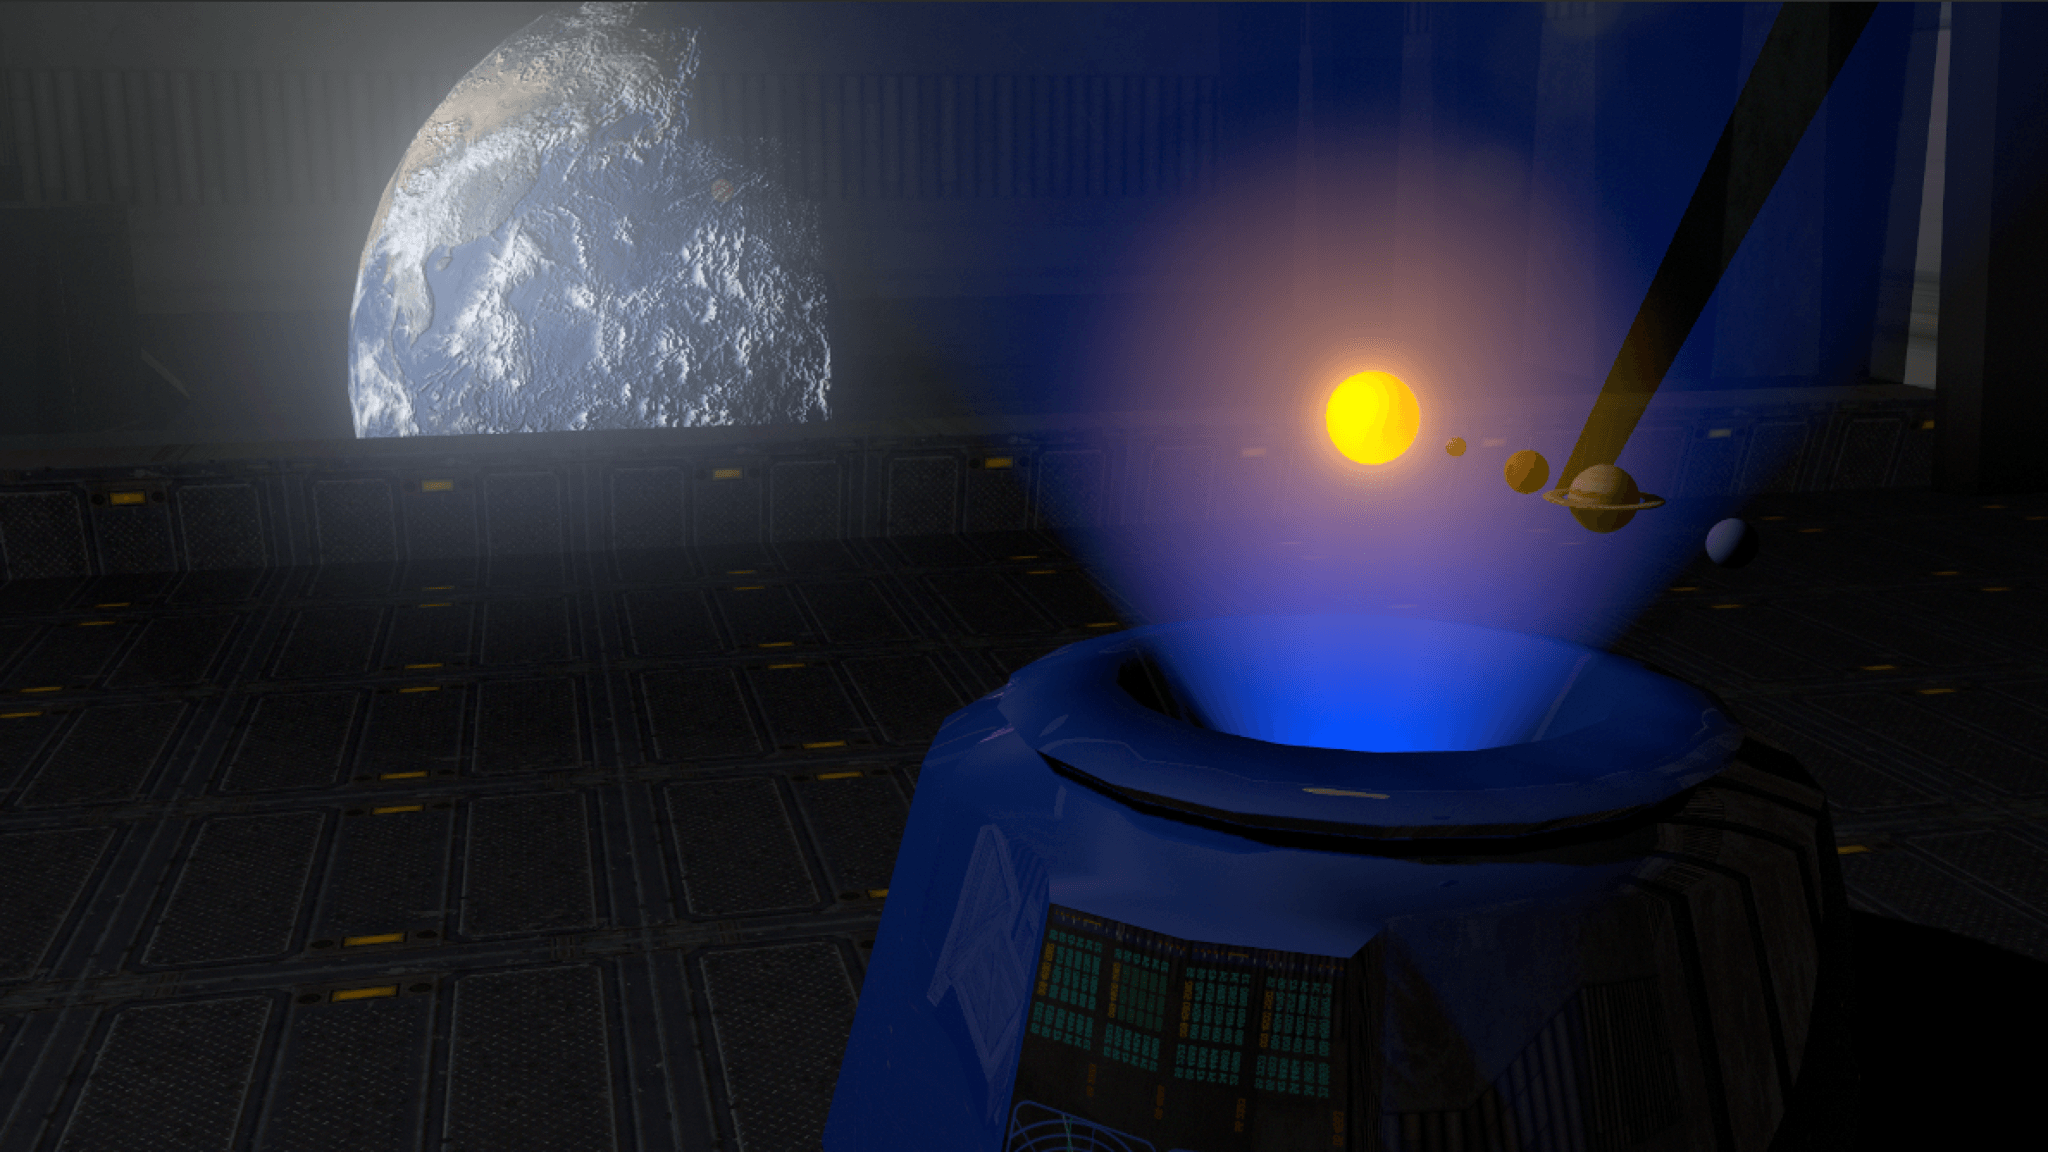
After that, I moved to something a bit closer to the needs of my project. The tutorial I chose was about a more realistic – photo like object – shattered glass ball. The image looks complex, but the creative process is actually quite simple. It starts with setting the camera correctly and creating a sphere, with a higher number of segments. The whole composition consists of a disc (invisible to the camera) providing a glow, black background and a glass like material created and applied o the sphere.
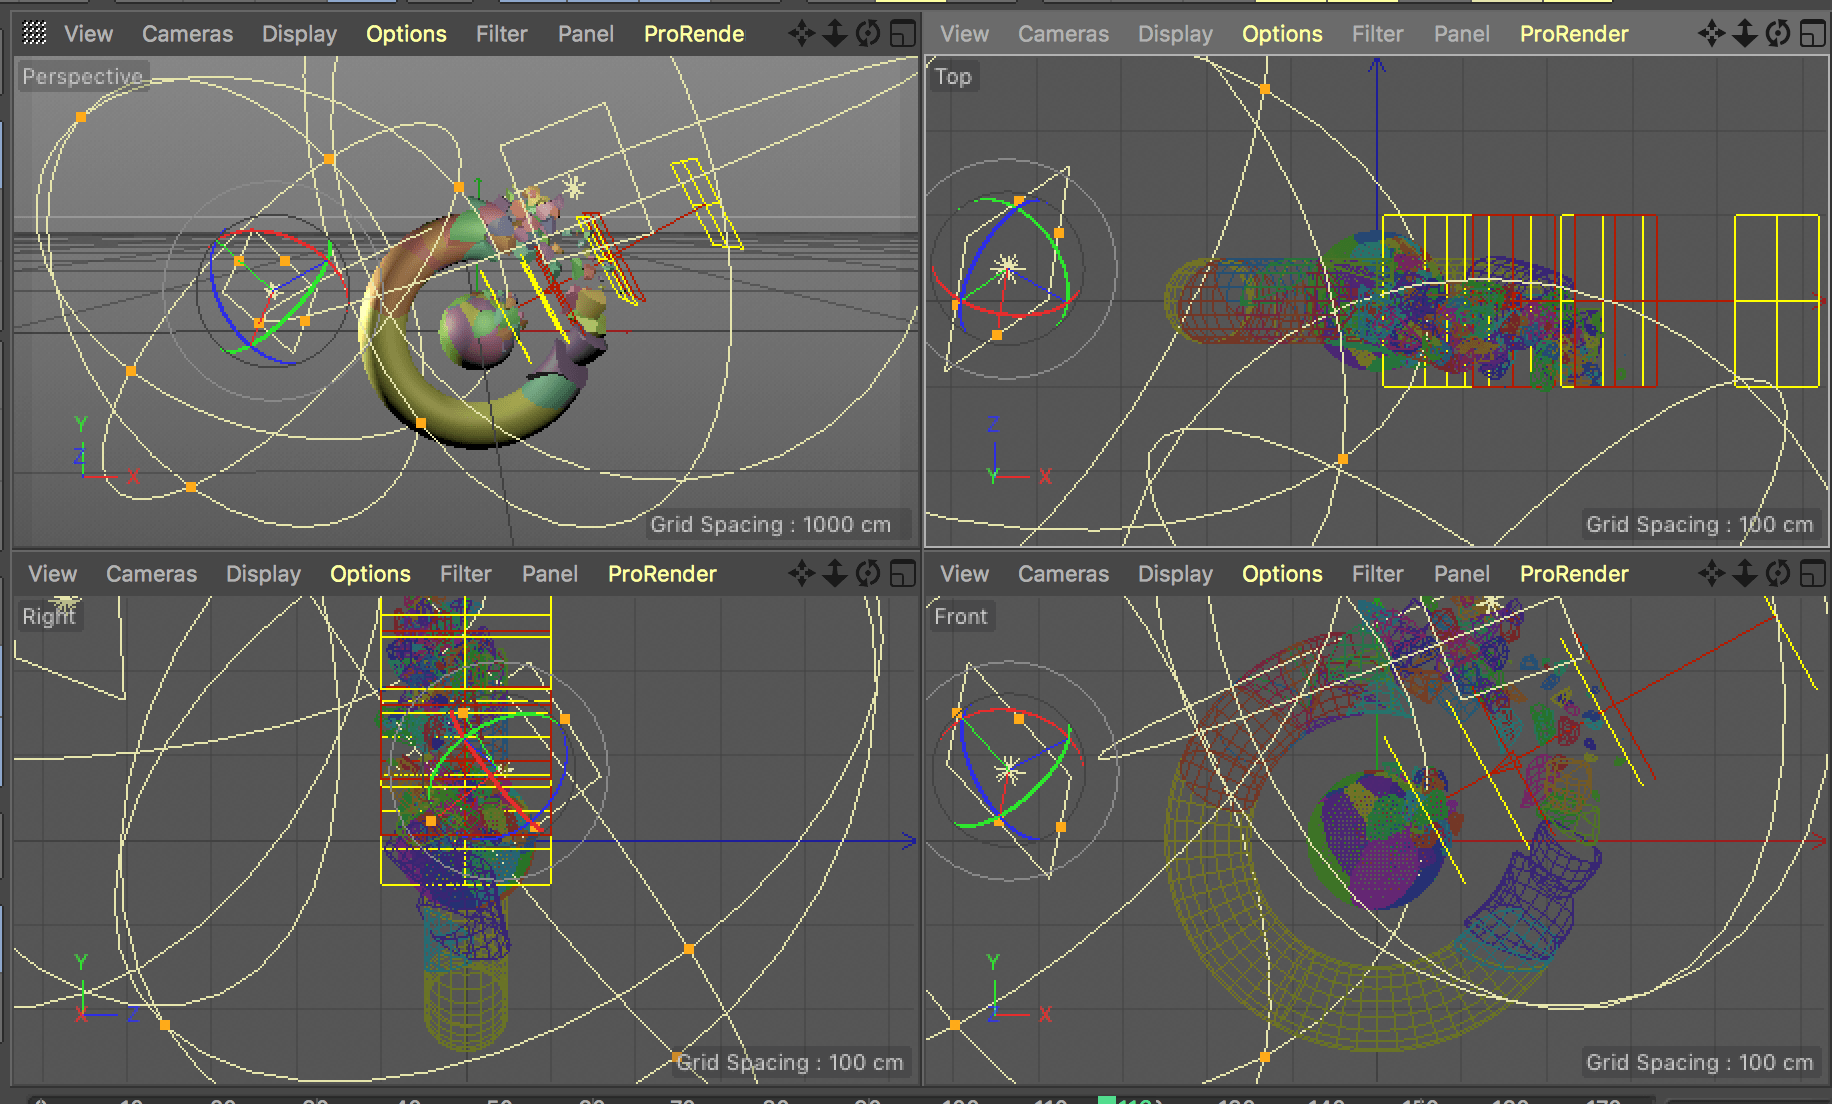
In fact, this tutorial shows how important the materials are. The luminance from the disc replaced the need for a spotlight and created a studio – like mood for the image. My final render differs from the tutorial one a tiny bit, because I experimented with the Explosion FX settings and tried to figure out how it actually works apart from just following the steps.
What I didn’t like about the fractured elements is a lack of random shapes. All of them seem to be shaped as cuboids, so one of my further goals will be learning how to change that.
The first one was linked in the welcome screen, as soon as I opened Cinema 4D for the first time. Cineversity.com is a good source for the beginners, like me. Going through a few episodes of “Getting started with Cinema 4D” taught me how to navigate, interpret the data and object information, scale, resize and get familiar with the most basic object editing.
As soon as I got a grip of the navigation and main principles, I decided that the best way to learn would be creating some actual compositions. Even though Mograph (mentioned in the previous post) is potentially my main point of focus for this project, skills within modeling are essential to start with.
Twistereli, YouTuber who provides high quality tutorials created a video aimed at people who only just started with C4D:
It was extremely useful and I learned how axis mode works, how display options differ from one another, how to use inner extrusion and extrude tools, group elements and much more. After the modelling part, the audience is being introduced to the lighting of the scene, based on adding a physical sky, experimenting with time parameter (shadows length/brightness/mood). The last part of it were materials, which give the elements of the environment texture and colours.
I’m quite happy with how my practice went. Only the drive way could be fixed, but instead, moving forward seemed to be a better idea.
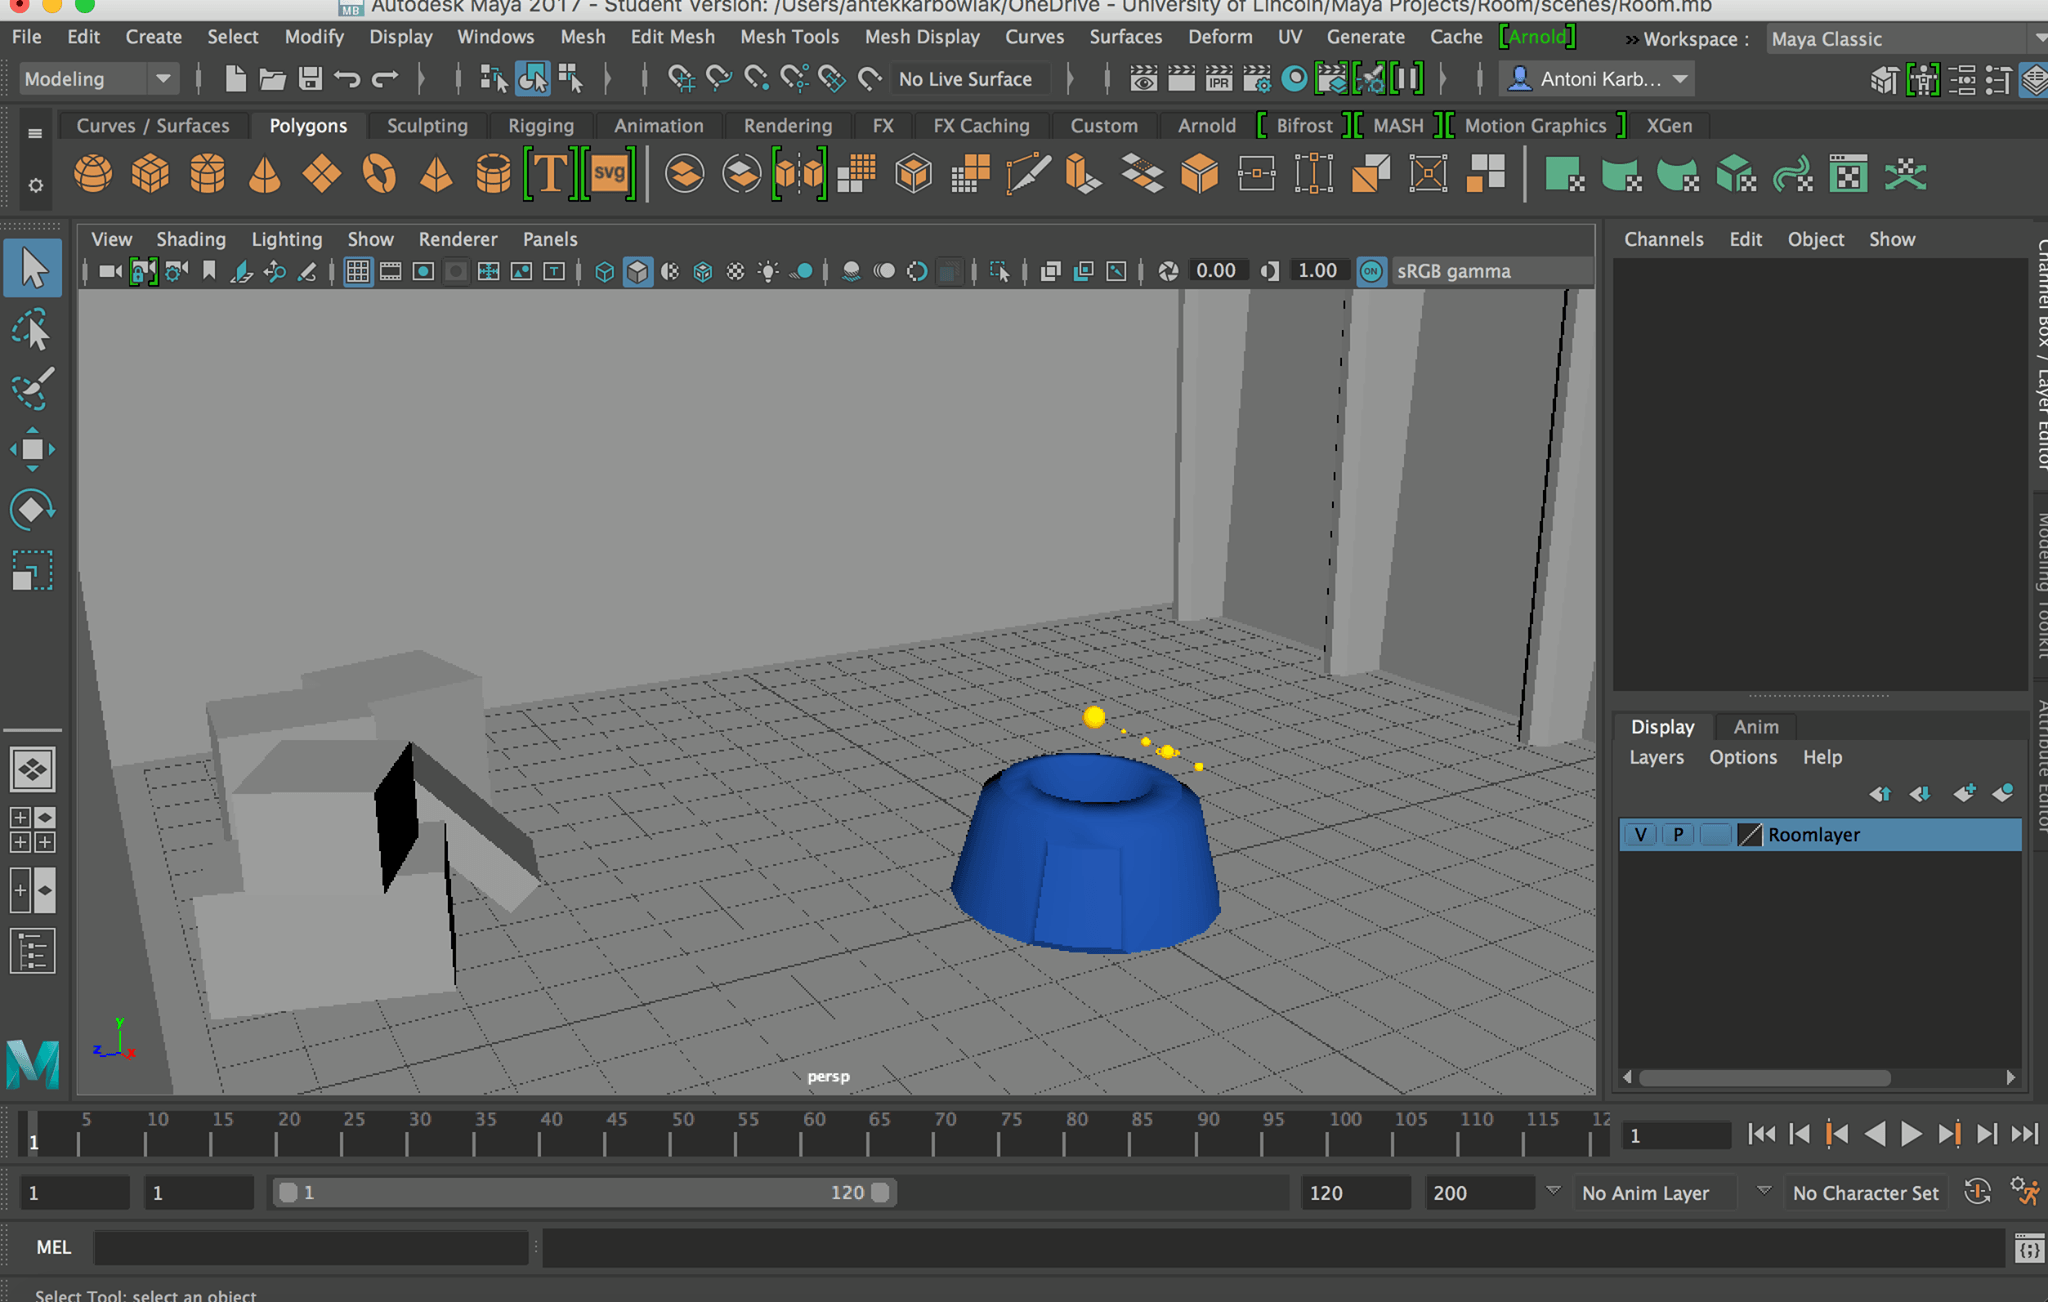
During summer, I was practicing 3D modeling with Maya 3D. I wasn’t sure which direction I’ll take with my training (environments/models for games/film/advertising/…). I had a chat with my tutor Jon, who advised using Maya, as it’s an industry standard software. I went through a long tutorial, practicing various aspects of modeling to get a grip of the most basic rules. Later on, I discovered that Blender (which I started with), Maya and Cinema 4D are in fact based on similar rules and techniques, yet they all differed. That was a valuable experience.
These are my first steps with Maya 3D:
As I started seriously thinking about my final project for Digital Media module, I had to make a choice of the software best for the purpose of it – design and advertising. I talked to Jon again and explained what my plan is for this year. After our chat, he suggested using Cinema 4D, but also asked me to do some of my own research to find out wether that’s the best choice. I found a showreel of clients who used MAXON software in their adverts/projects. Brands like Nike, Adidas, Kia, Seat, BBC, EA and many more worked with studios using C4D, which was a convincing evidence that its functions are perfect for my idea.
I also found a short interesting video titled “MAXON Studio Portrait: ManvsMachine for Nike”. ManvsMachine created great content for Nike, strongly relating to the concepts I have in my head. In this video, they explained the ideology behind it and gave an insight into the project for one of the biggest and most dynamic clients in the world.
Users who give their opinions agree that both Maya and Cinema 4D have great features, some of which are exclusive to either type of software. Nuts Computer Graphics provided an article, which summed up all important functions and types of productions that are created with both and compared them.
“…it’s a complete software that can handle multiple 3D graphics, but it certainly has a lot more to do with the creation of characters and their animations. Maya is perhaps the most used software from movie industry that produce films and 3D effects. Just to make the idea it was used to make films such as Avatar, The Lord of the Rings and Transformers.”
About Cinema 4D:
“Its use has ample space within the television and advertising industry thanks to its specific features for motion graphics. The program is highly appreciated as it allows the production of content in a very balanced quality / ease of use. Many recommend Cinema 4D even to those who are not yet a professional but want to become, its usability is enviable compared to other programs. It is certainly the program that offers the best graphic interface, consisting of few buttons, but within the tab and menu all the tools are necessary to carry out their work.”
Cinema 4D also features an important tool for me – Mograph, used to produce real-world motion and works with CINEWARE, which is integrated with After Effects. In fact, even if I don’t make an animation in the end, but rather still images, Mograph will still support renders of objects in motion, even if they aren’t animated (moving particles/liquids/distortions…).
Simple interface helps with quick learning. As for someone who doesn’t have a lot of time to learn before implementing new skills into the project – that plays a big role too.
In the previous post, I discussed designs made by one of the artists who inspire me the most – Mike Campau. I decided to message him and ask what he thinks about the concept of a Hip-Hop magazine with 3D models, simple animations and all presented on an interactive Adobe Muse website. I felt it’s important to contact a creative advertising guru and find out wether I’m on the right path with my project idea. This is his e-mail:
“Antoni
Sounds like a big project, and quite a broad range of skillsets. I don’t think the subject matter will make any difference. Whether it’s hip hop, food, or sports, as long as it’s something you are passionate about, it will show in the work.
One thing I would be concerned about is trying to cover too many skill sets at once. The problem with trying to show you can do everything, is that you won’t be really good at any one of them. The saying is very true, “Jack of all trades, master of none”. I tried to do this very early in my career as well, and one day realized that I didn’t love to do anything as much as I loved to make images (photography, photoshop, and CGI). I was doing it because I felt like I was supposed to. So I made it a point to stop doing any of the other “graphic design” type projects and strictly focused on making images. I would recommend the same here. Find the part that interests you the most (imagery, graphics, animation, web design, typography, etc.) and focus on getting even better at that… you can use the other tools as a way to present your work, but shouldn’t be the focus of the project.
If this was me doing this project, I would focus on the images, and find a style and topic that best demonstrated my feelings about hip hop. Build a series (more than 4 images) and then present them in a simple way to let the images speak for themselves. Could be in a campaign form – print, digital, and social. But the basis of the campaign would be on the images, not the vehicle in which they are displayed. For you, this might not be the best solution… but that all depends on what you want to focus on.
Hope that helps and good luck!”
I think it would be wrong not to follow his feedback. After this e-mail, I decided to narrow my focus to the images themselves and present them in a simple way so they can speak for themselves. If it turns out that I have more time left than expected, I will also work on a more advanced presentation form, but it won’t be my priority in this case.