This week, I’ve had more of an insight into the MoGraph feature in Cinema 4D. As I mentioned before, it has to do with all motion and animation purposes.
First thing that I’ve learned is the Time Effector, which works in a very similar manner to the time in Adobe After Effects, allowing us to add an animation to any parameter (scale, movement etc.).
It also contains effectors such like ‘Random’, adding random variations to elements of the object/animation and ‘Plain’, which gives us control over defining which parameters it affects.
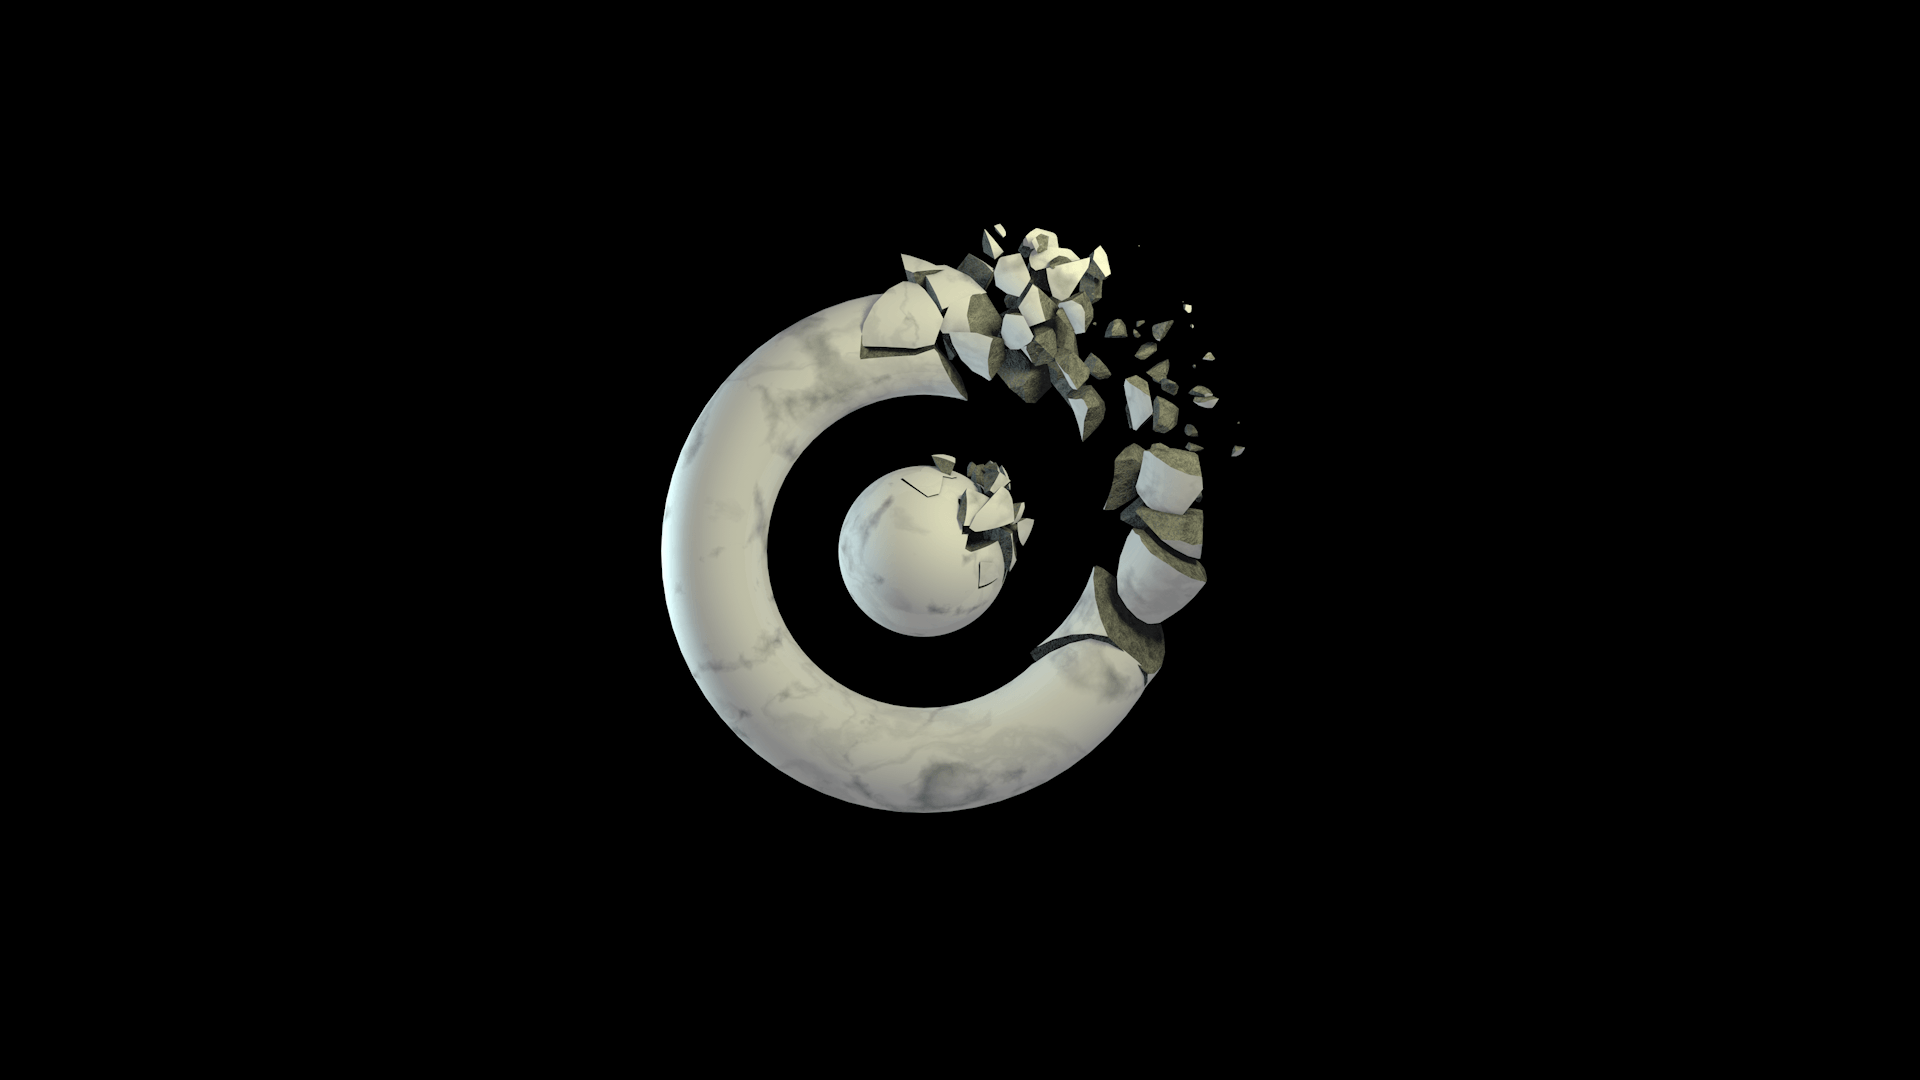
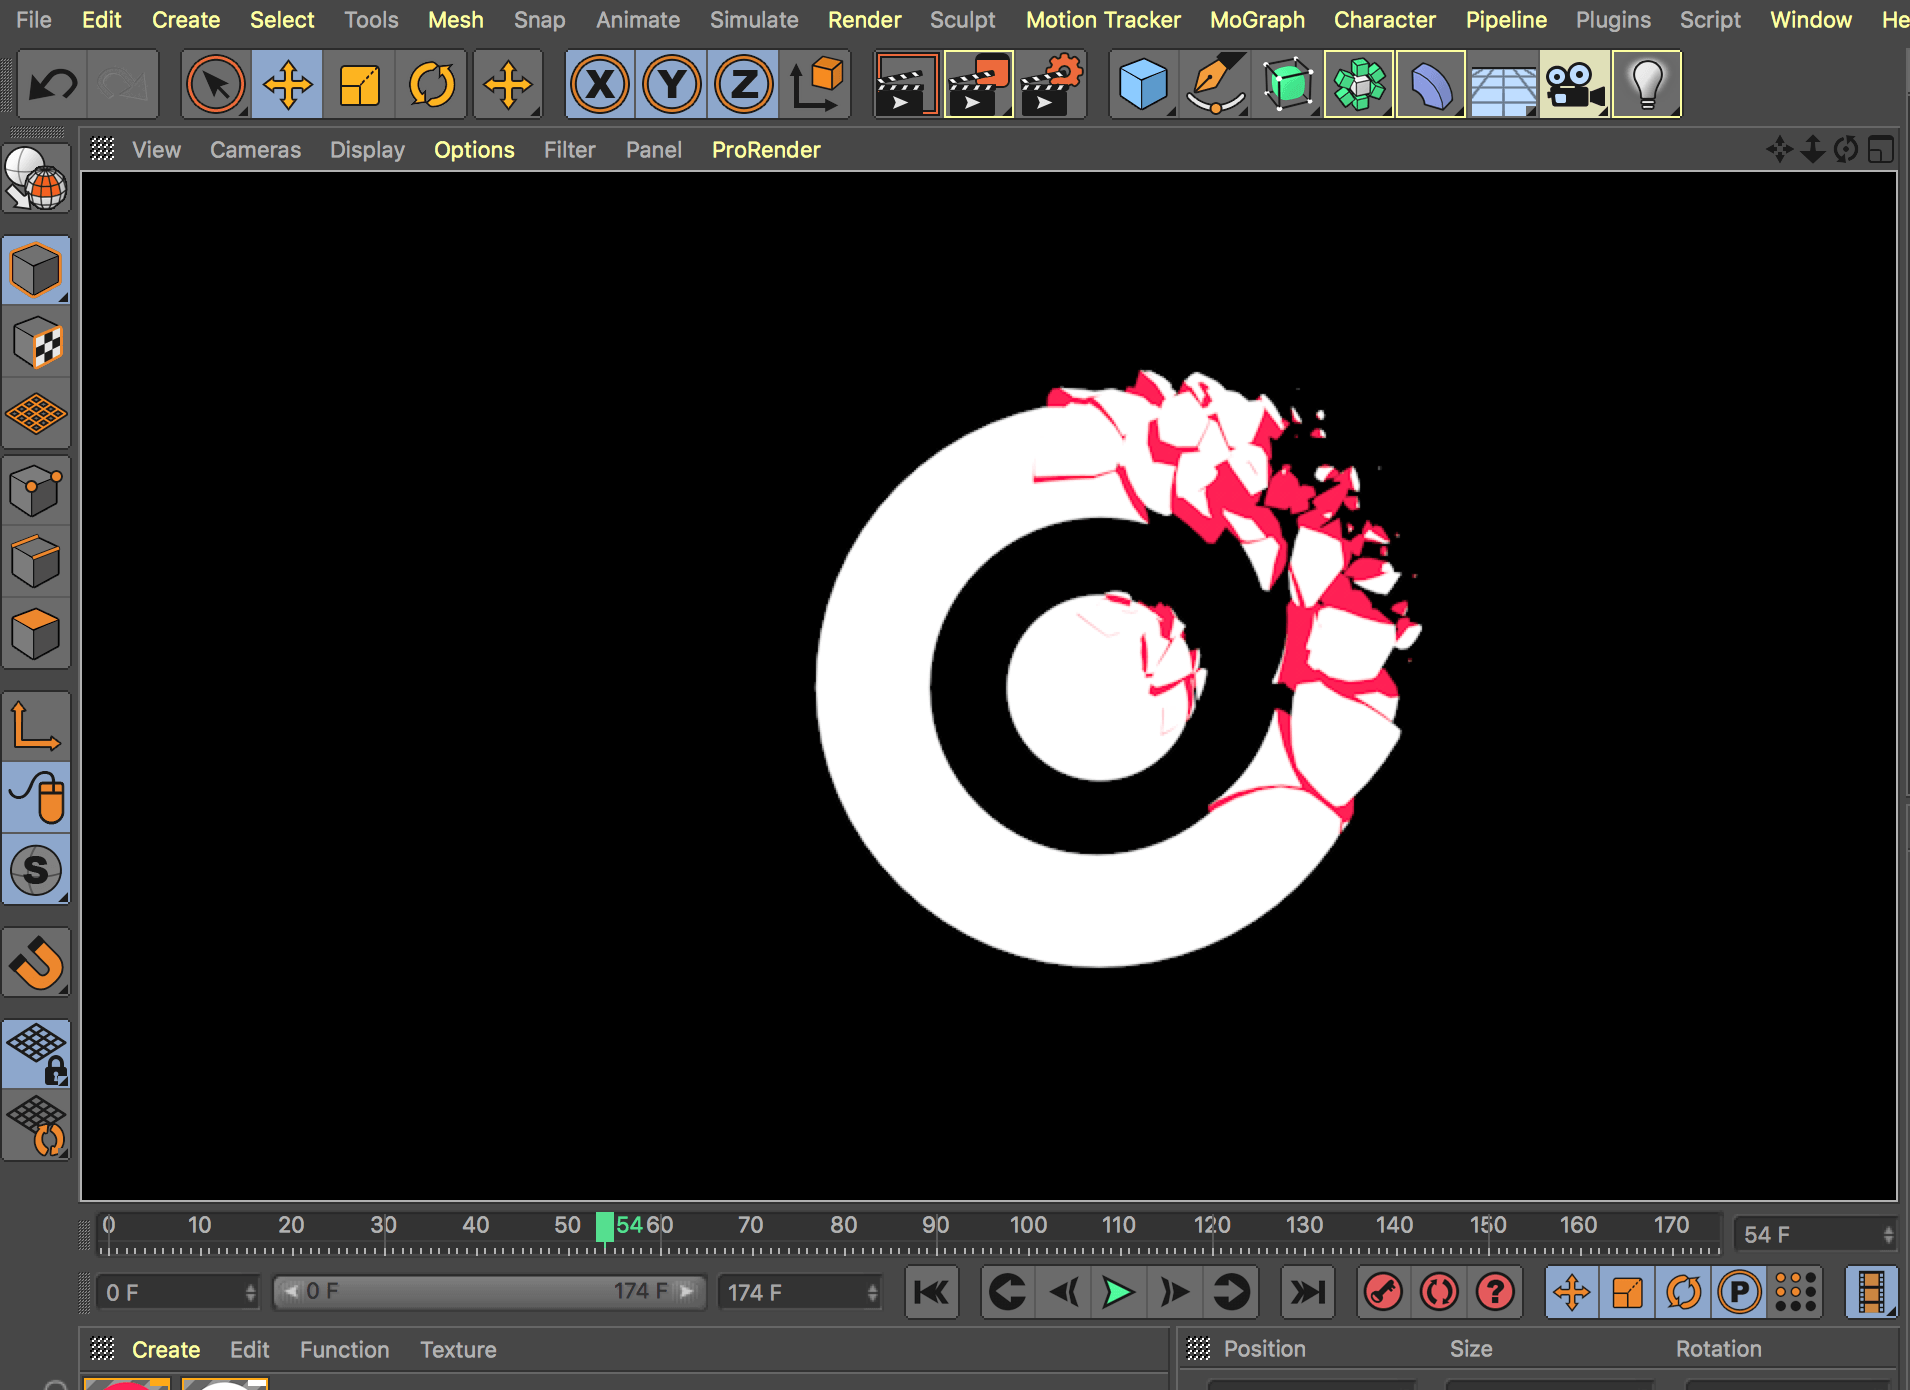
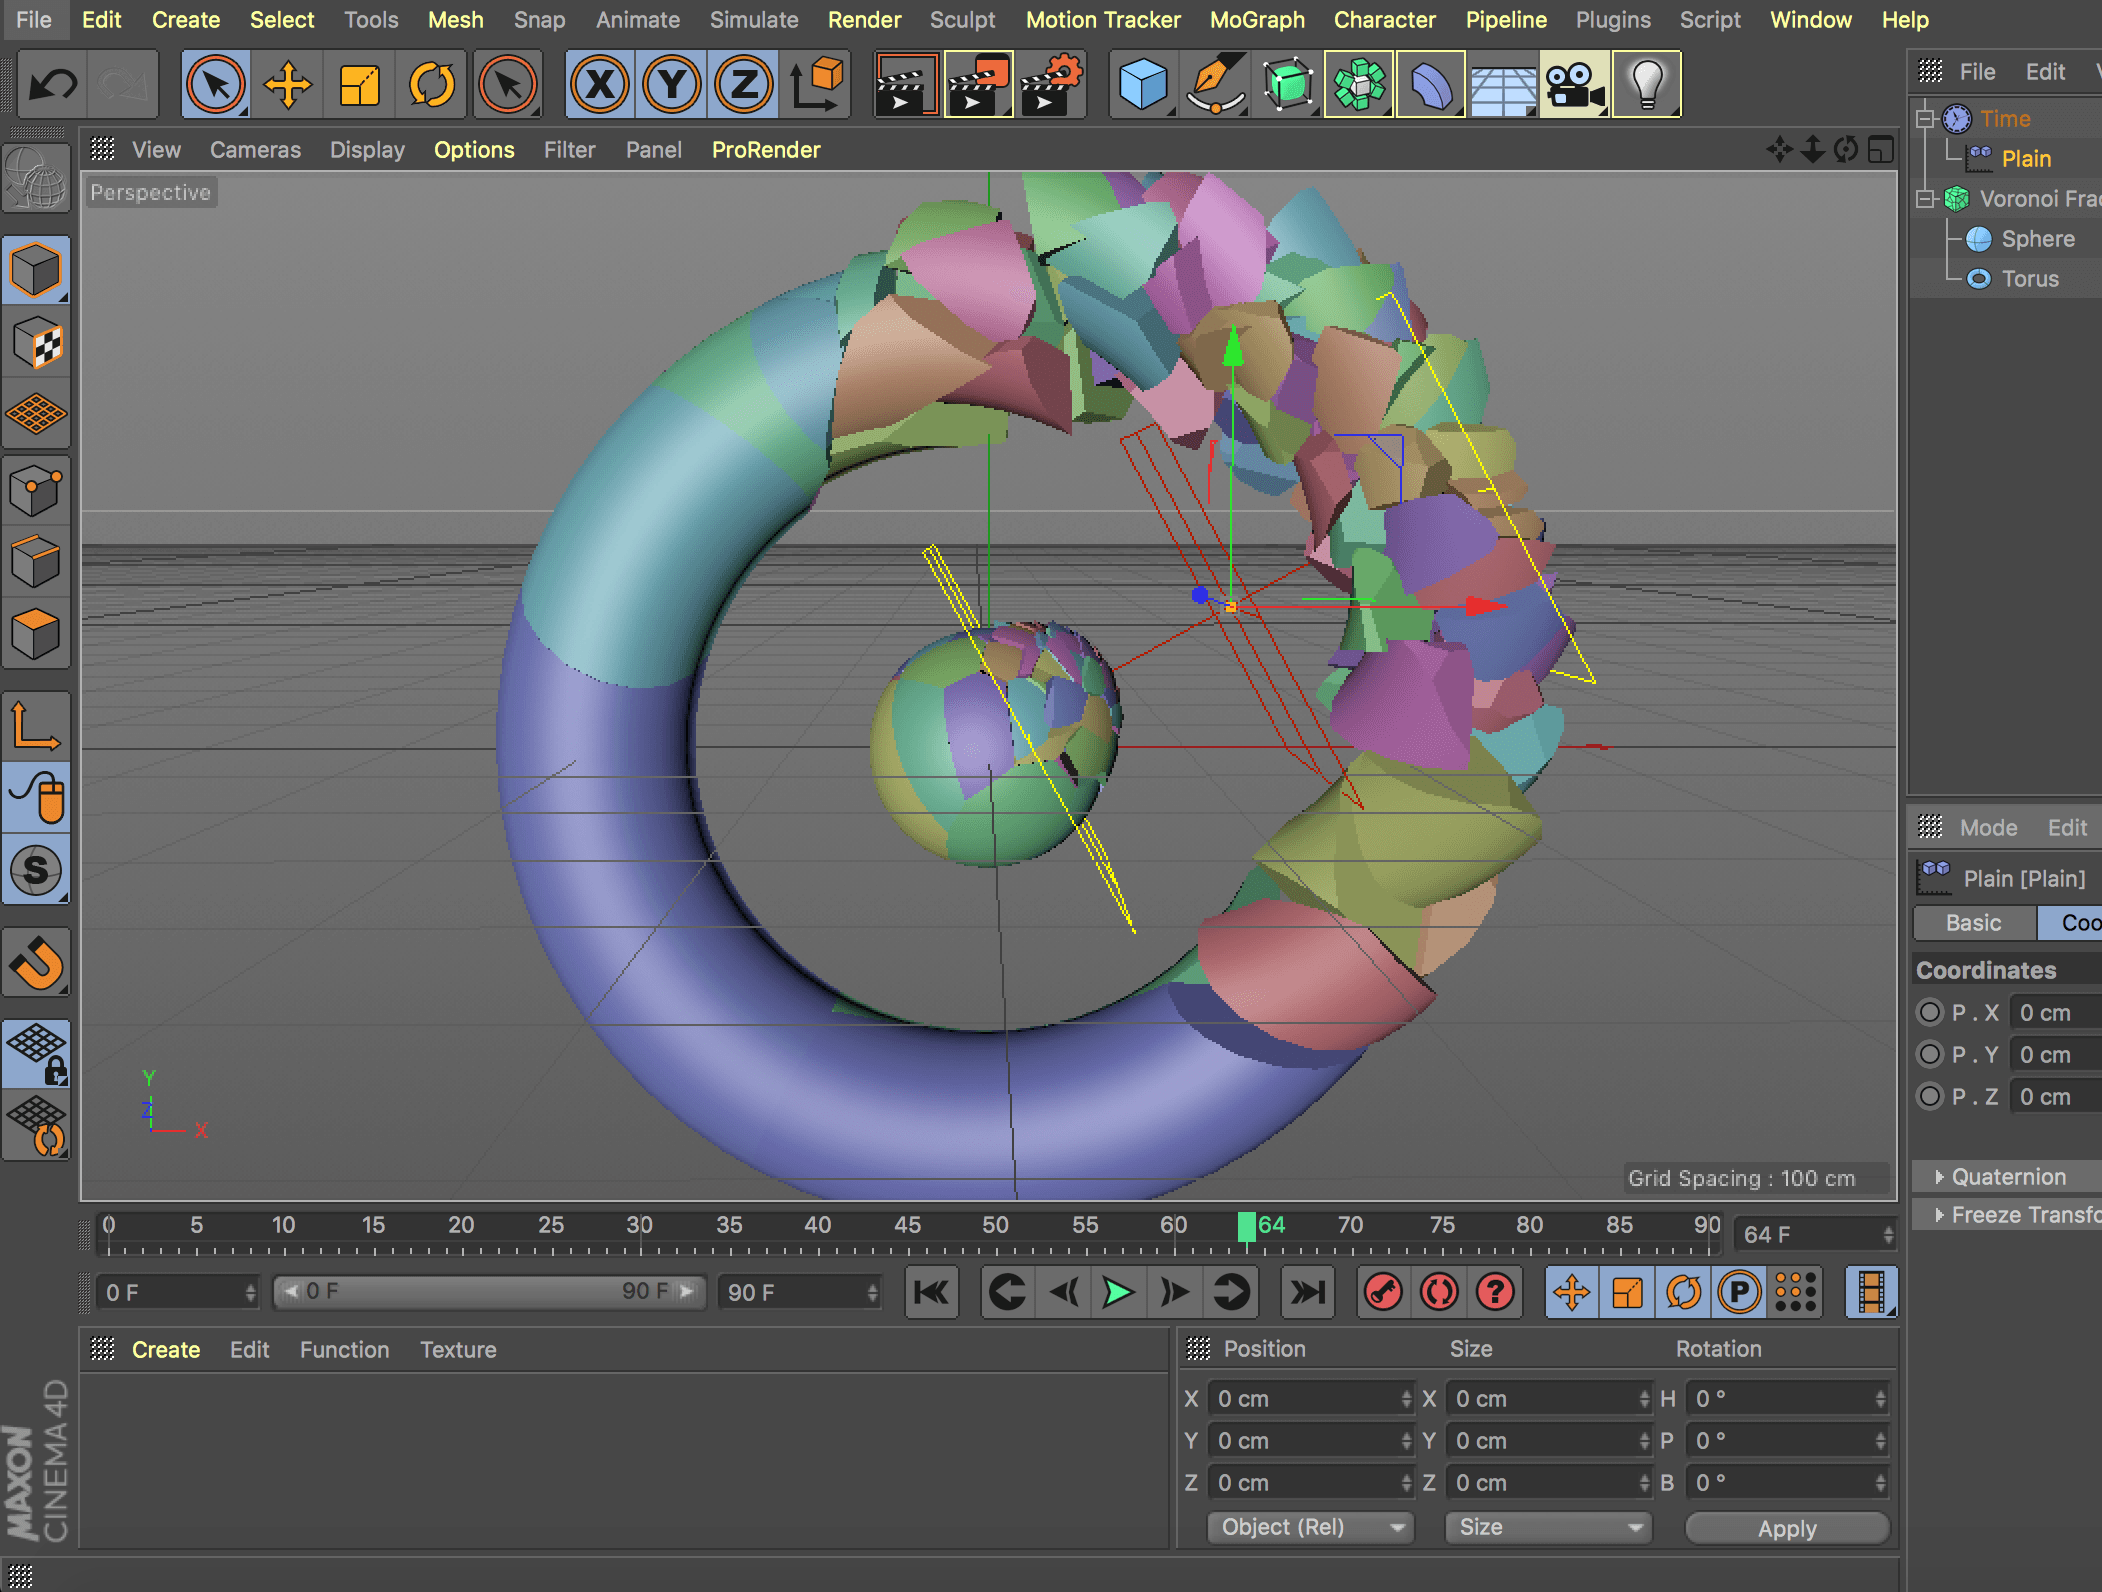
Although, the most important aspect of MoGraph in this tutorial, was Voronoi Fracture, which divides the object into elements and adds points, defining how fractured it is and how the points are spread. Setting the Falloff to ‘Linear’ and placing it where we want our fractured elements to move, defines the area within which they interact.
Tutorial also explained how to apply the inside and outside materials to the model and fractured particles, with a use of various kinds of noises and blending modes (similar to those in Photoshop). It also presented how the Area Light affects the scene.
The next tutorial I’m planning to go through focuses on filling an object with a bunch of other objects using cloners and Cinema 4D dynamics and elements of Photoshop editing.
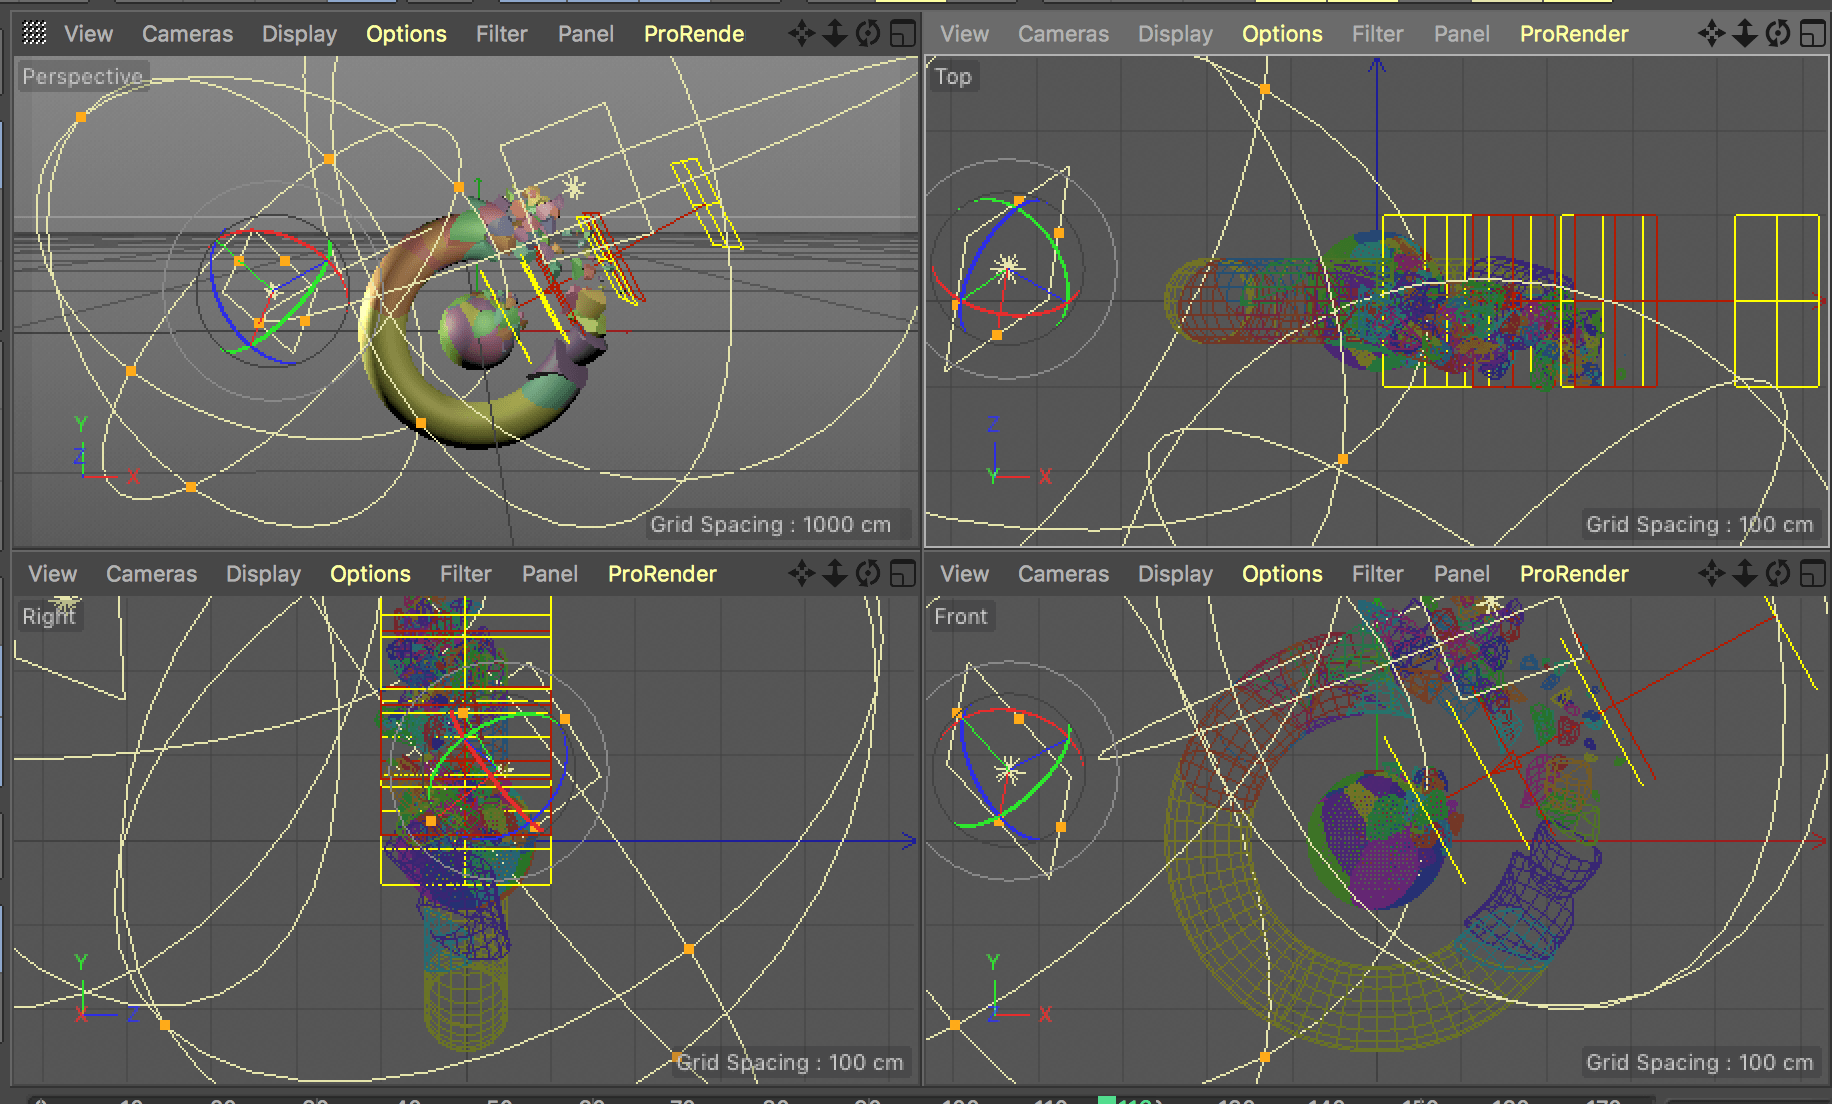
Some of the images from my practice: