After the house-building tutorial I went through another one. It was quite similar so instead of building along (which takes much longer), I just followed it to see if I can learn anything new.
For most part, it was about the same principles, but I also learned about:
– editing edges and Loop/Path Cut option
– adding text to 3D models
– smoothening the edges with the Fillet
– rendering with the Ambient Occlusion
– various times of the year and day influencing the lighting
– creating a spotlight
– locking the camera
After that, I moved to something a bit closer to the needs of my project. The tutorial I chose was about a more realistic – photo like object – shattered glass ball. The image looks complex, but the creative process is actually quite simple. It starts with setting the camera correctly and creating a sphere, with a higher number of segments. The whole composition consists of a disc (invisible to the camera) providing a glow, black background and a glass like material created and applied o the sphere.
In fact, this tutorial shows how important the materials are. The luminance from the disc replaced the need for a spotlight and created a studio – like mood for the image. My final render differs from the tutorial one a tiny bit, because I experimented with the Explosion FX settings and tried to figure out how it actually works apart from just following the steps.
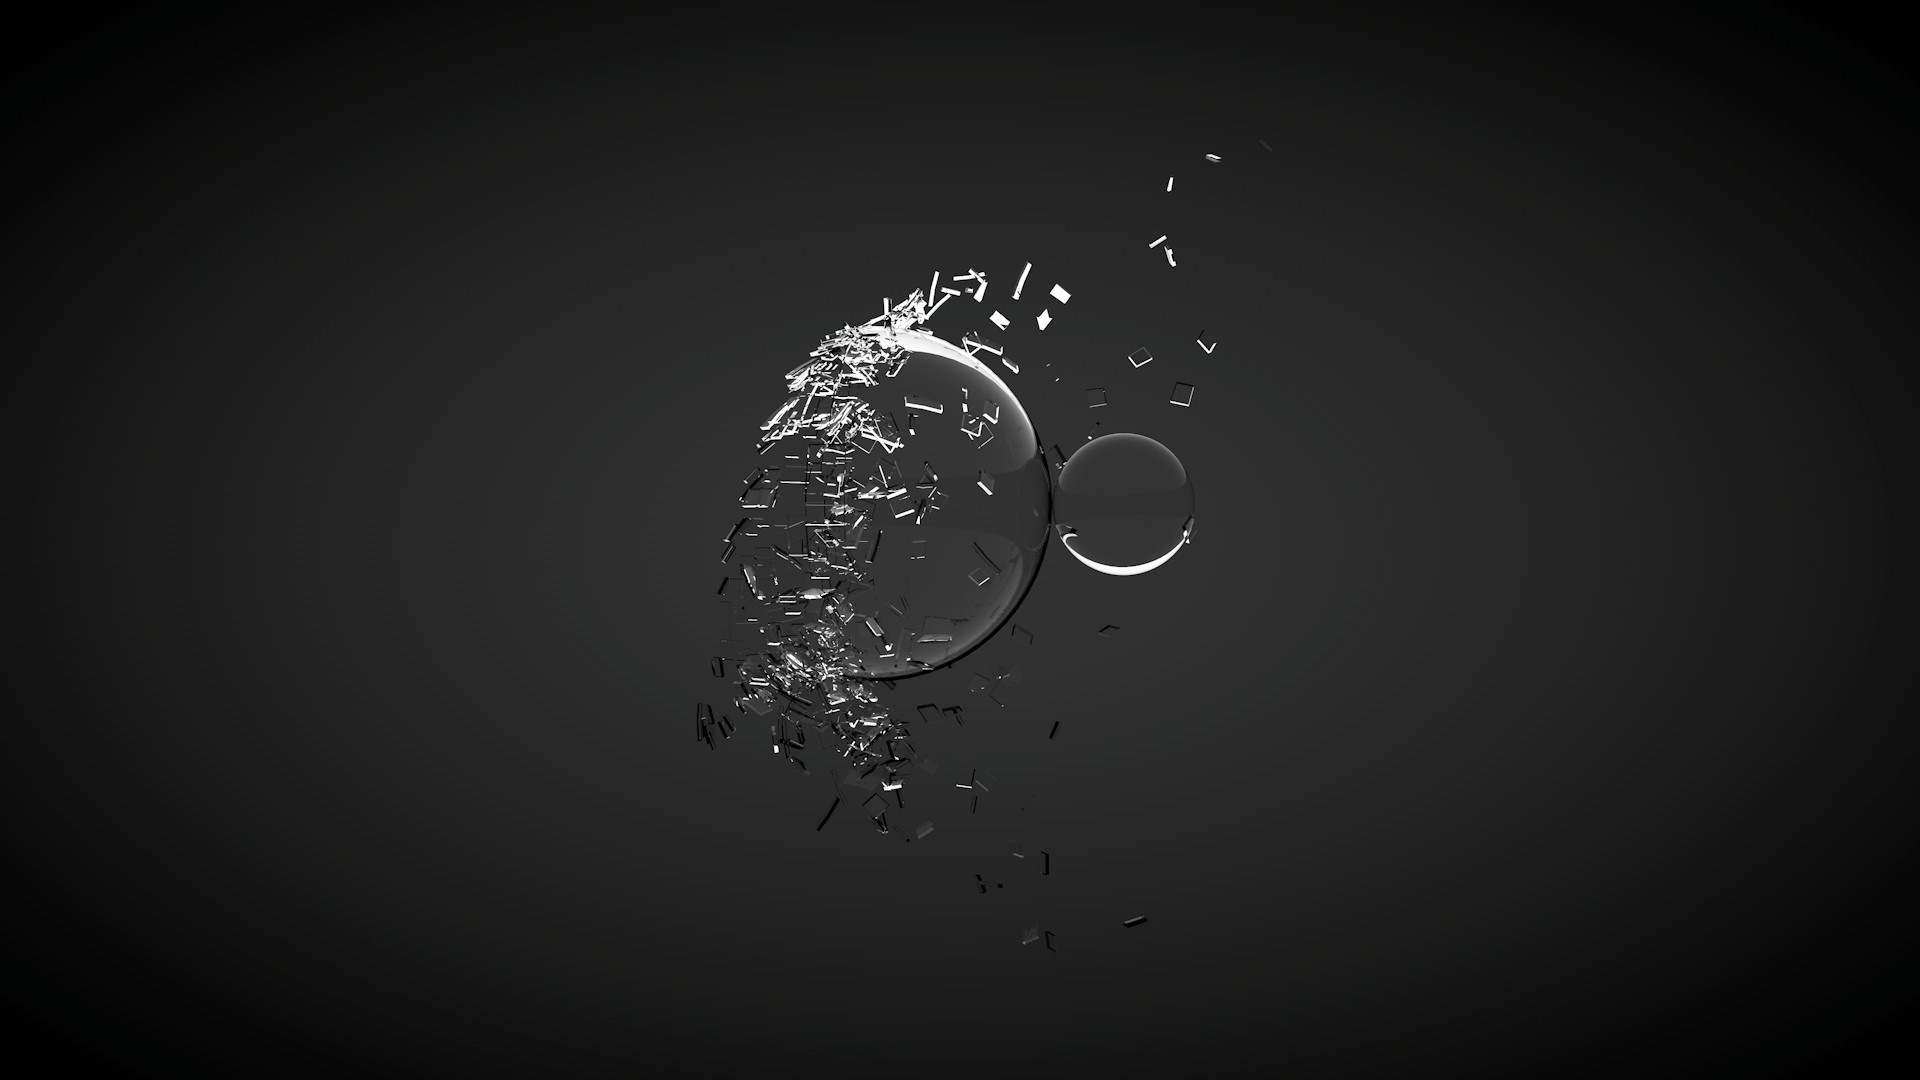
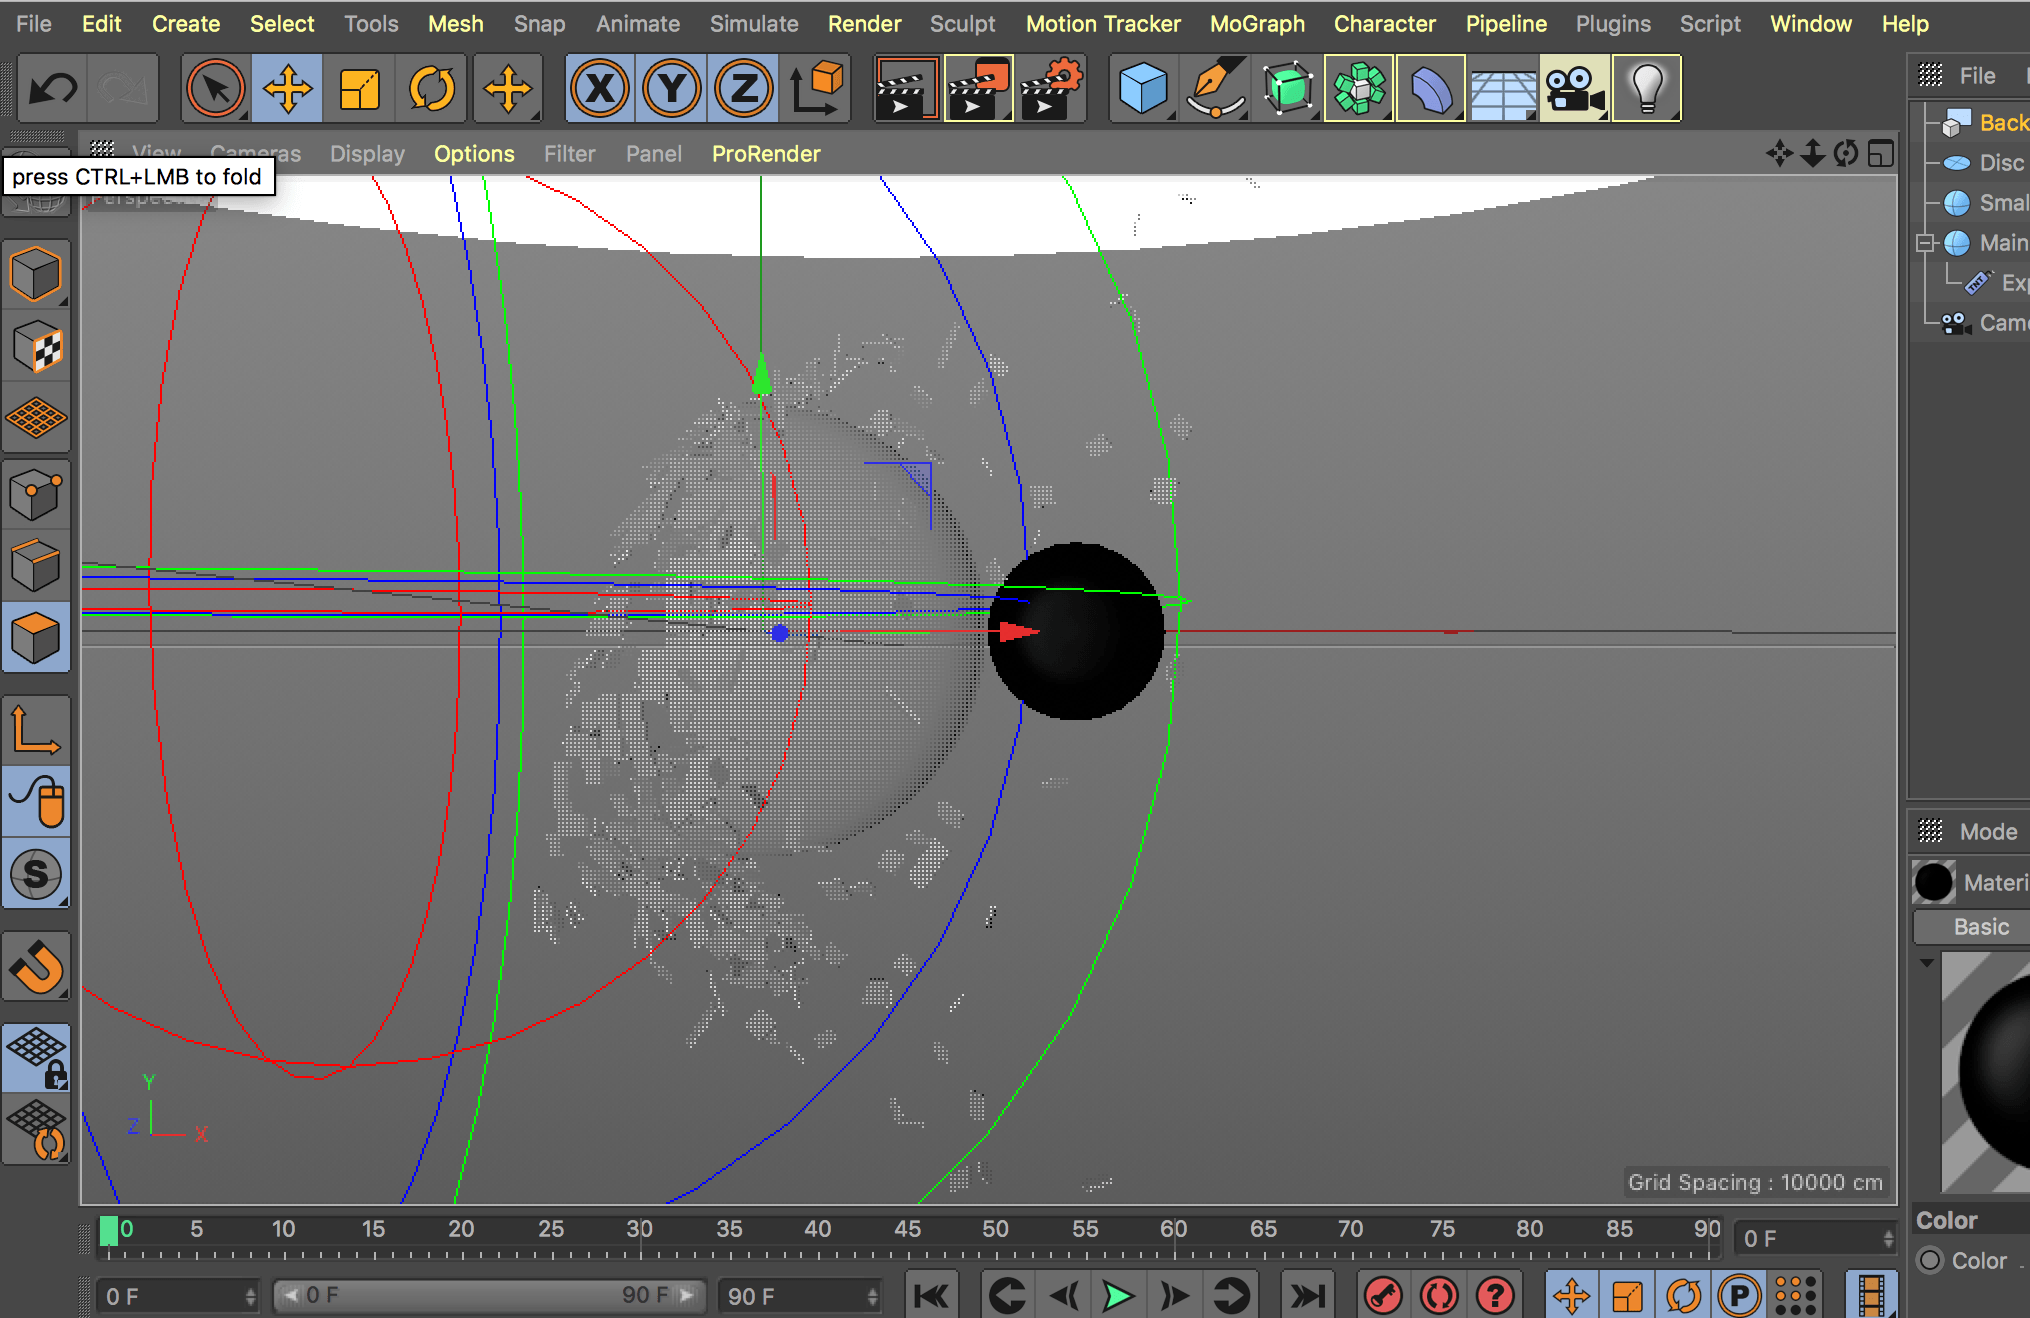

What I didn’t like about the fractured elements is a lack of random shapes. All of them seem to be shaped as cuboids, so one of my further goals will be learning how to change that.