One of the previous post discussed the first texture that I have applied in Substance Painter and converted it into a material in Cinema 4D. I decided to go back to SP and create a more personalized material, rather than using a pre-made smart material. At first, I was quite confused with how to operate with scratches and grunge, but I quickly figured out the basics thanks to this video:
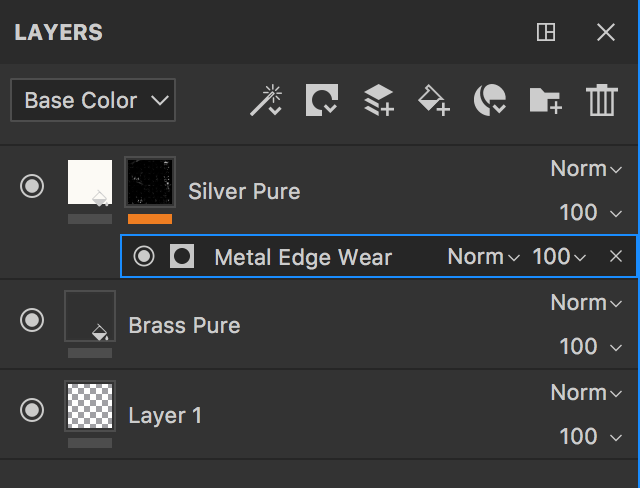
Applying the wear and tear is based on adjusting the layers, very similar to the ones in Photoshop. First of all, I placed the layer of scratch colours (bright silver) on the top. I applied a black mask, which completely covered the silver colour and revealed the main layer underneath (it’s called Brass despite being dark grey, but that is because I have changed the specifications of the material according to my needs). Then, I added a generator called Metal Edge Wear to the mask. This resulted in the revealing of the top layer partly, as a wear.
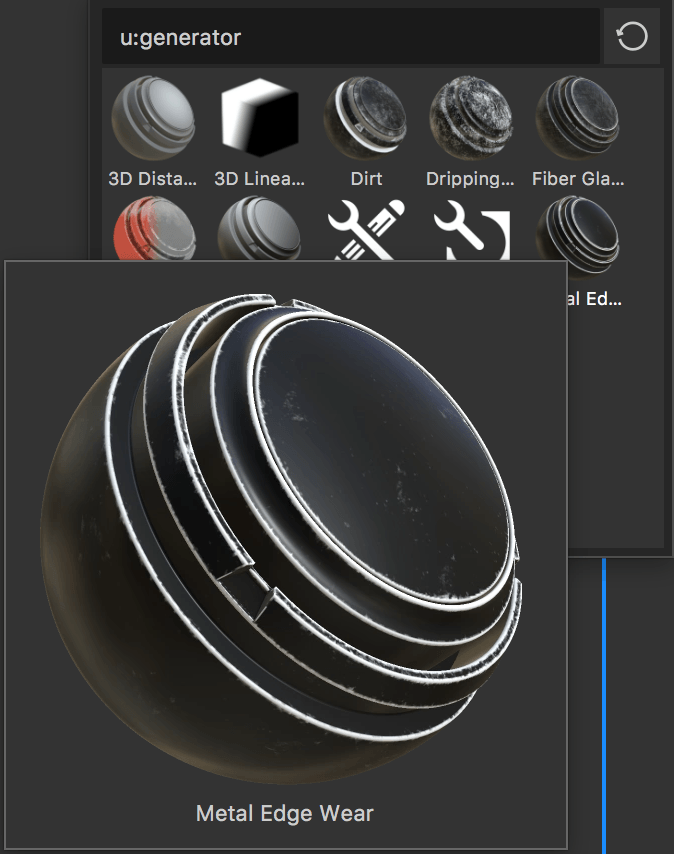
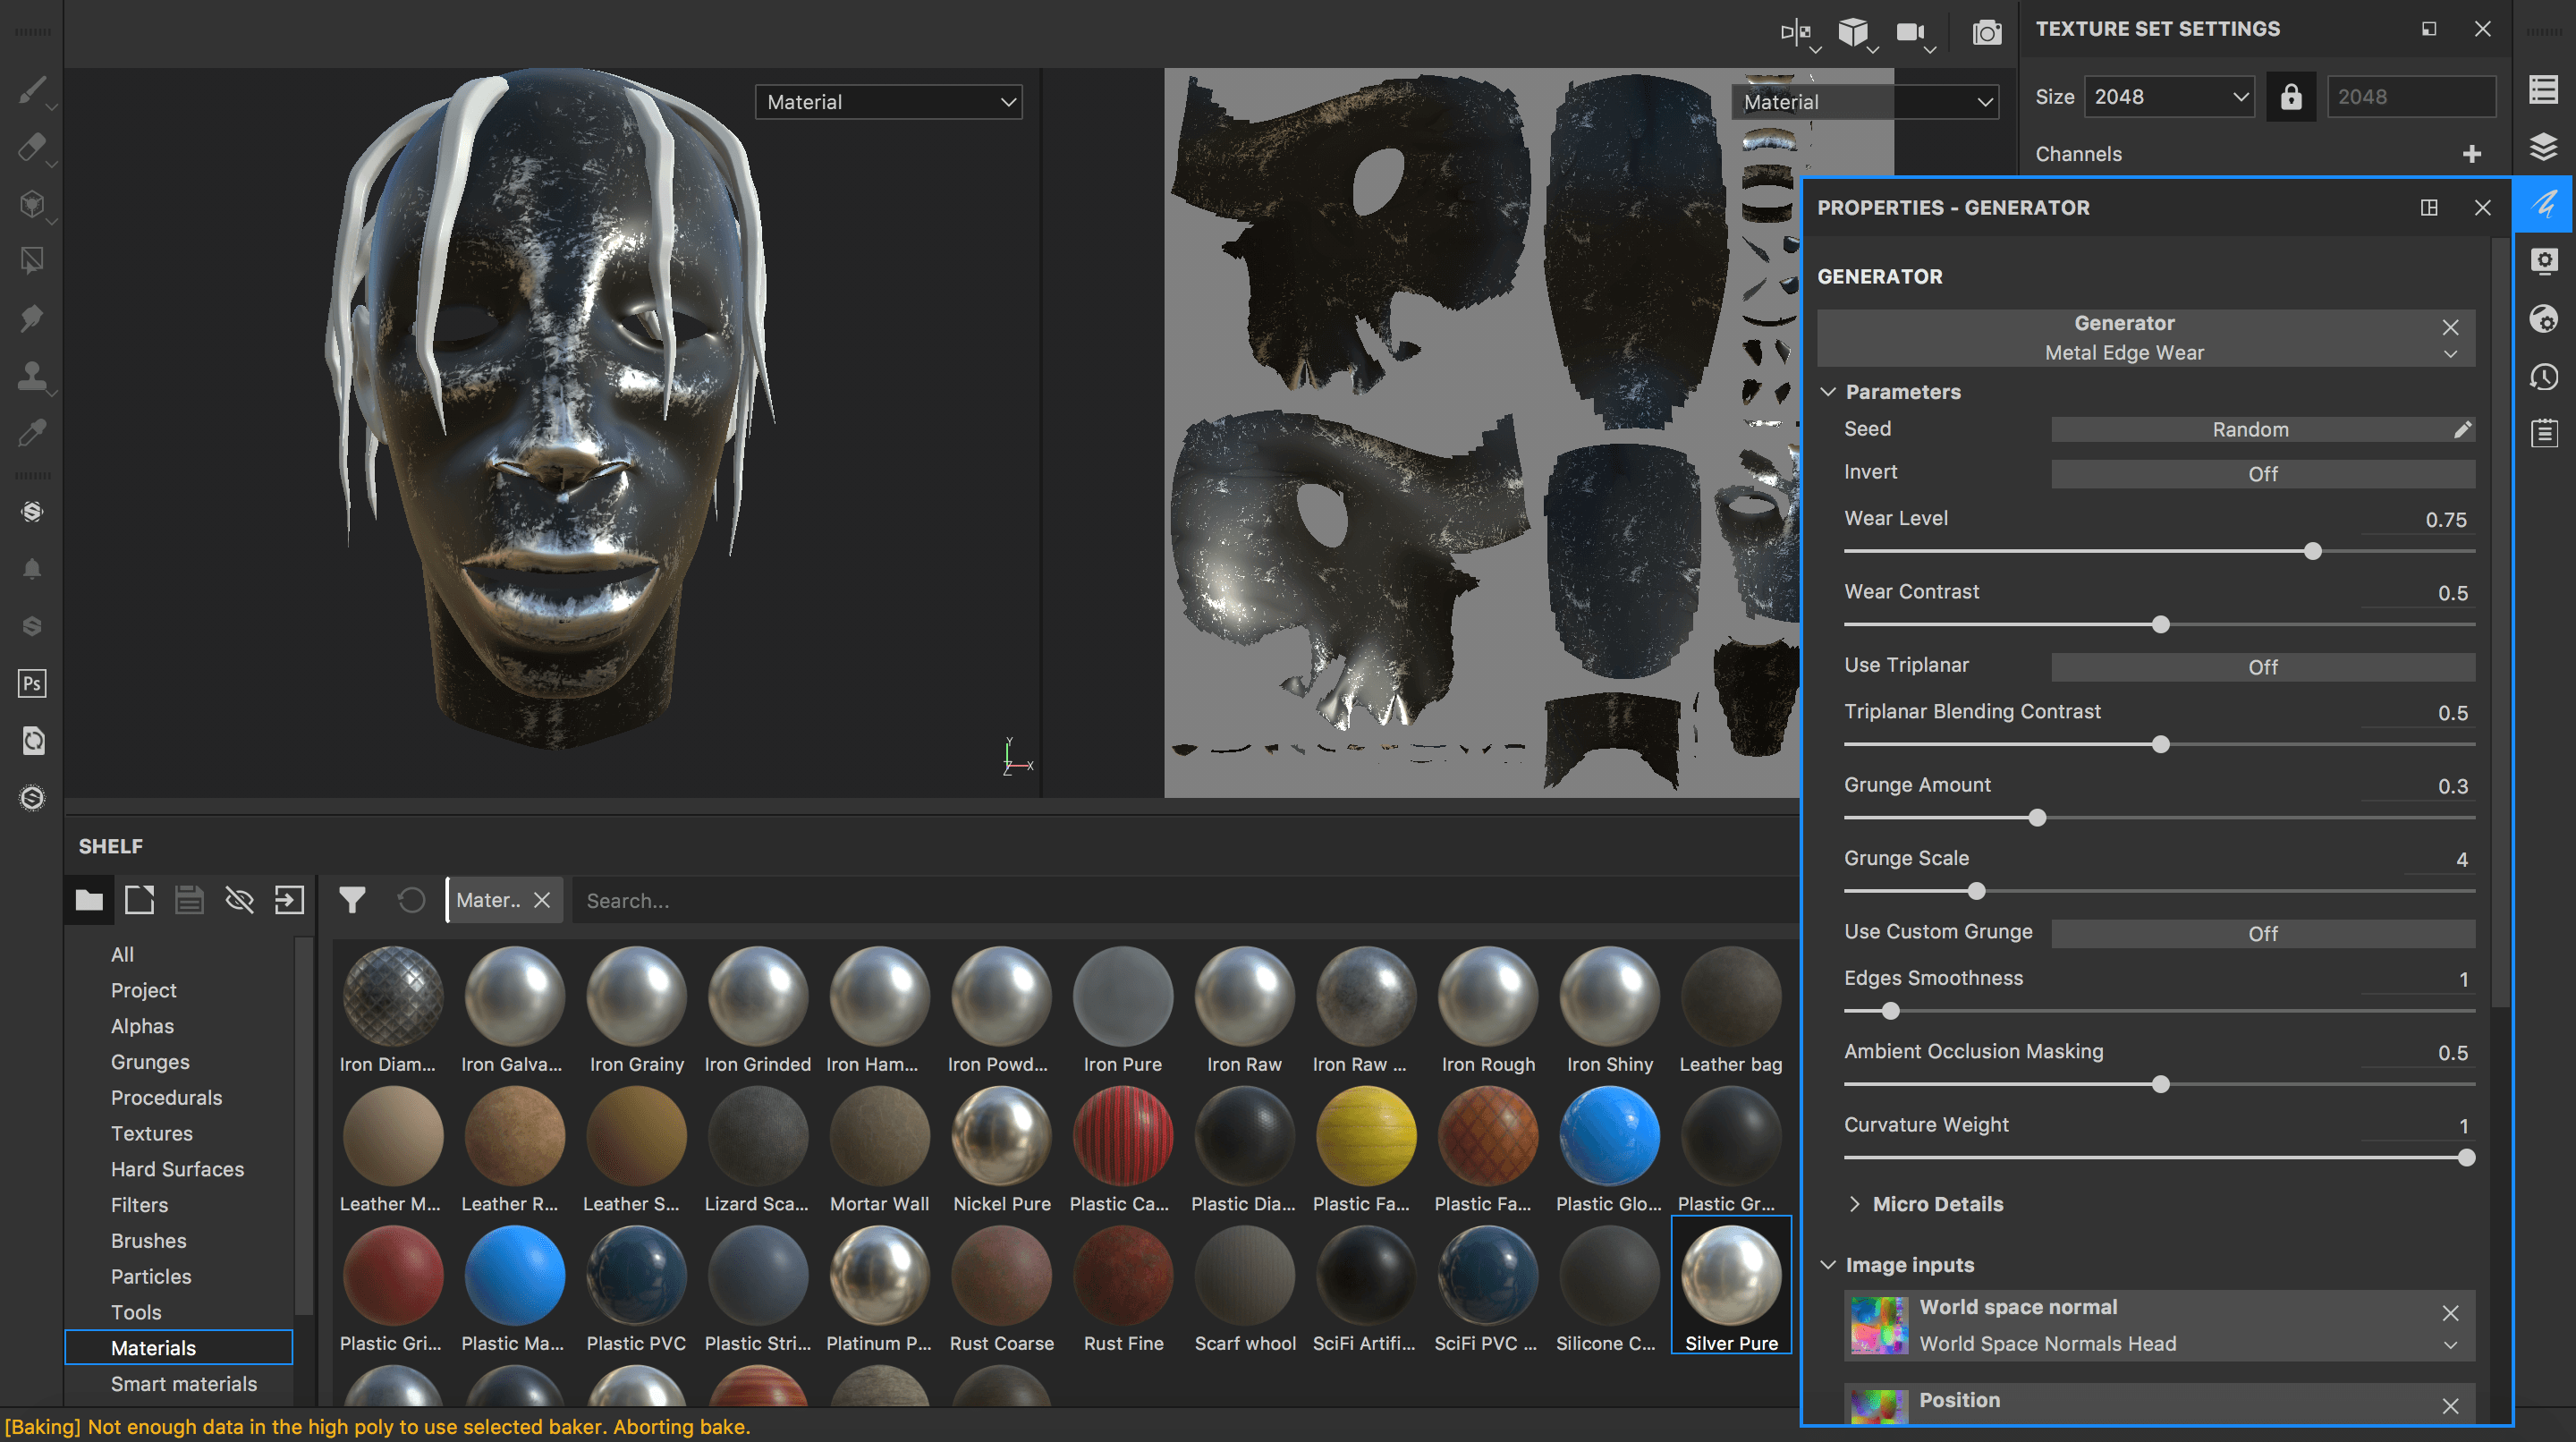
After applying the generator, there are loads of adjustments available, to make the shape, intensity and placement of the scratches customizable to our needs.