Modeling an ear in Cinema 4D

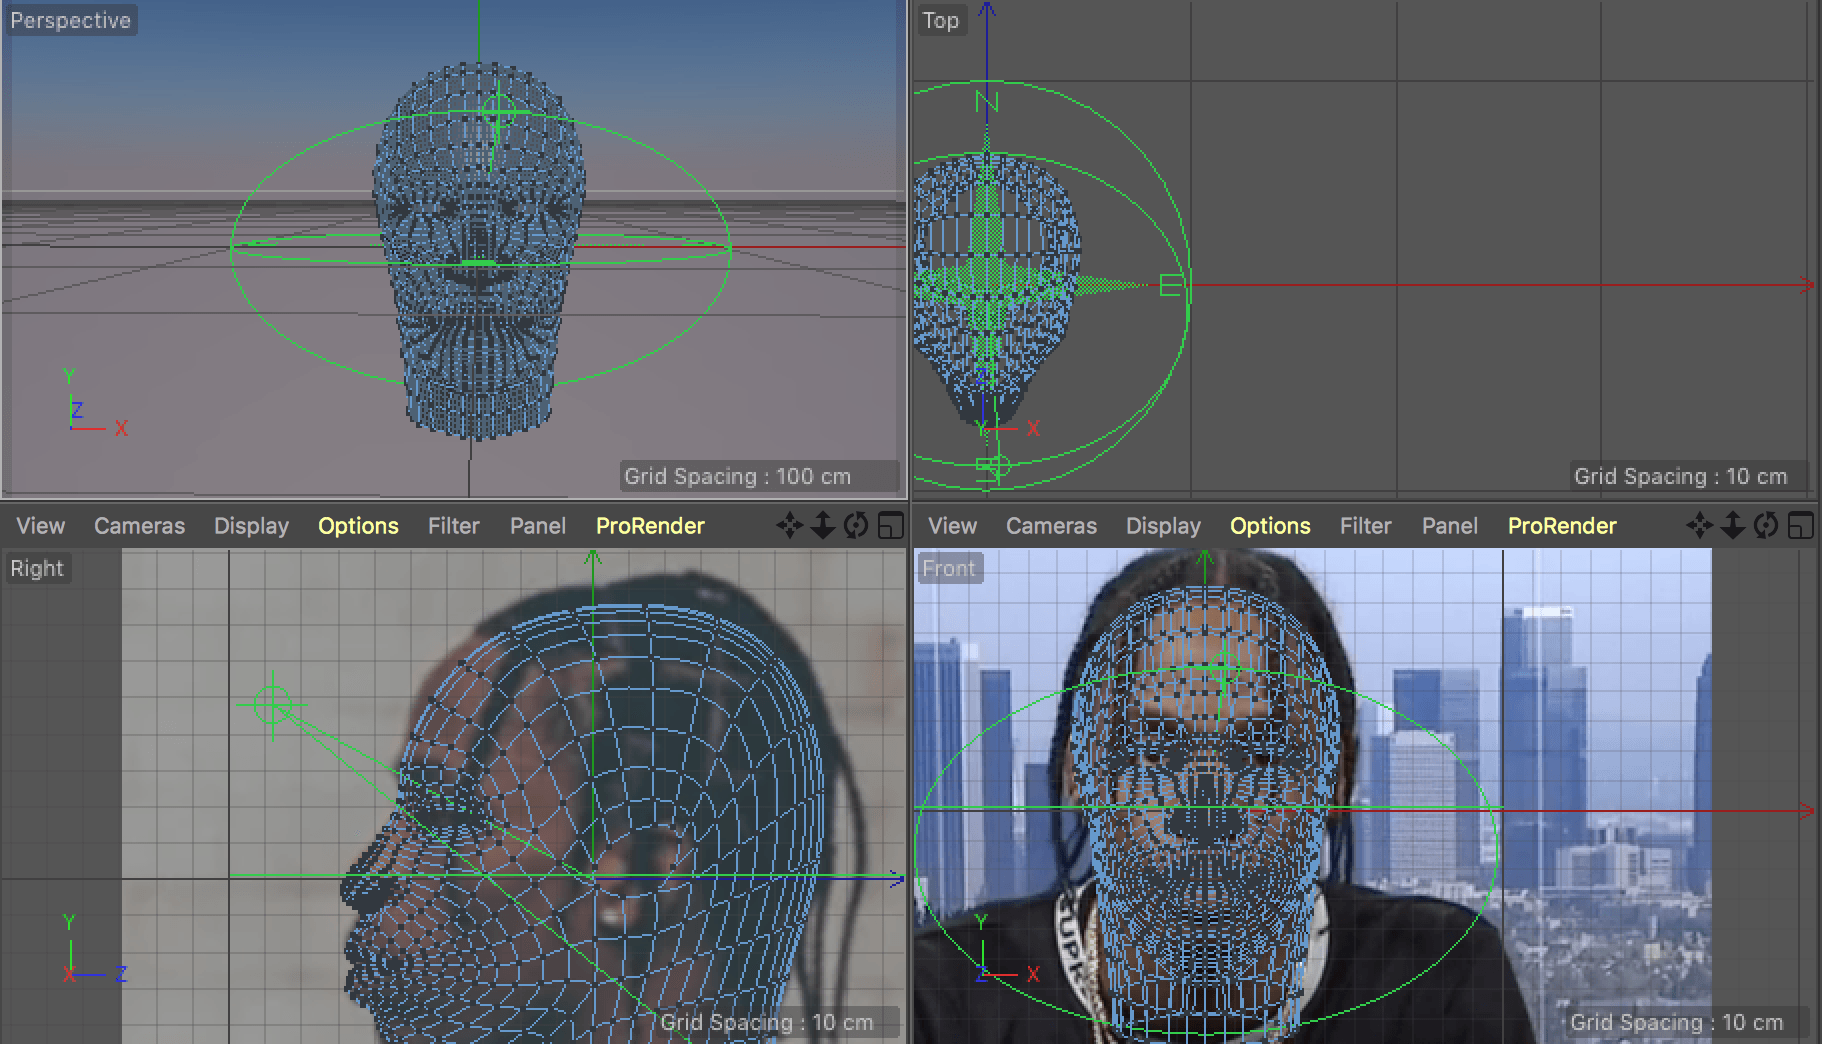
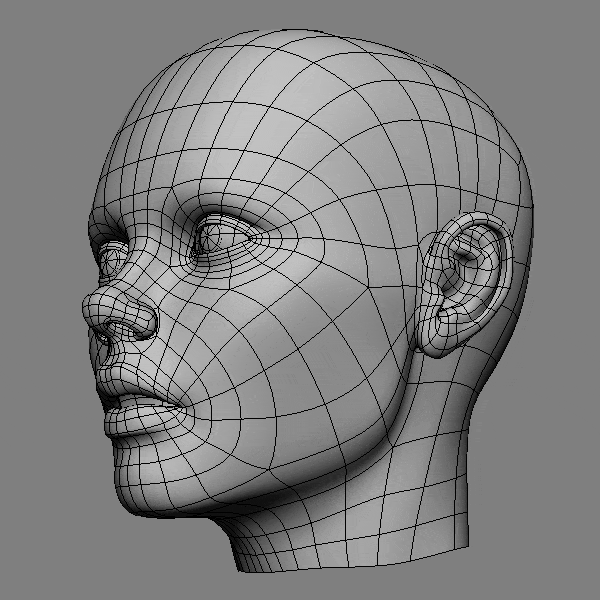
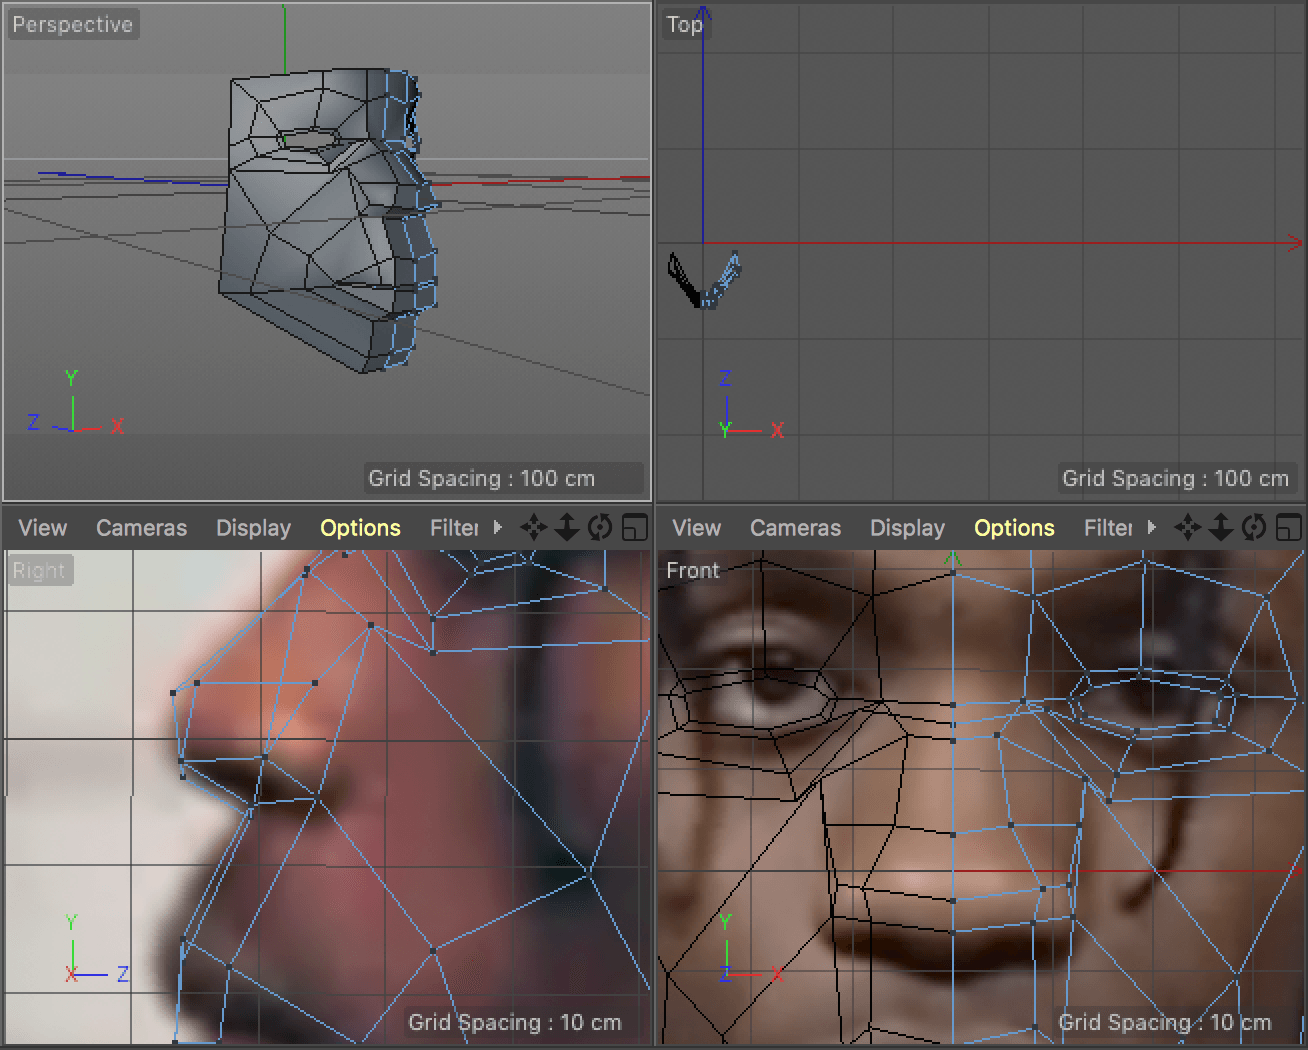
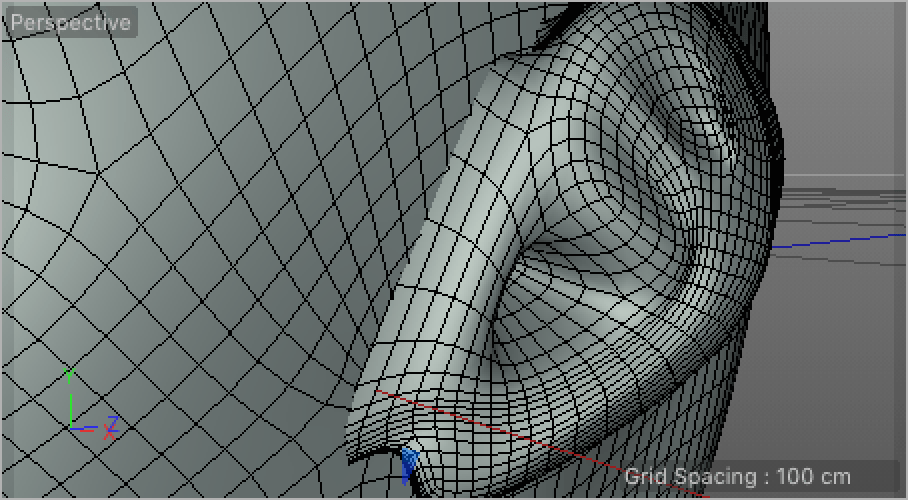
The last step of finishing the base head model was creating an ear. The same 3D artist who posted the head model tutorial also created an ear creation tutorial. He also provided an image with suggested plain path to follow, as polygons created this way resulted in a very good base to extrude the ear shape.

Zrzut ekranu 2018-02-25 o 14.04.30

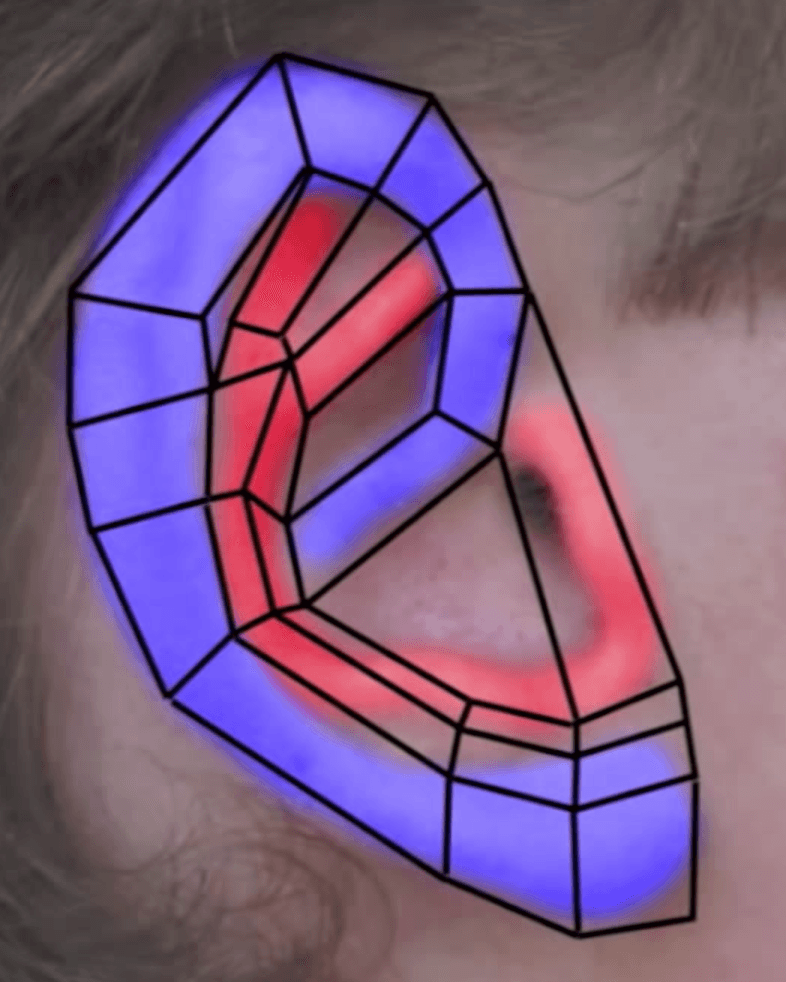
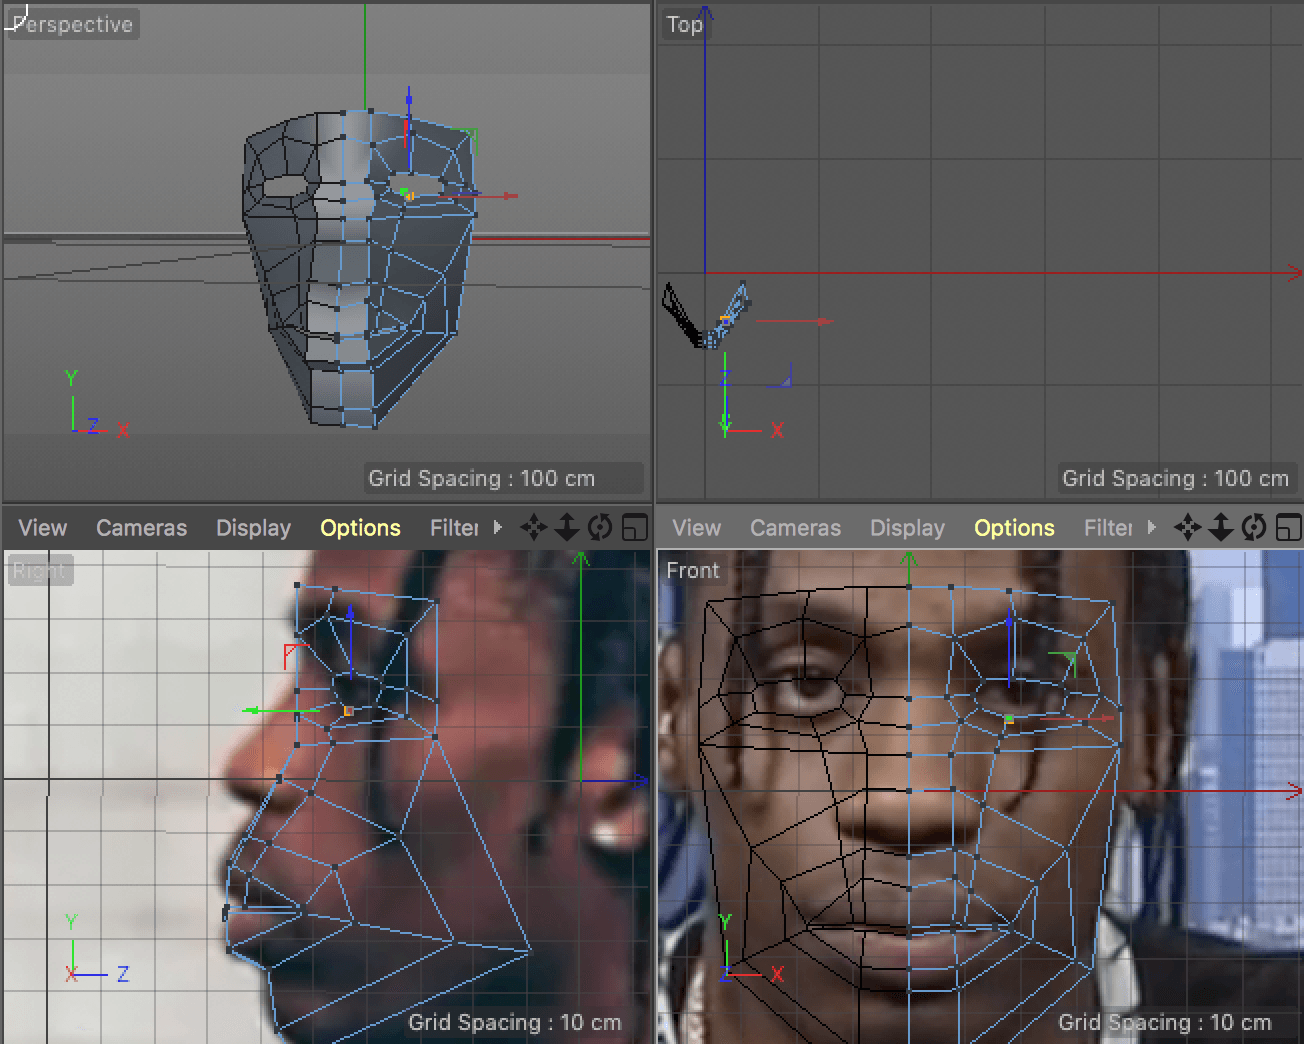
As my model only has to resemble the person it’s representing, I gave up in the idea of using the real reference photo of Travis Scott’s ear. I could easily follow this guide and then roughly adjust the shape. Here’s the process:

Zrzut ekranu 2018-02-25 o 14.39.51

Zrzut ekranu 2018-02-25 o 14.50.44

Zrzut ekranu 2018-02-25 o 15.27.51


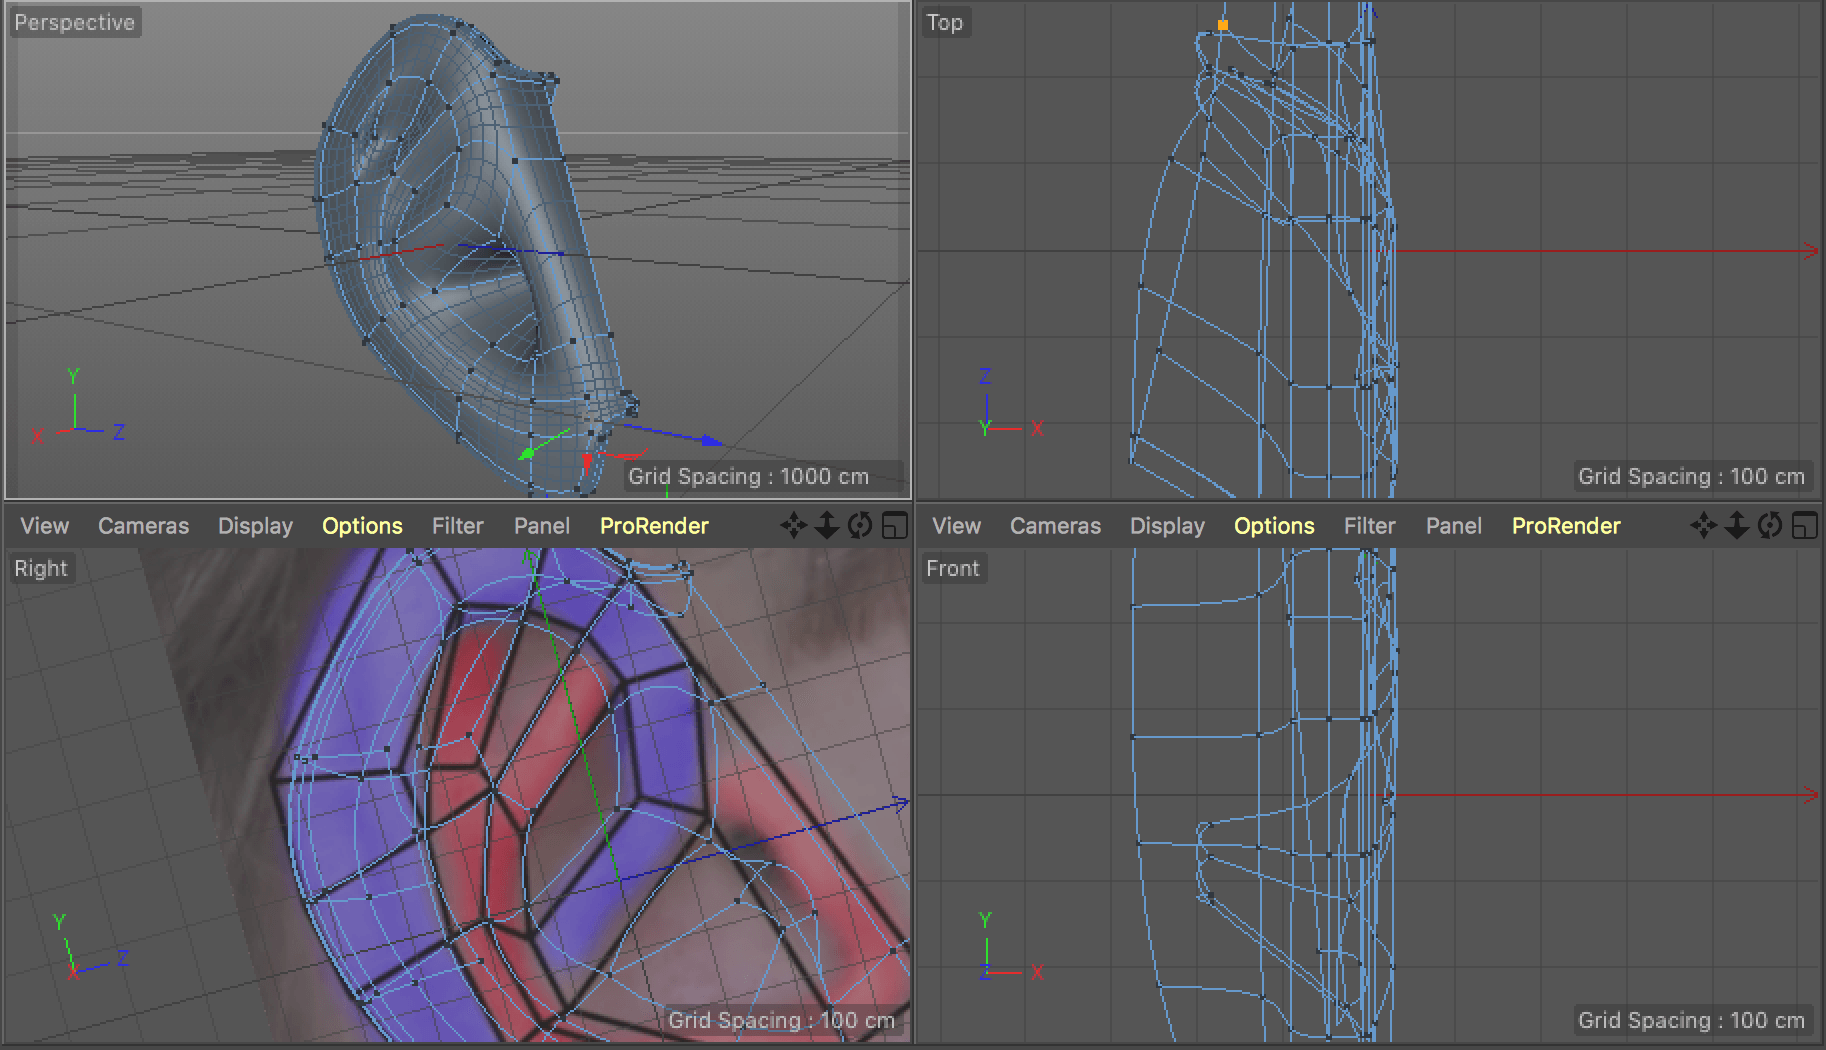
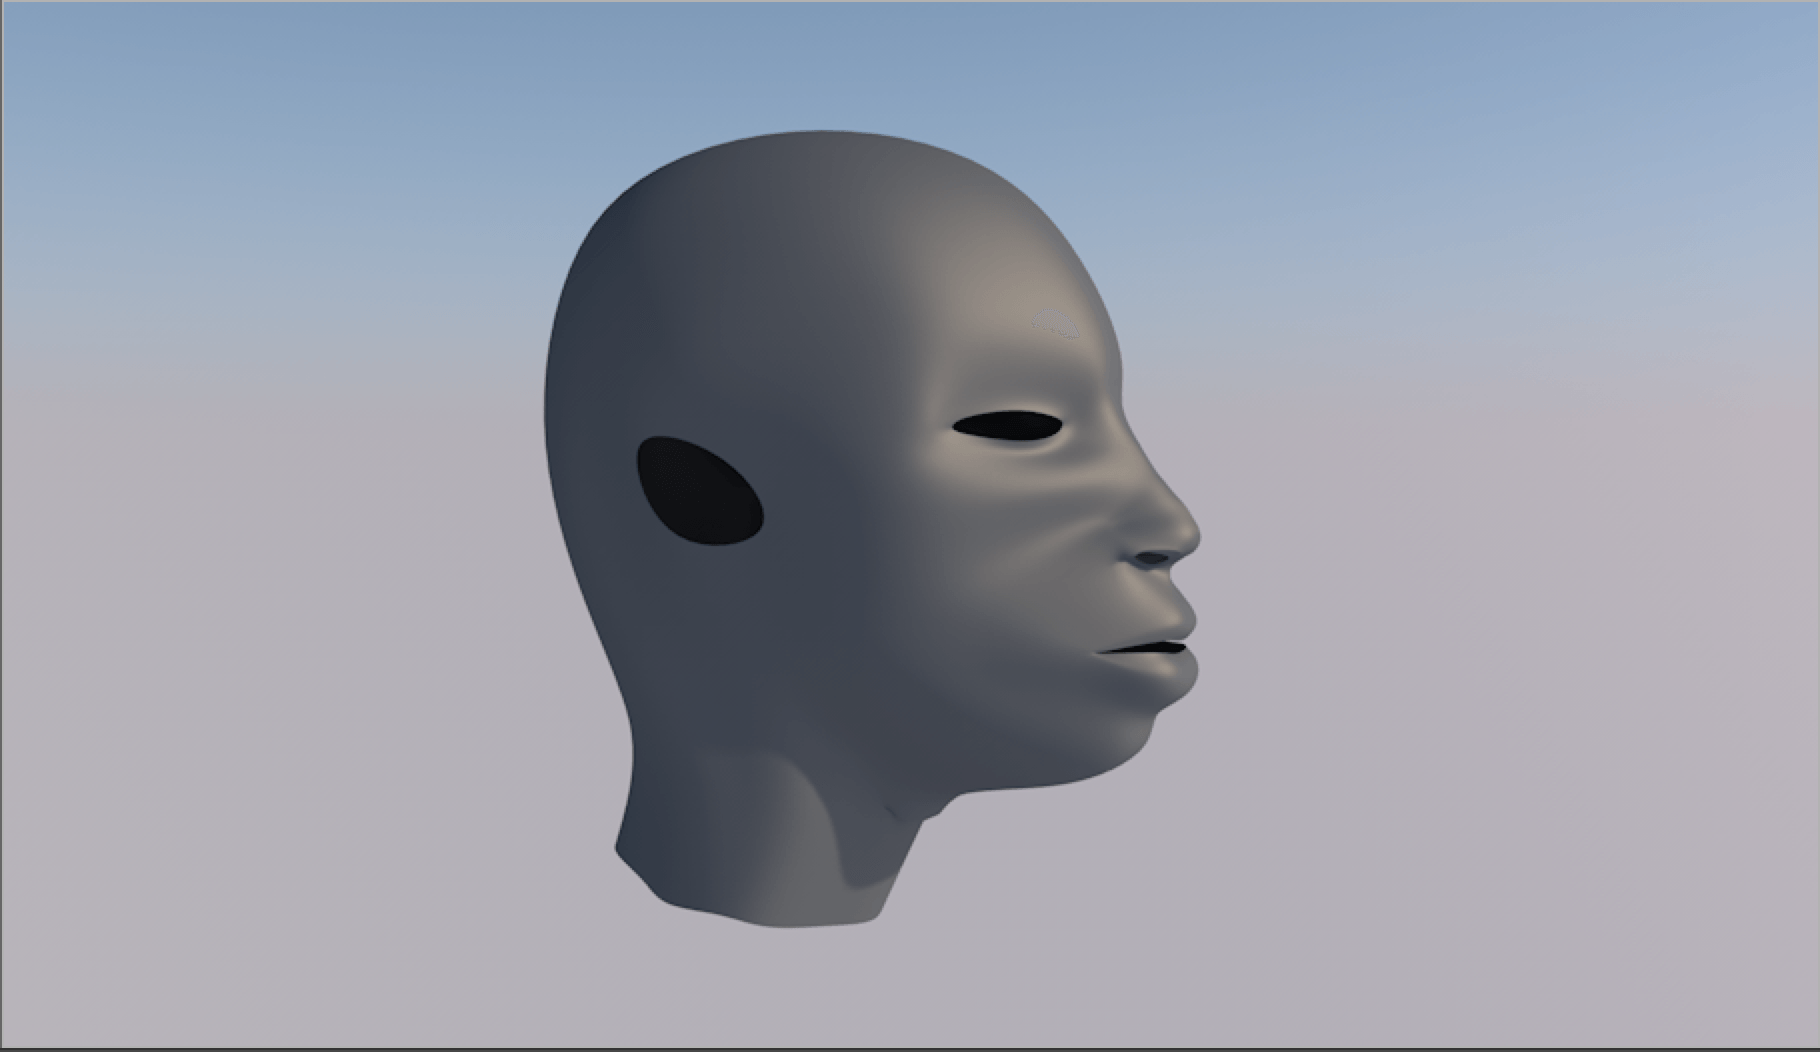
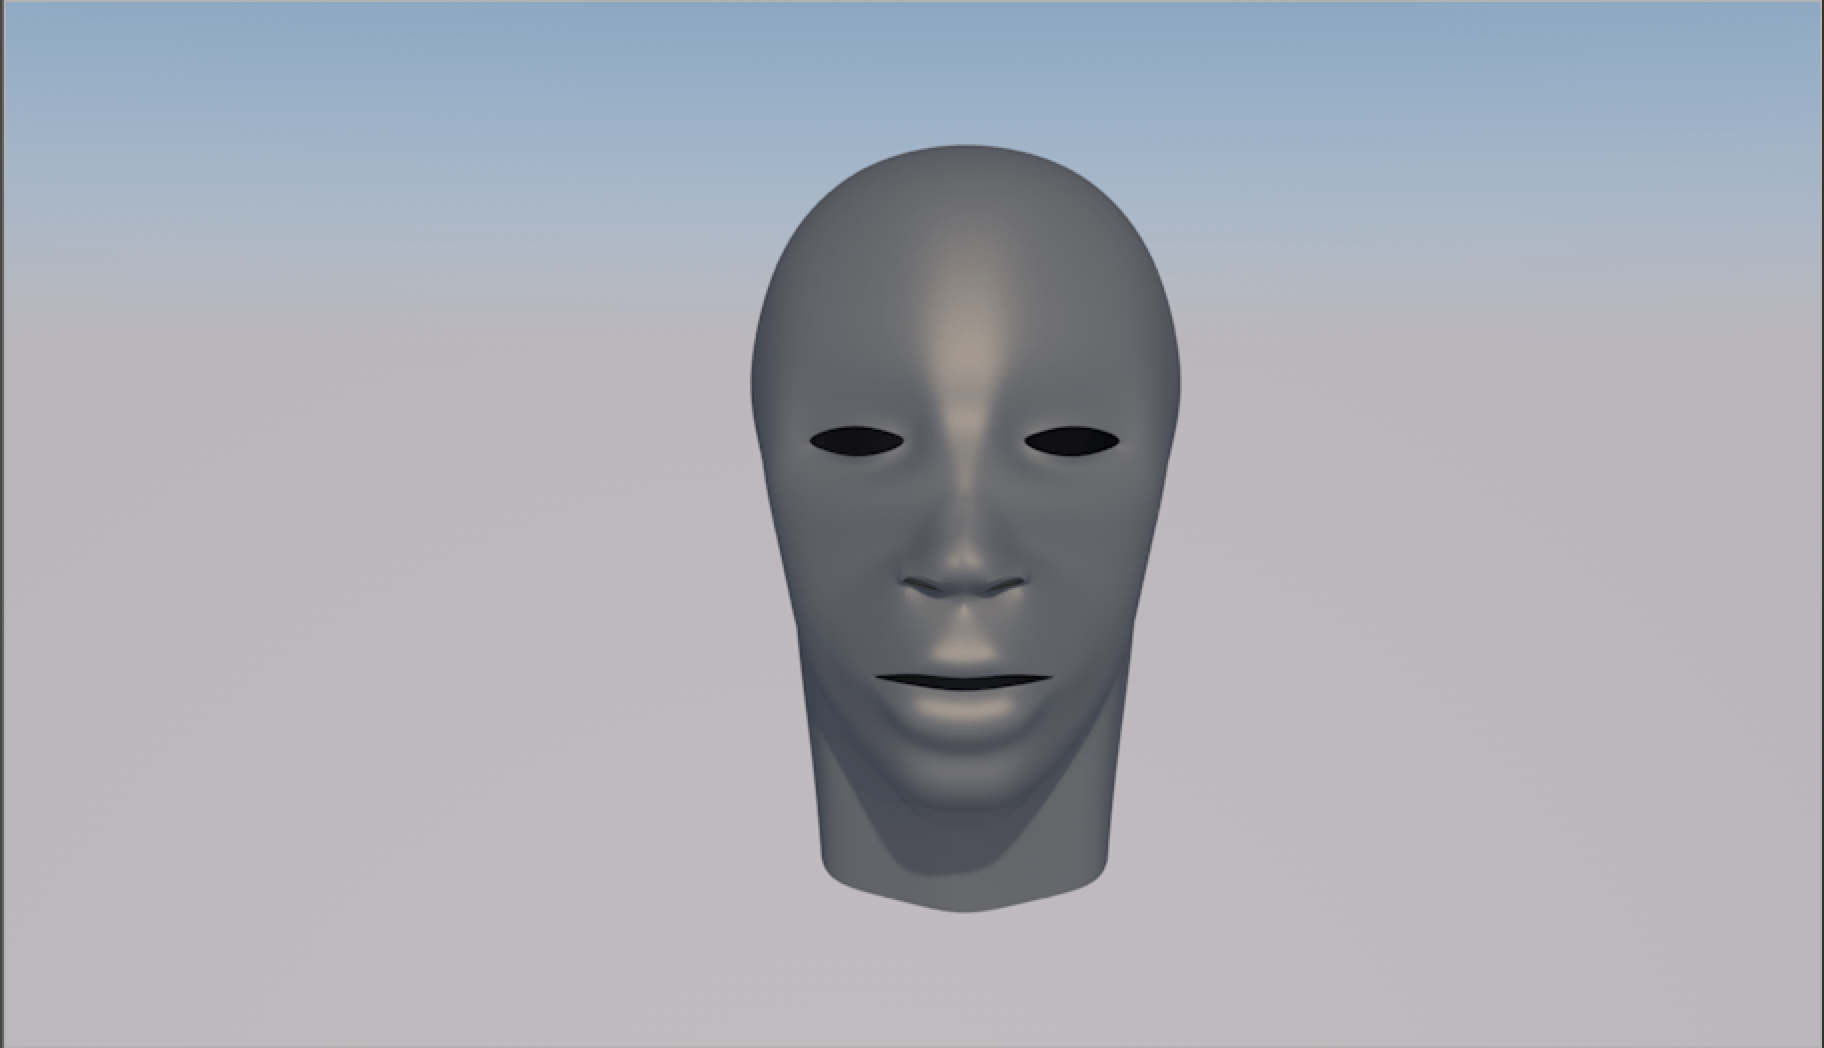
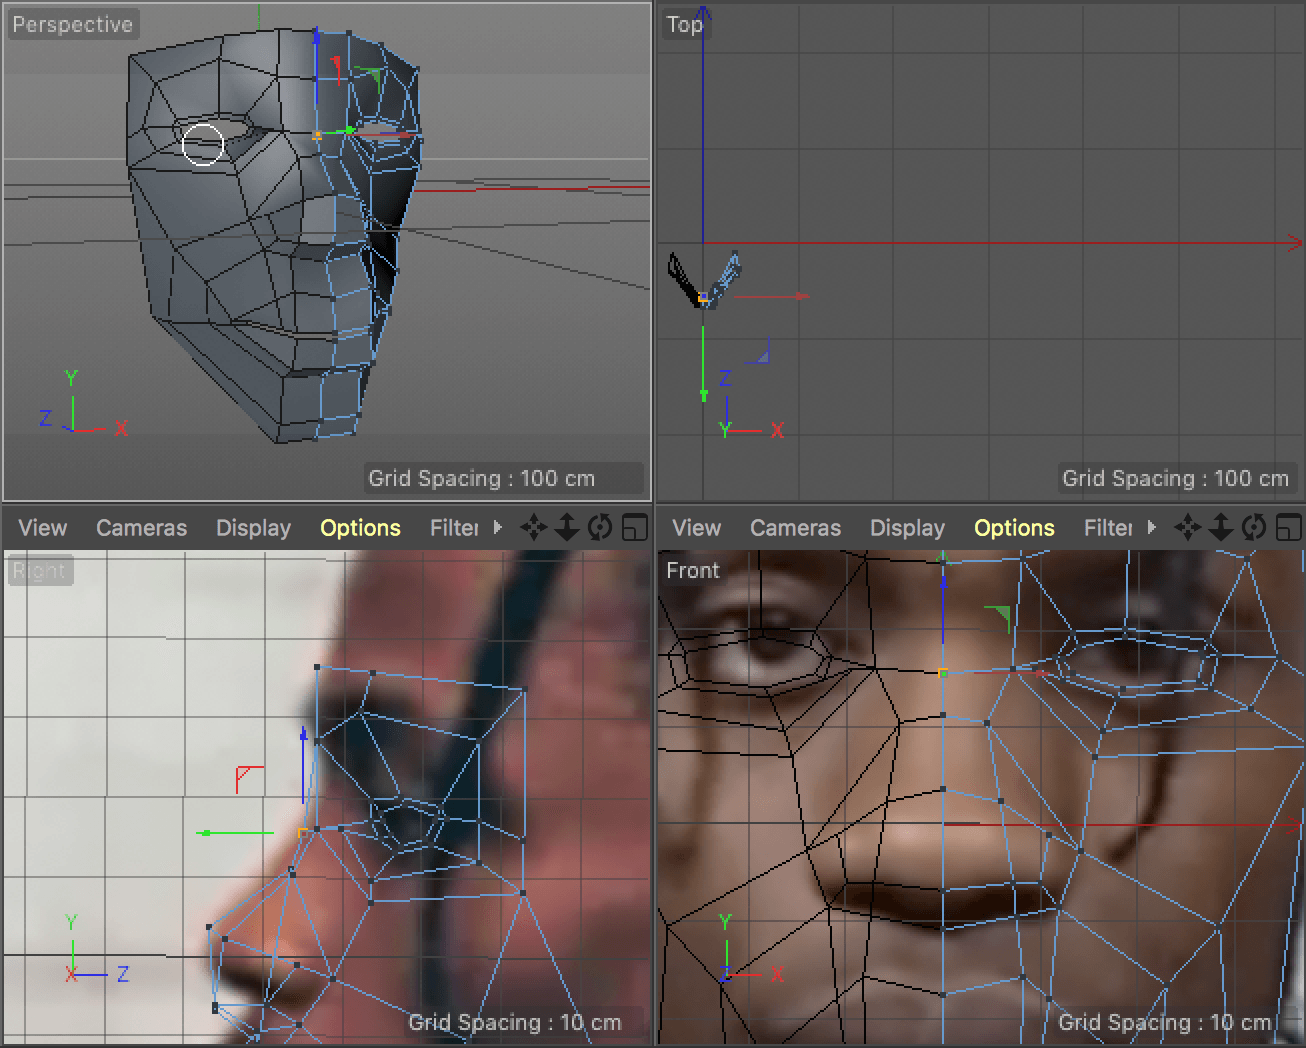
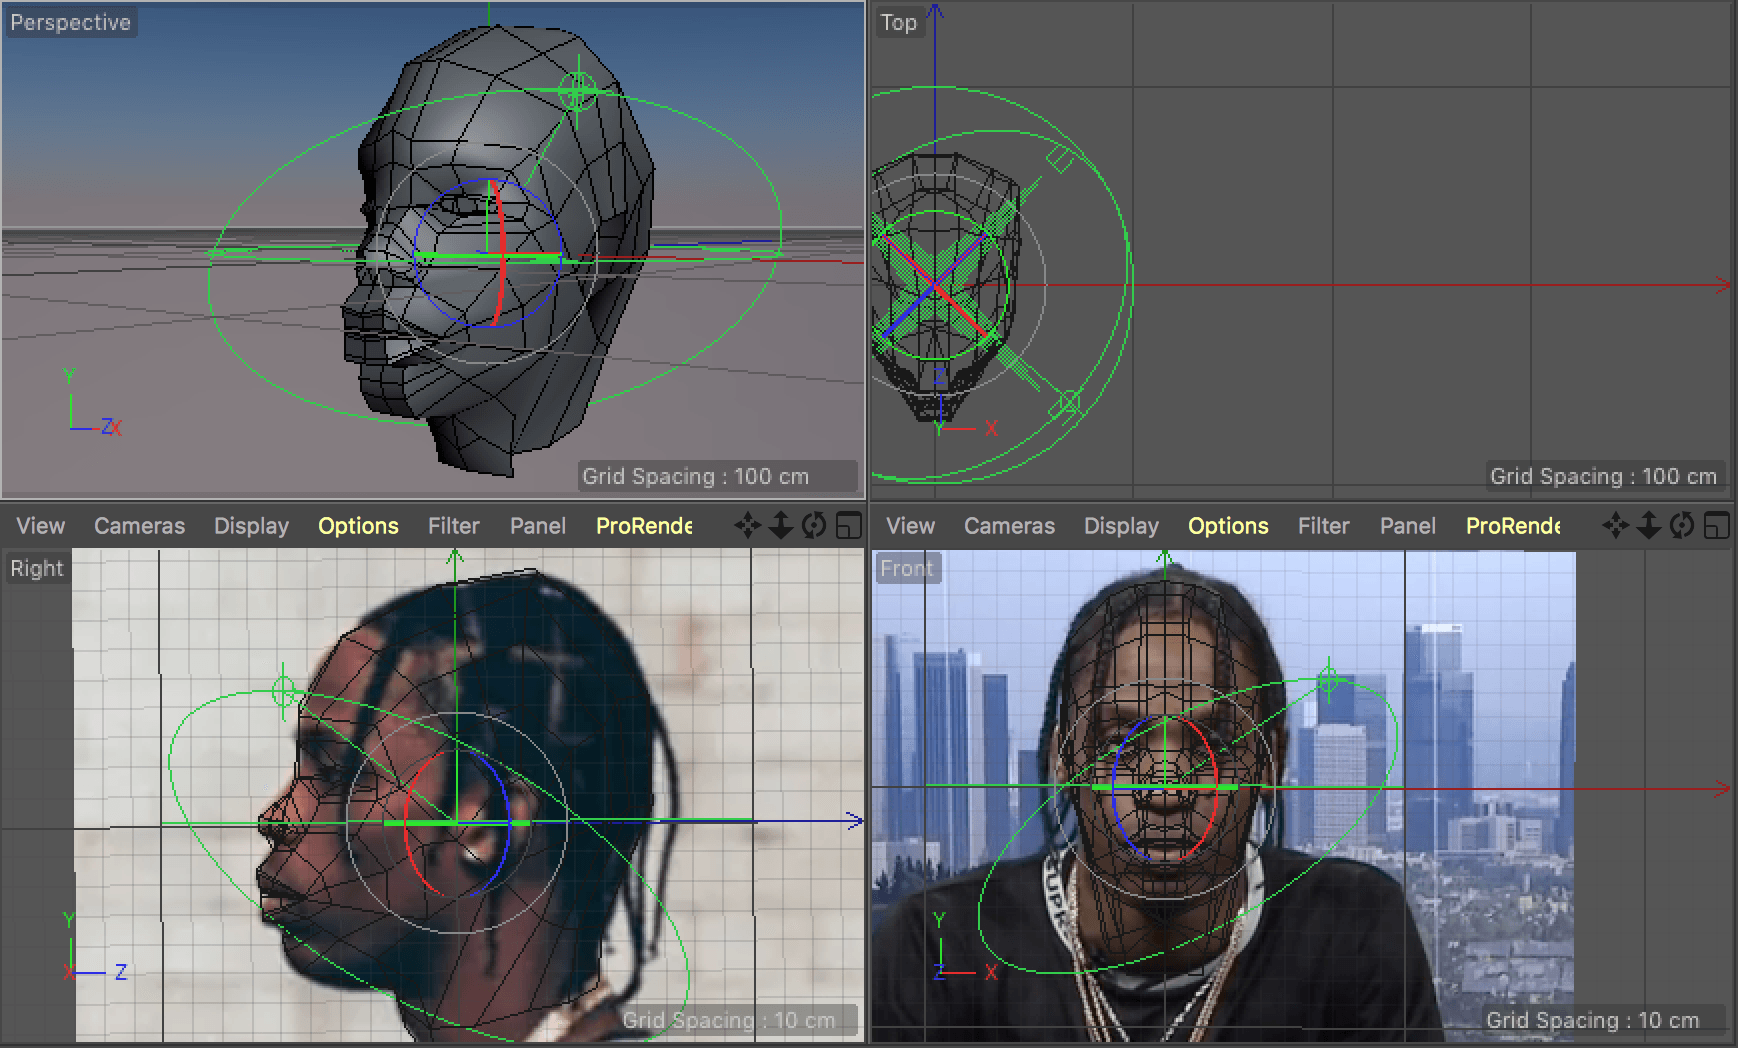
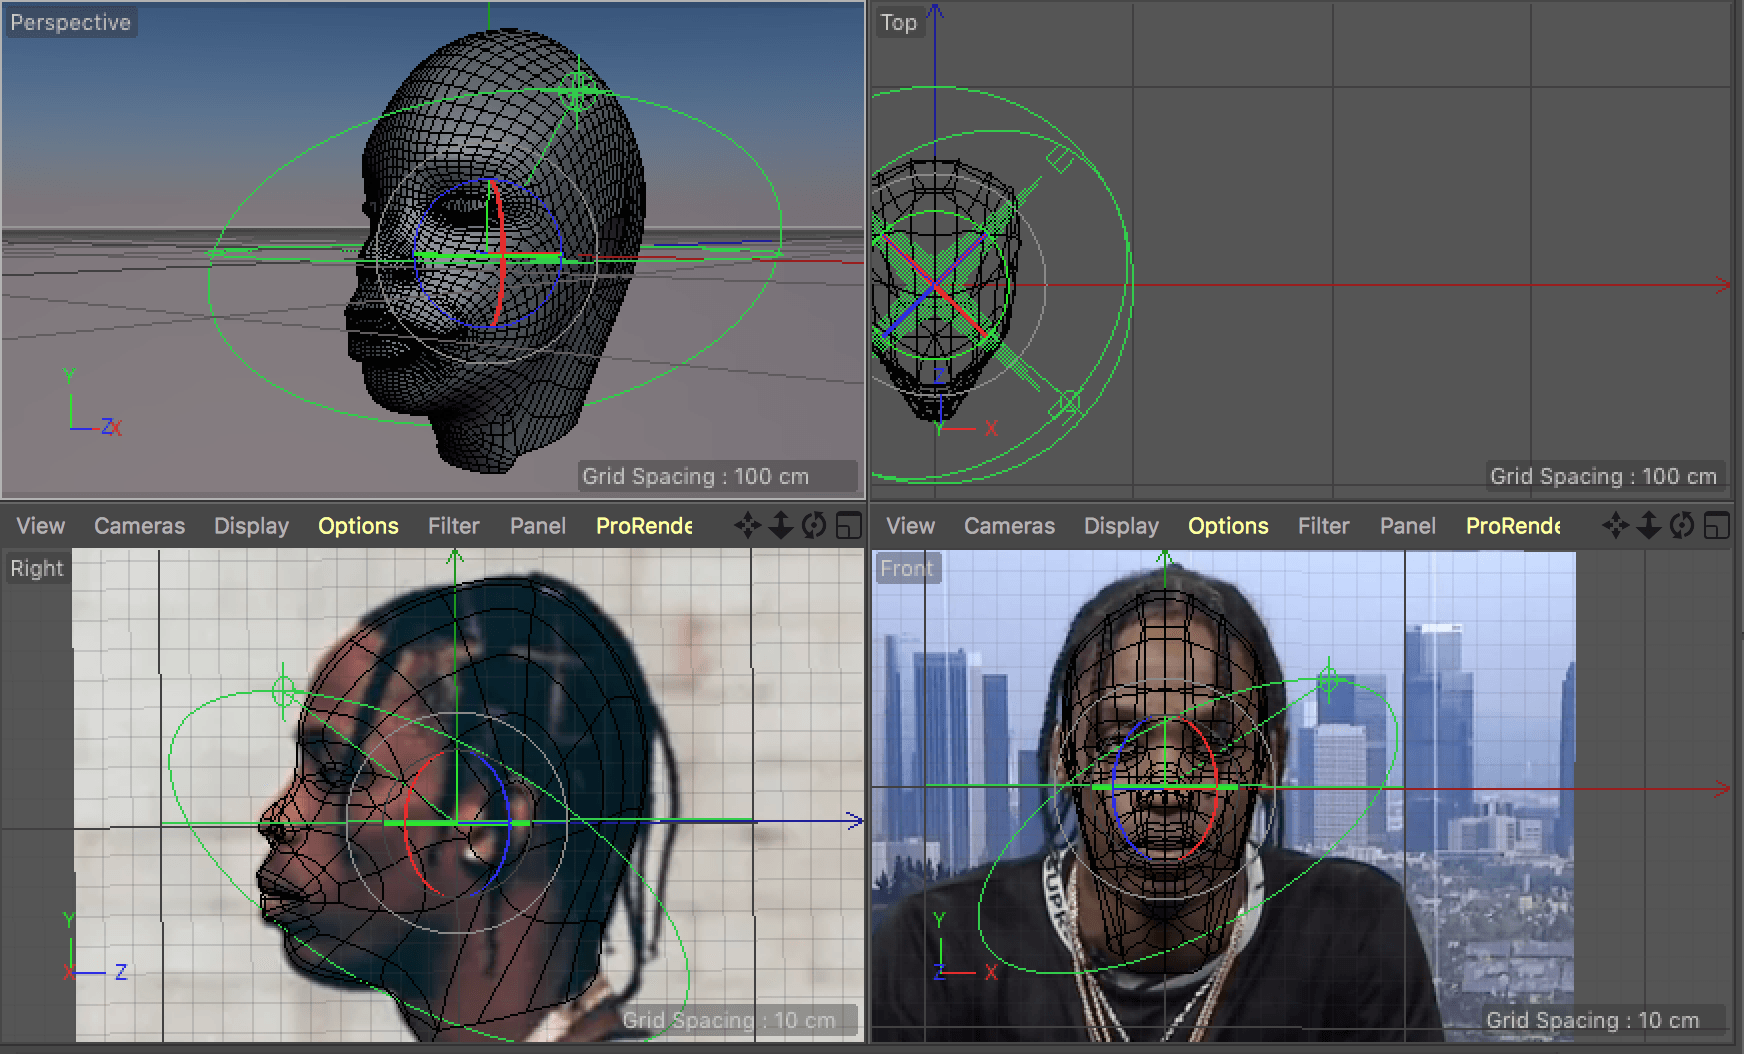
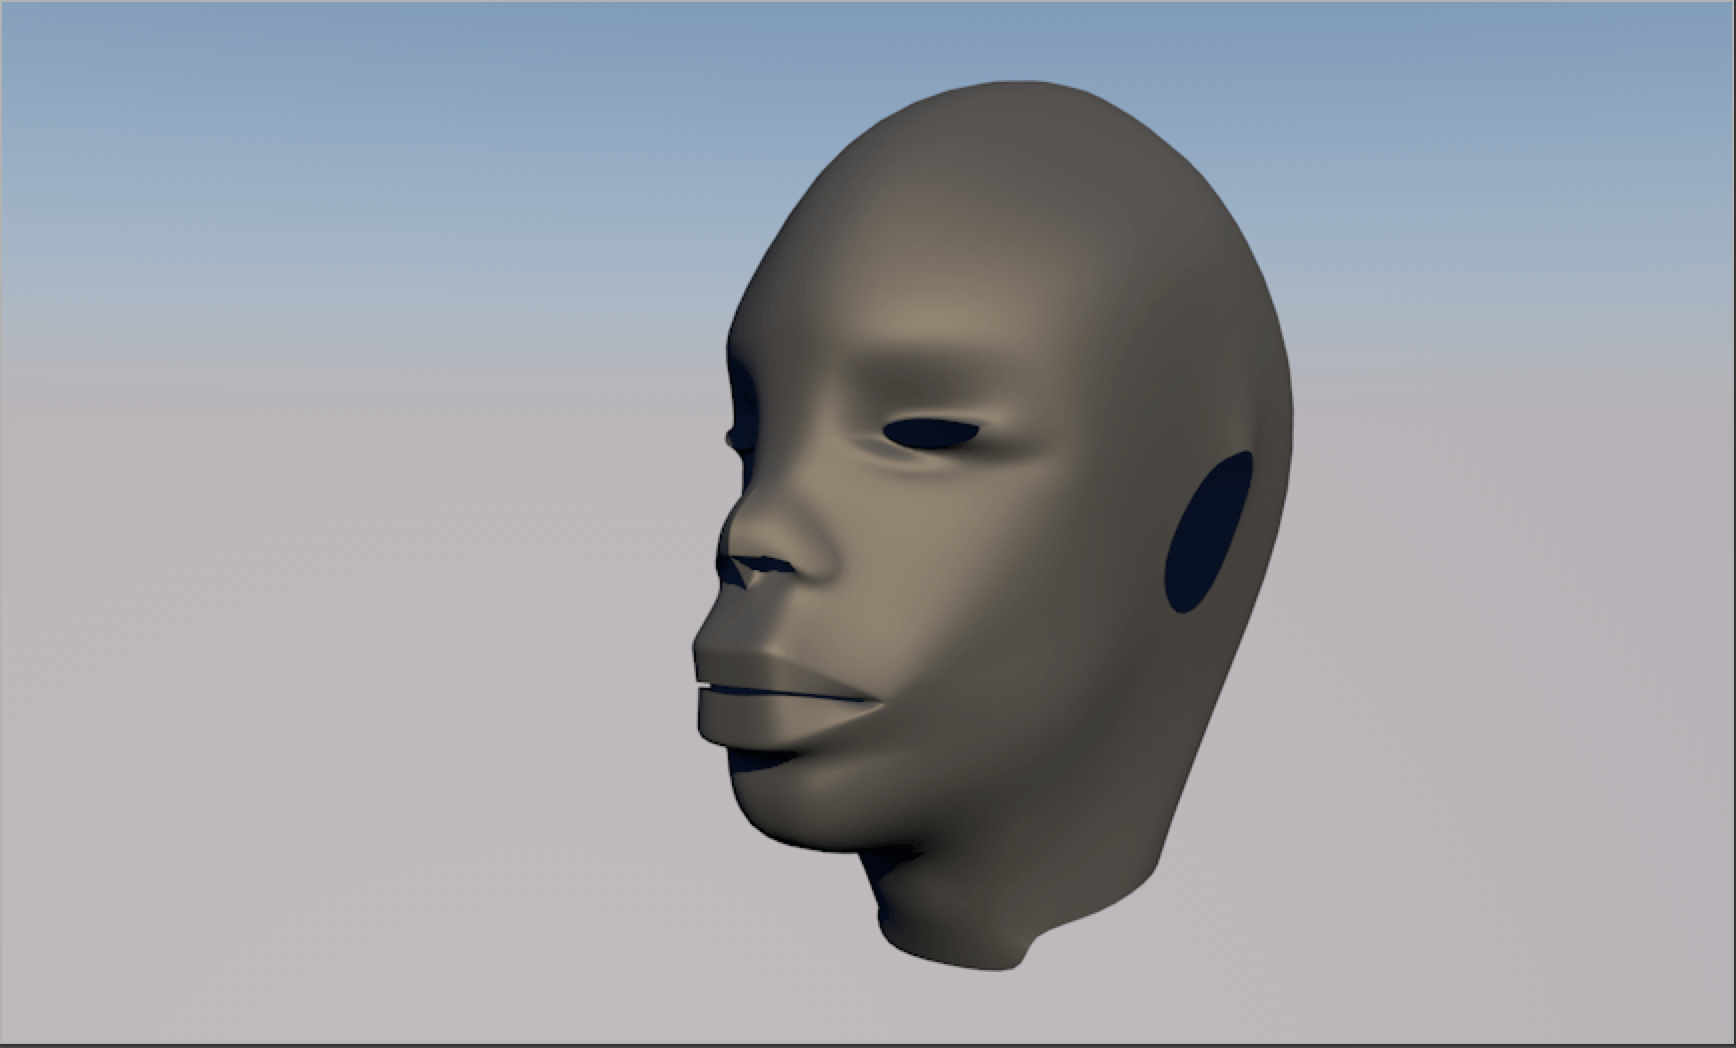
When I finished modeling the ear and applied Subdivision Surface equal to the one on the head model, I had to attach the ears using Symmetry tool. If I was creating a very realistic model, also potentially for animation, I would take my time to connect all vertices together to incorporate the ear as an integral part of the model. Although, It might not be necessary in my case, so for now, I just attached it to the model to make it look like it’s a part of it. The flow and density of verts on the ear is similar to the rest of the model, it shouldn’t therefore be an issue when I start applying the materials.

Zrzut ekranu 2018-02-26 o 12.20.31

Full tutorial:

Modeling – 3D male head shape #3 – Final Base Version

After receiving the feedback from more experienced 3D artists, I decided to make a new model from scratch. Unfortunately, I skipped a few elements of the tutorial and the previous mesh was quite hard to fix. Instead of spending hours on small tweaks, I decided to make one final approach with a great attention to the details and correct vert alignment. I then applied Level 1 Subdivision Surface to get a smoother version of the model for further adjustments. Finally, I added another level of SDS and got a complete base. The next step will be creating an ear.

I re-posted the image in the same topic and got a more positive feedback. The same user who previously gave me advice said it’s looking much better now.

Zrzut ekranu 2018-02-22 o 15.36.36 Zrzut ekranu 2018-02-22 o 15.36.19 Zrzut ekranu 2018-02-22 o 15.35.58

Best Global Illumination settings

To make objects cast more light in the renders, go to the Illumination tab in the material settings -> Generate GI Strength -> make much higher. Turn GI Area Light on in the same tab to avoid odd odd shadows

Zrzut ekranu 2018-02-20 o 14.25.09

This makes the GI to “pay more attention” to the objects meant to be the source of the light.

Difference:

Zrzut ekranu 2018-02-20 o 14.33.23Zrzut ekranu 2018-02-20 o 14.33.37

The shadows are still not defined very well. The next step to fix this is  going to Render Settings -> GI -> Irradiance Cache -> Color Refinement 100% (or less – find the balance)

Result:

 Zrzut ekranu 2018-02-20 o 14.37.39

Applying Secondary Method in the settings adds light that bounces off the objects -> Light Mapping (tweak the Maximum Depth)

Result:

Zrzut ekranu 2018-02-20 o 15.11.19

To make further improvements to the scene, go below the First and Secondary methods of lightning and focus on the Samples section. Best way to alter this is to set Custom Sample Count. Rise the Sample Count for more accurate results. It will extend the render time.

In the Light Mapping tab decrease the Samples Size for better quality. You can also increase the Path Count for more samples, but it extends the rendering time drastically.

Zrzut ekranu 2018-02-20 o 15.18.49

Hemispherical Sampling box in general settings should always be on. Discrete Area Sampling and Discrete Sky Sampling focus more energy on the lights that we tell to be the area lights.

Zrzut ekranu 2018-02-20 o 15.53.26

Quasi-Monte Carlo (QMC) – a brute force GI that samples every pixel. Good for fine detail, can be slow. IR+QMC = first GI bounce uses the irradiance method, extra bounces set using high diffuse depths use a special version of QMC. Quite a fast method for rendering GI and you get sharper results in the GI solution (so GI shadows are better defined)

Sample count up in QMC = less grain

Full video tutorial:


Feedback from professional 3D artists

Even though I was quite happy with the current development of my model, I was sure that there still is a room for improvement. In order to get some feedback, I’ve set up a profile on a forum called C4D Cafe. I have posted my model and asked for people’s opinions on what could be corrected. Two very experienced users replied almost immediately offering valuable advice on what could be improved:

Zrzut ekranu 2018-02-18 o 00.11.40 Zrzut ekranu 2018-02-18 o 00.12.43

Most important points of the feedback that I will use as a guide in further development:

– eliminate all triangles – Subdivision Surface doesn’t tolerate them

– rearrange the polygons around the next, they should be turned into tidy strips of 4 sided polys

– extend the polygon density

– fix the ngons around the mouth and upper chin

– more clean loops around the mouth

I found those replies very helpful and I’m pleased with the fact that both users agreed that my work is going in the right direction. However, the next step will be improving the topology. My model is not intended for animating, but it’d be a good idea to adjust it correctly, just in case I decide to create a simple animation.

Modeling – 3D male head shape #2

After the first attempt, I followed a different tutorial. This time I chose a YouTube video instead of a tutorial from a book. The main difference would structuring the model with a plain instead of a cube. Even though it was easier to follow, I still had some problems – the tutorial was designed for Blender, so I had to find tools in Cinema 4D, which replaced the Blender functions. For example, ‘Weld’ works like Blender’s ‘Merge’ and Symmetry tool works like ‘Mirror’. I also had a problem with  extrusions at points, but I used a ‘Knife’ tool instead and aligned the vertices accordingly.

It is essential to operate in between side and front views. Aligning the points systematically helps to avoid a mess and keep the model clean. Another important thing I’ve learned are the rules of good topology around the mouth, nose and the eyes:

topology

Good topology provides accurate model after applying Subdivision Surface, which smoothens the mesh.

In the last post I mentioned the non-planar polygons. I learned that it is basically impossible to create a human head model without spreading some points apart from a single plain. Although, it is not a big issue when Subdivision Surface is applied, as it fixes incorrect shadows. Here’s the process of my second approach and the result in progress:

Zrzut ekranu 2018-02-17 o 19.04.09 Zrzut ekranu 2018-02-17 o 19.22.54 Zrzut ekranu 2018-02-17 o 19.47.29 Zrzut ekranu 2018-02-17 o 20.11.00 Zrzut ekranu 2018-02-17 o 20.28.56 Zrzut ekranu 2018-02-17 o 20.36.40 Zrzut ekranu 2018-02-17 o 21.13.23 Zrzut ekranu 2018-02-17 o 22.49.17 Zrzut ekranu 2018-02-17 o 22.49.29 Zrzut ekranu 2018-02-17 o 22.49.41

This mesh obviously hasn’t been finished and I will keep developing this model. The complicated process could result in too much work over a few models. What my tutor suggested was focusing on just one artist, but mastering the models and the composition. I’m yet to decide how to approach it, but it seems like a good solution.

Here’s the video I’ve used for this model: