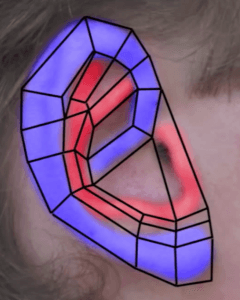
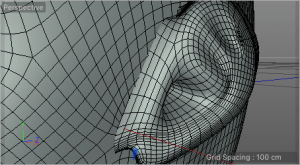
The last step of finishing the base head model was creating an ear. The same 3D artist who posted the head model tutorial also created an ear creation tutorial. He also provided an image with suggested plain path to follow, as polygons created this way resulted in a very good base to extrude the ear shape.
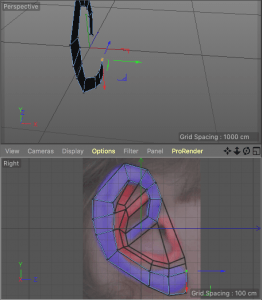
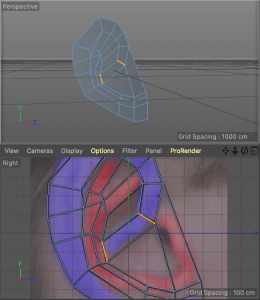
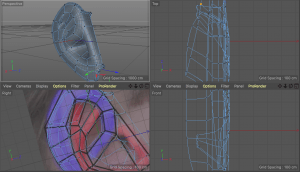
As my model only has to resemble the person it’s representing, I gave up in the idea of using the real reference photo of Travis Scott’s ear. I could easily follow this guide and then roughly adjust the shape. Here’s the process:
When I finished modeling the ear and applied Subdivision Surface equal to the one on the head model, I had to attach the ears using Symmetry tool. If I was creating a very realistic model, also potentially for animation, I would take my time to connect all vertices together to incorporate the ear as an integral part of the model. Although, It might not be necessary in my case, so for now, I just attached it to the model to make it look like it’s a part of it. The flow and density of verts on the ear is similar to the rest of the model, it shouldn’t therefore be an issue when I start applying the materials.
Full tutorial:

