Crystals in Cinema 4D

After establishing the idea of crystal models, I wanted to move straight to concept – related practice. I found a very useful, 5 part tutorial:

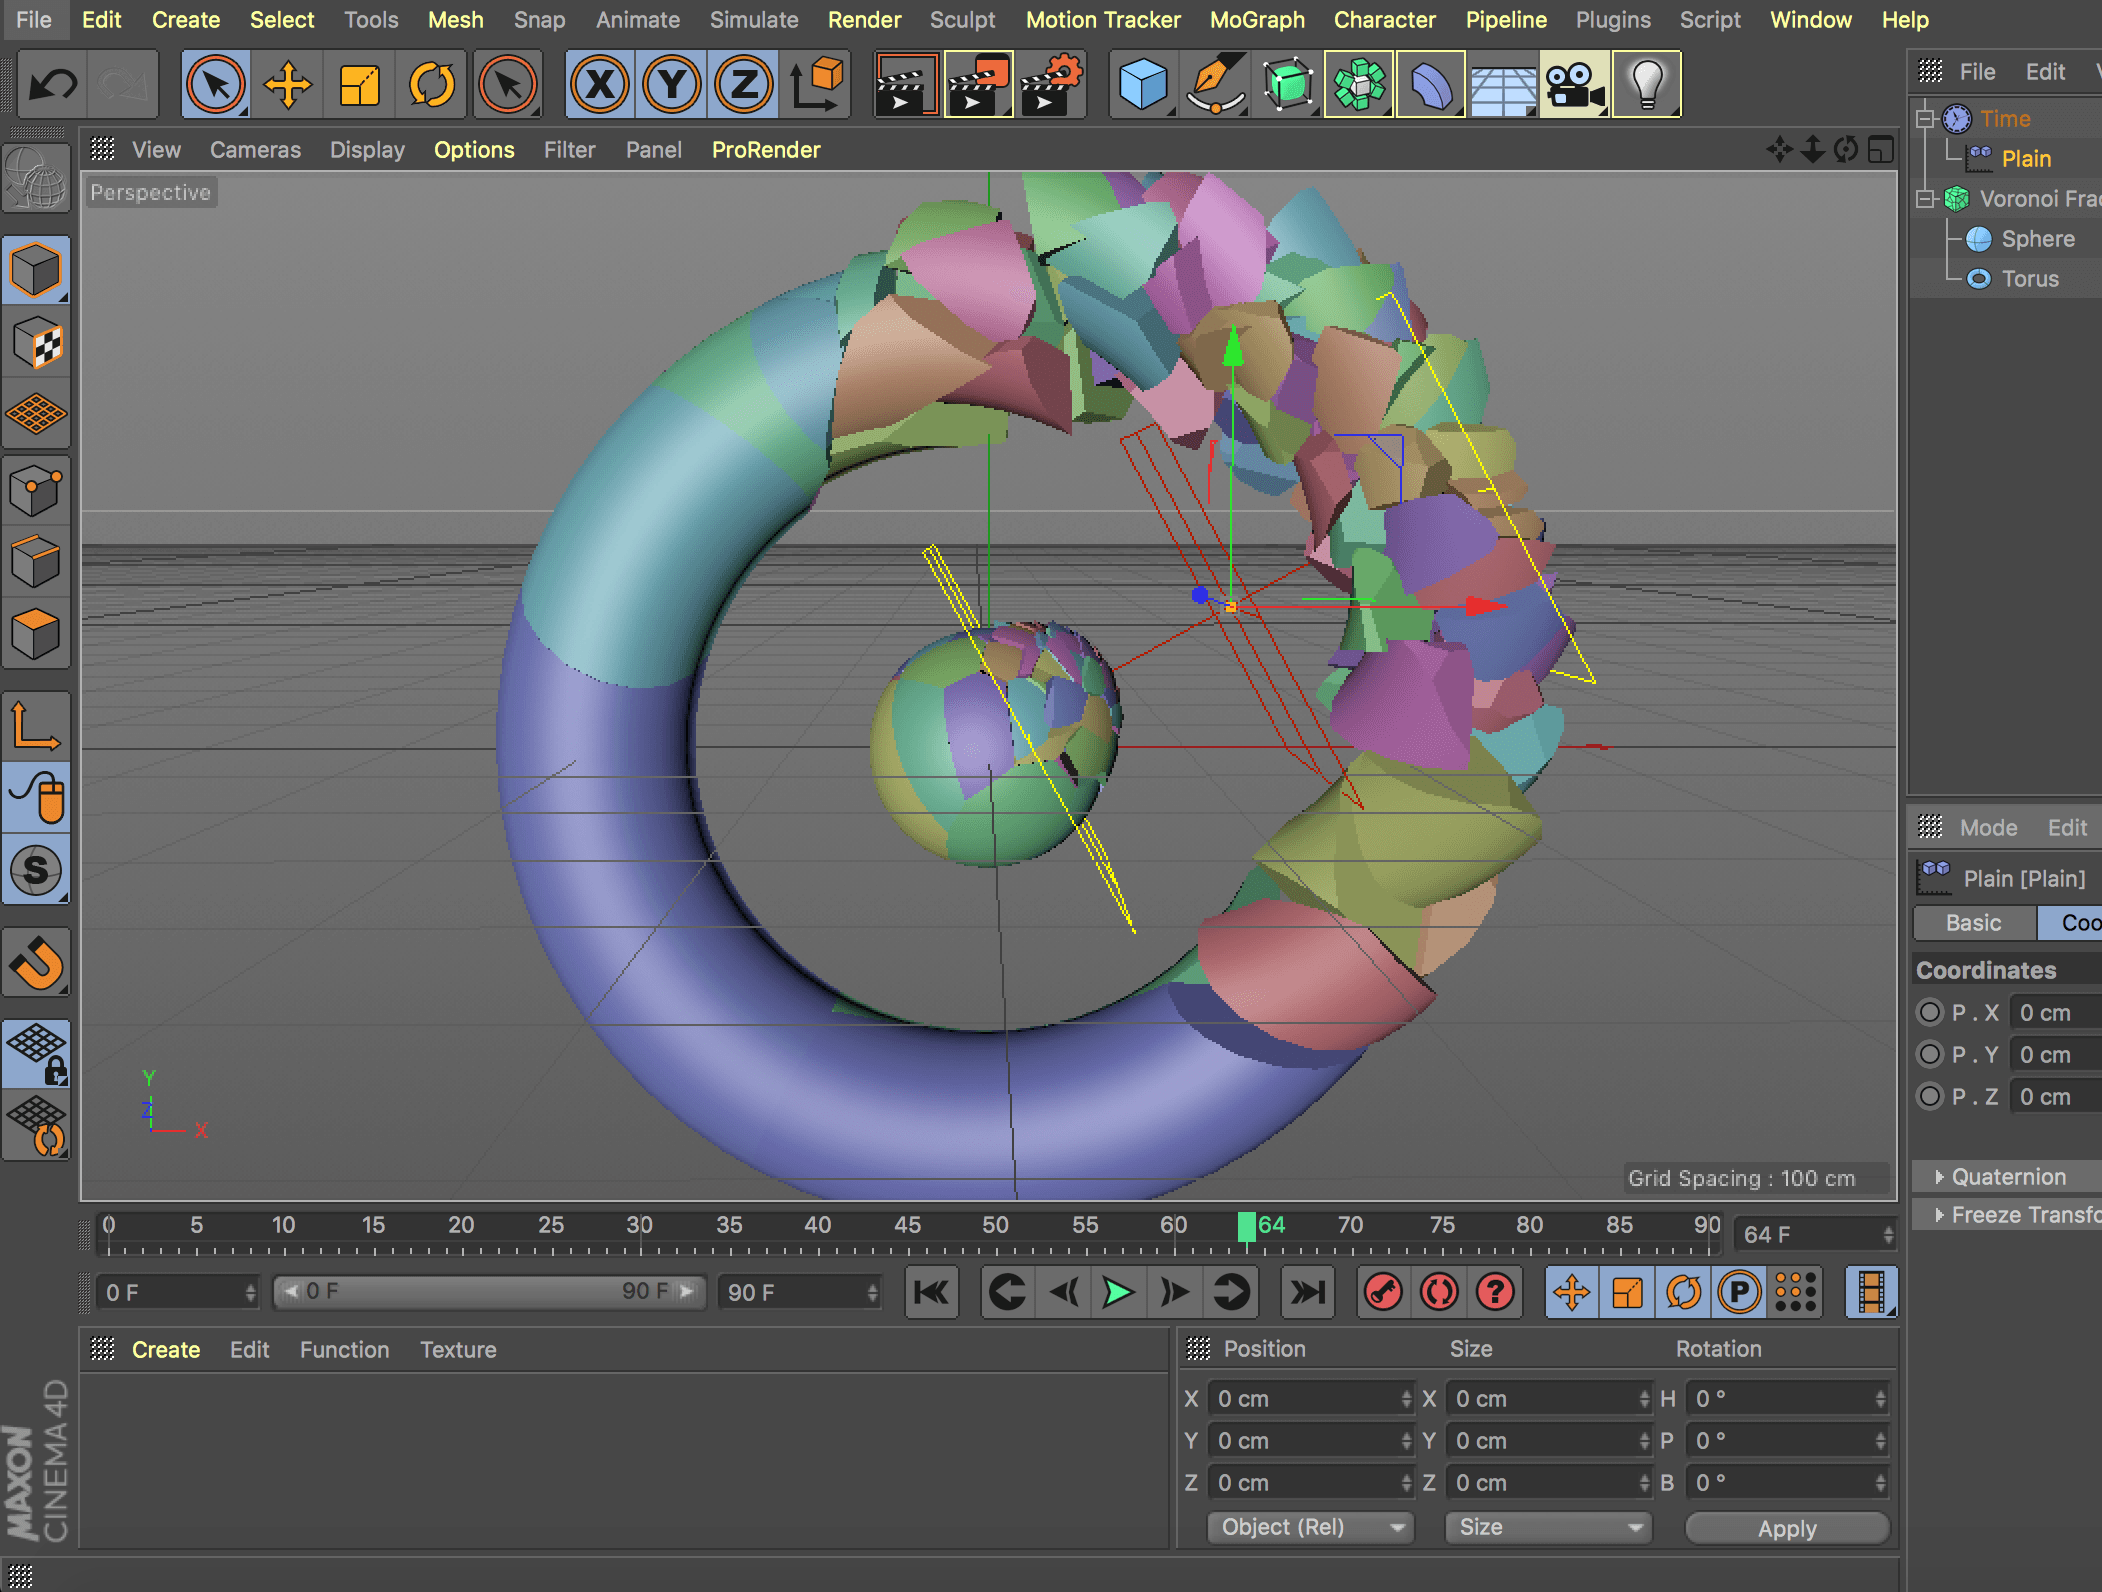
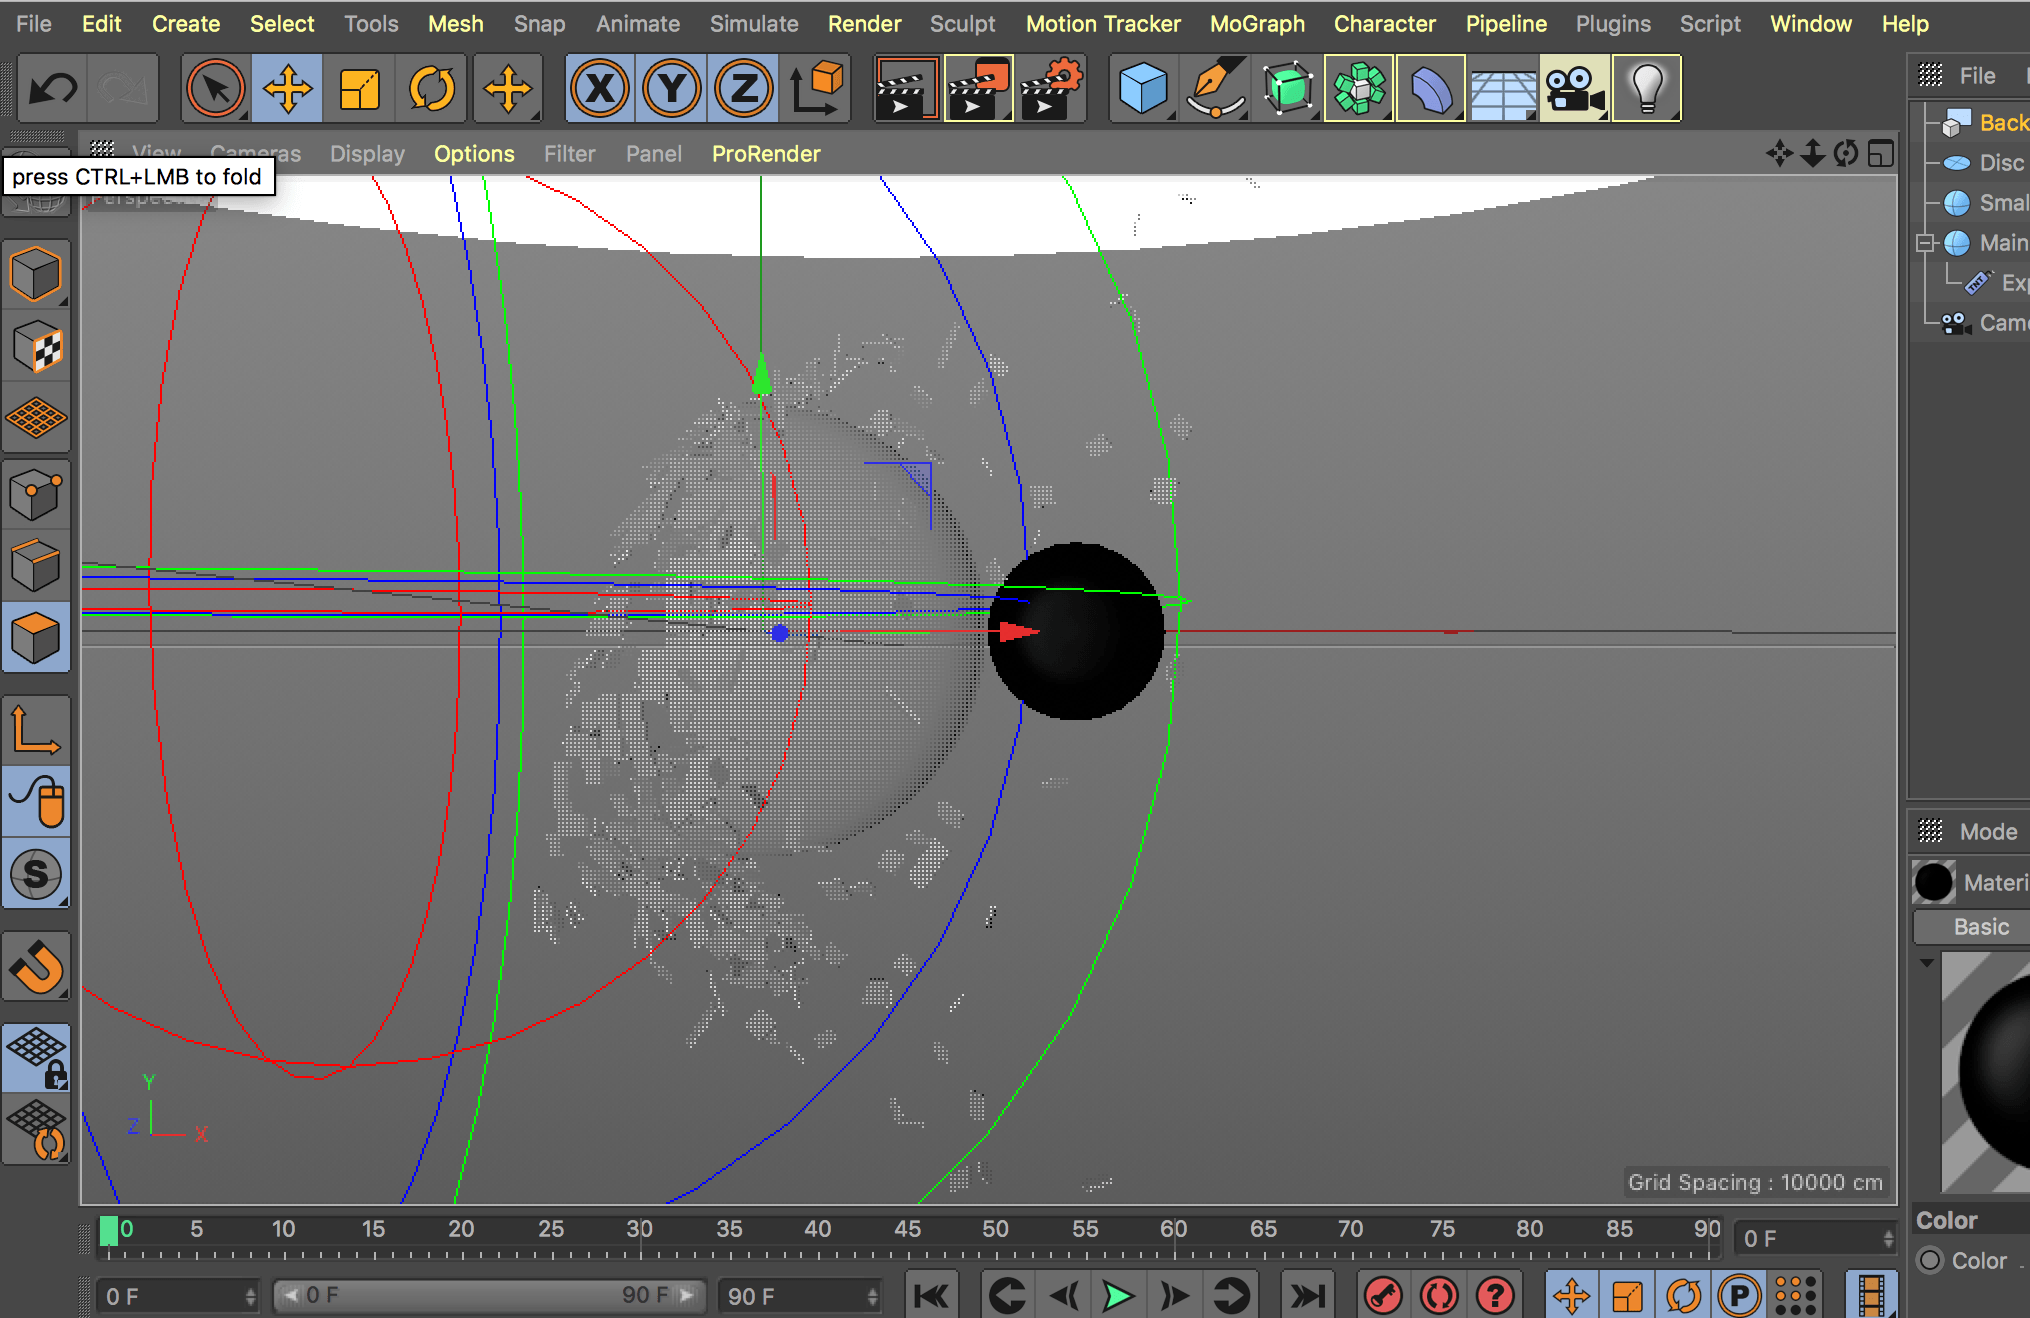
The first three parts were the core source of information on how to create the models and apply appropriate materials. Again, most of it was based around the MoGraph features, such like cloner (to multiply the objects) and MoExtrude (as the name suggests, to extrude). This time, the random effector was quite frequently applied to make the crystals look a bit more varied (with options like turbulence switched on).

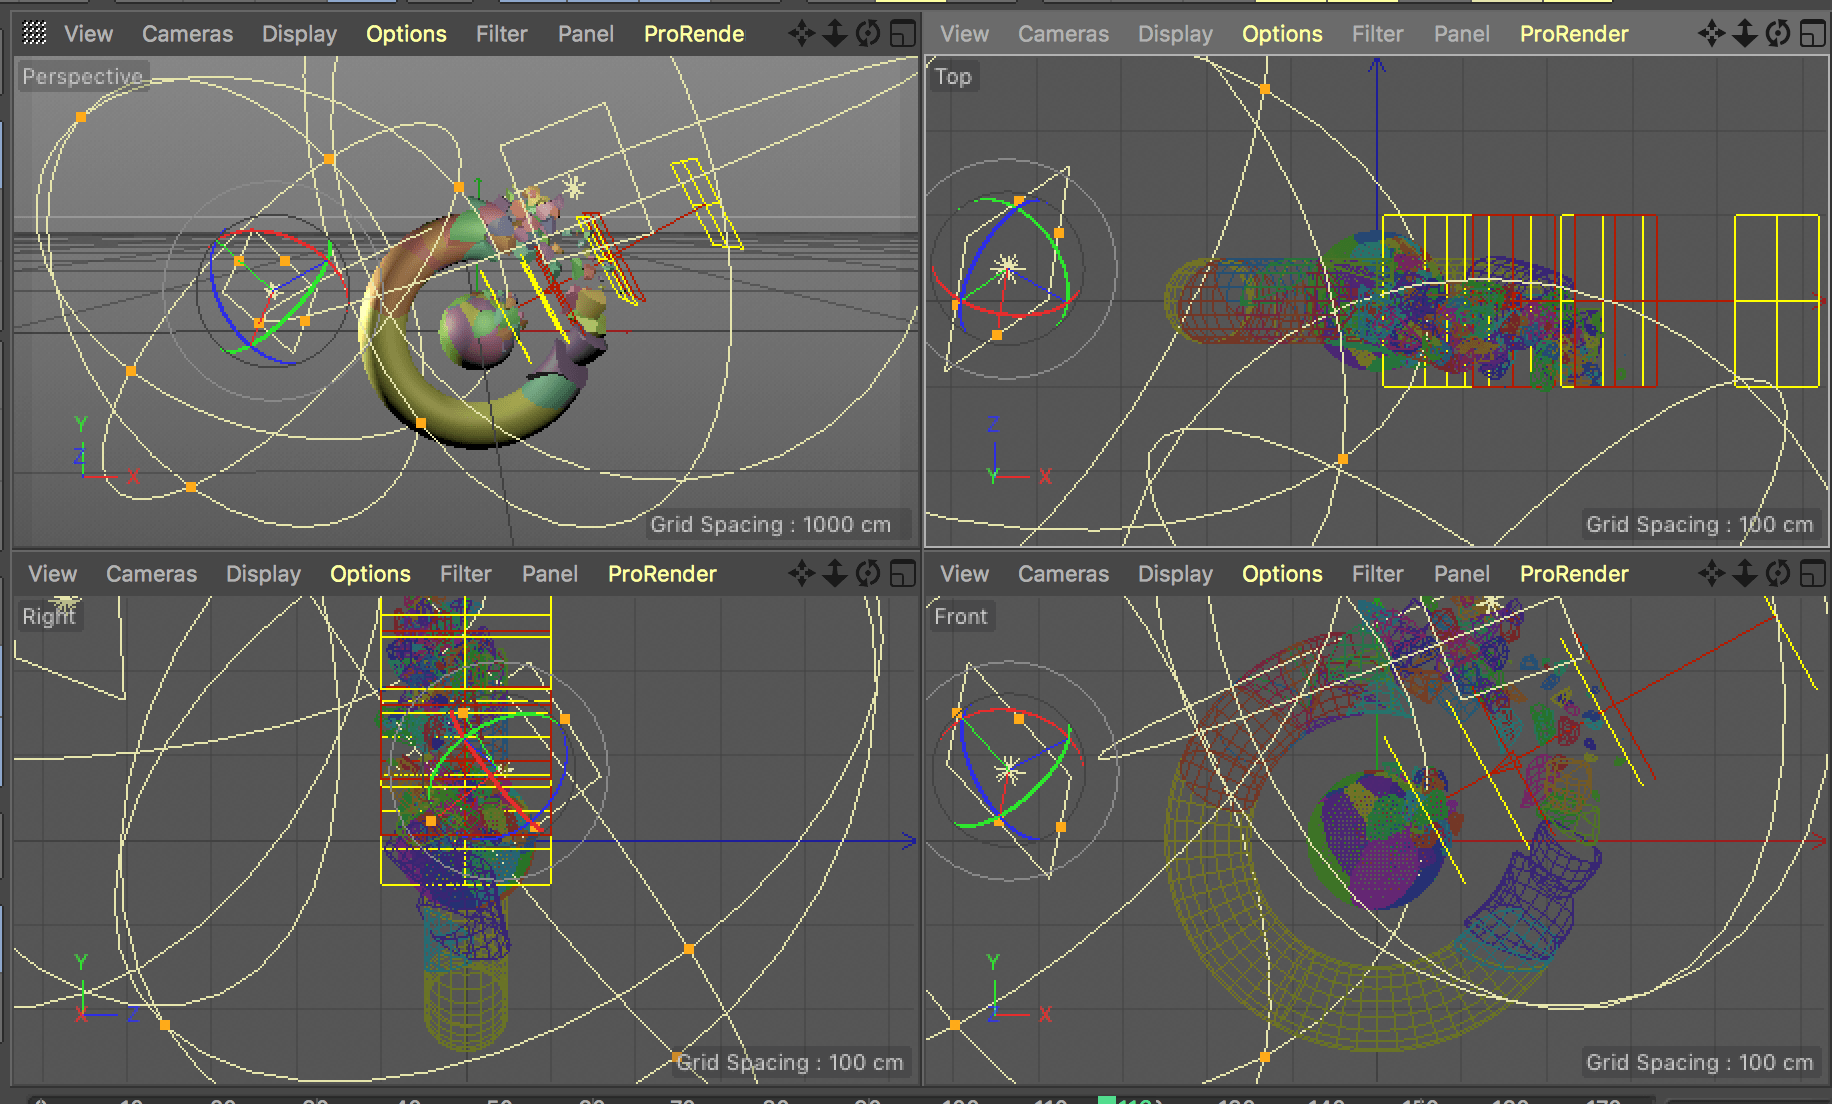
I had to learn a lot about the hierarchy within the project with so many effectors and deformers. Switching them can completely change the look of the model, so it’s important to understand what the order should be. Target effector was the new feature that I used for the first time in order to make the crystals point away from the centre.

Part two was focused on shading the crystals and creating an environment. I’ve made a few different materials based on luminance, reflectance and transparency, to give the model a realistic look. The sky was just a simple, oversized sphere with a gradient, giving the crystals some colours to reflect.

The third part involved creating particles and an emitter to make them flow away from the centre. The tracer added a drift to the particles, following their path.

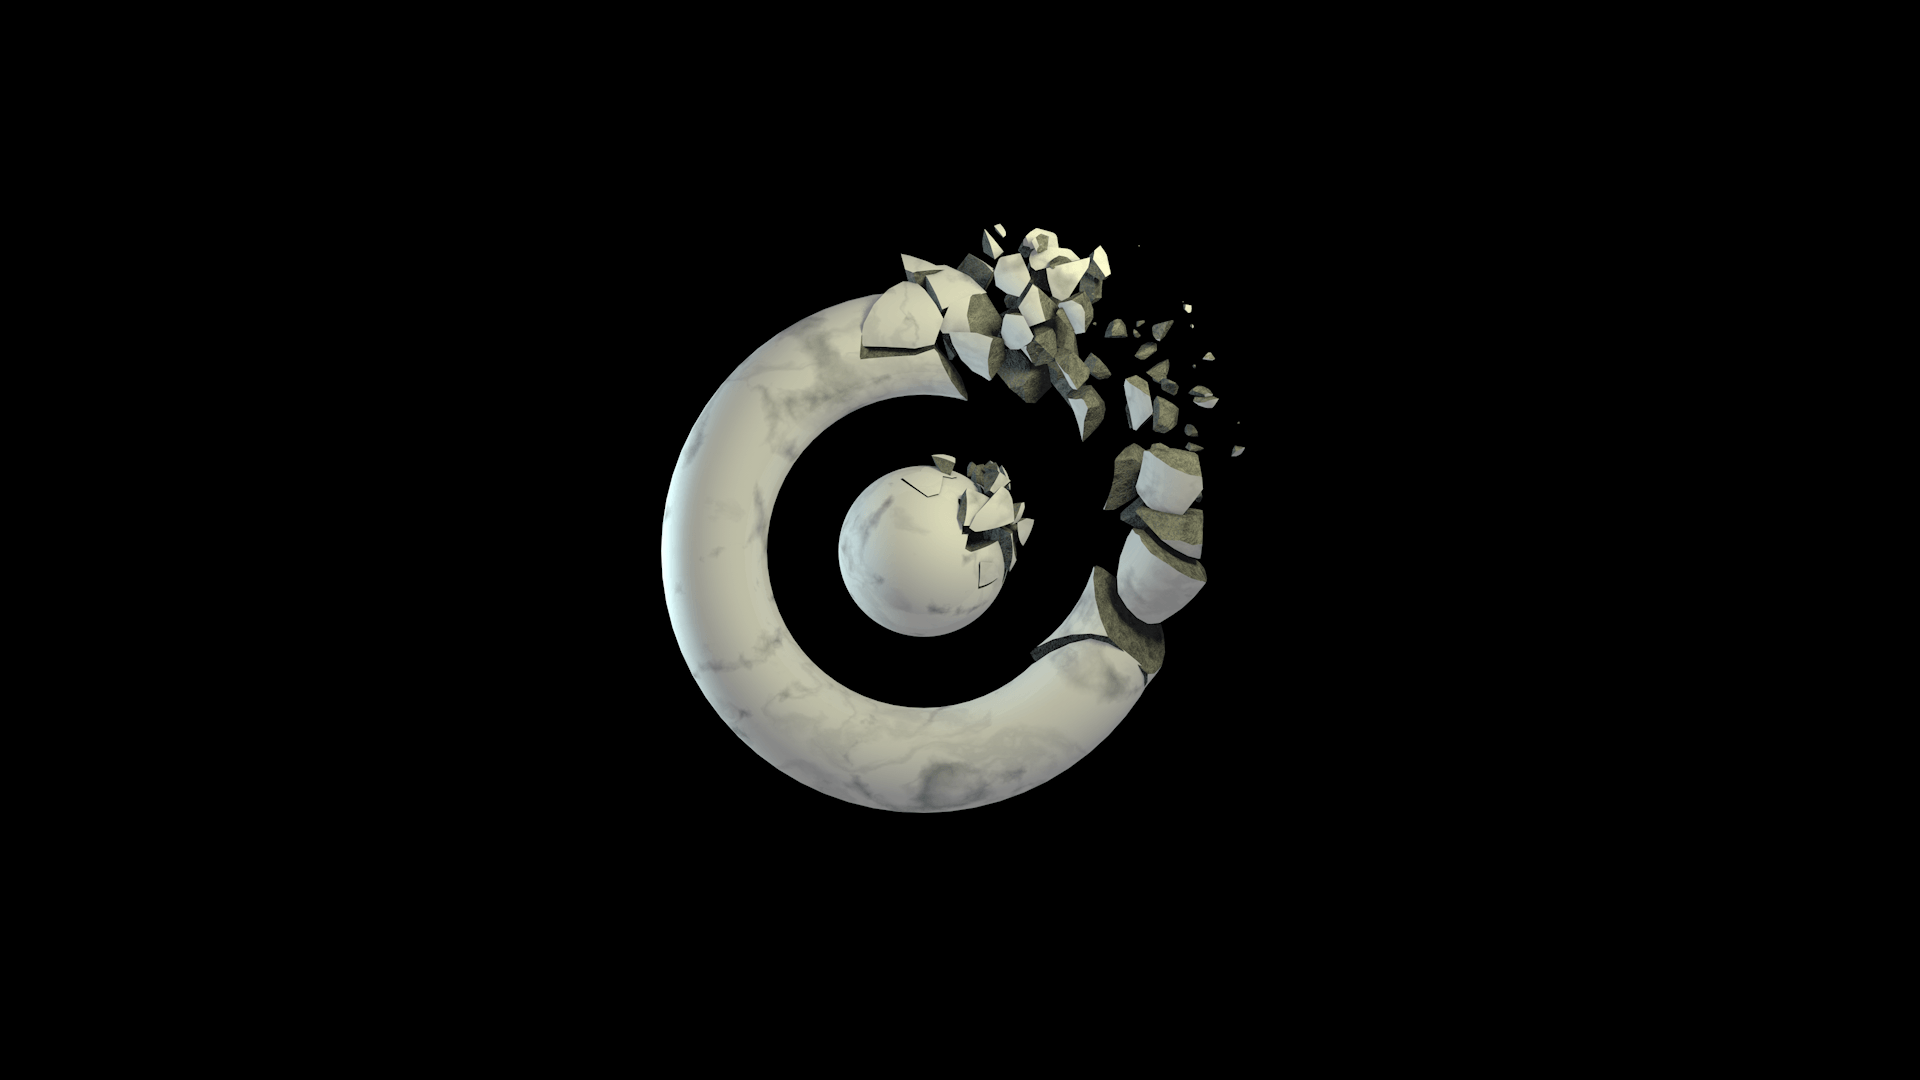
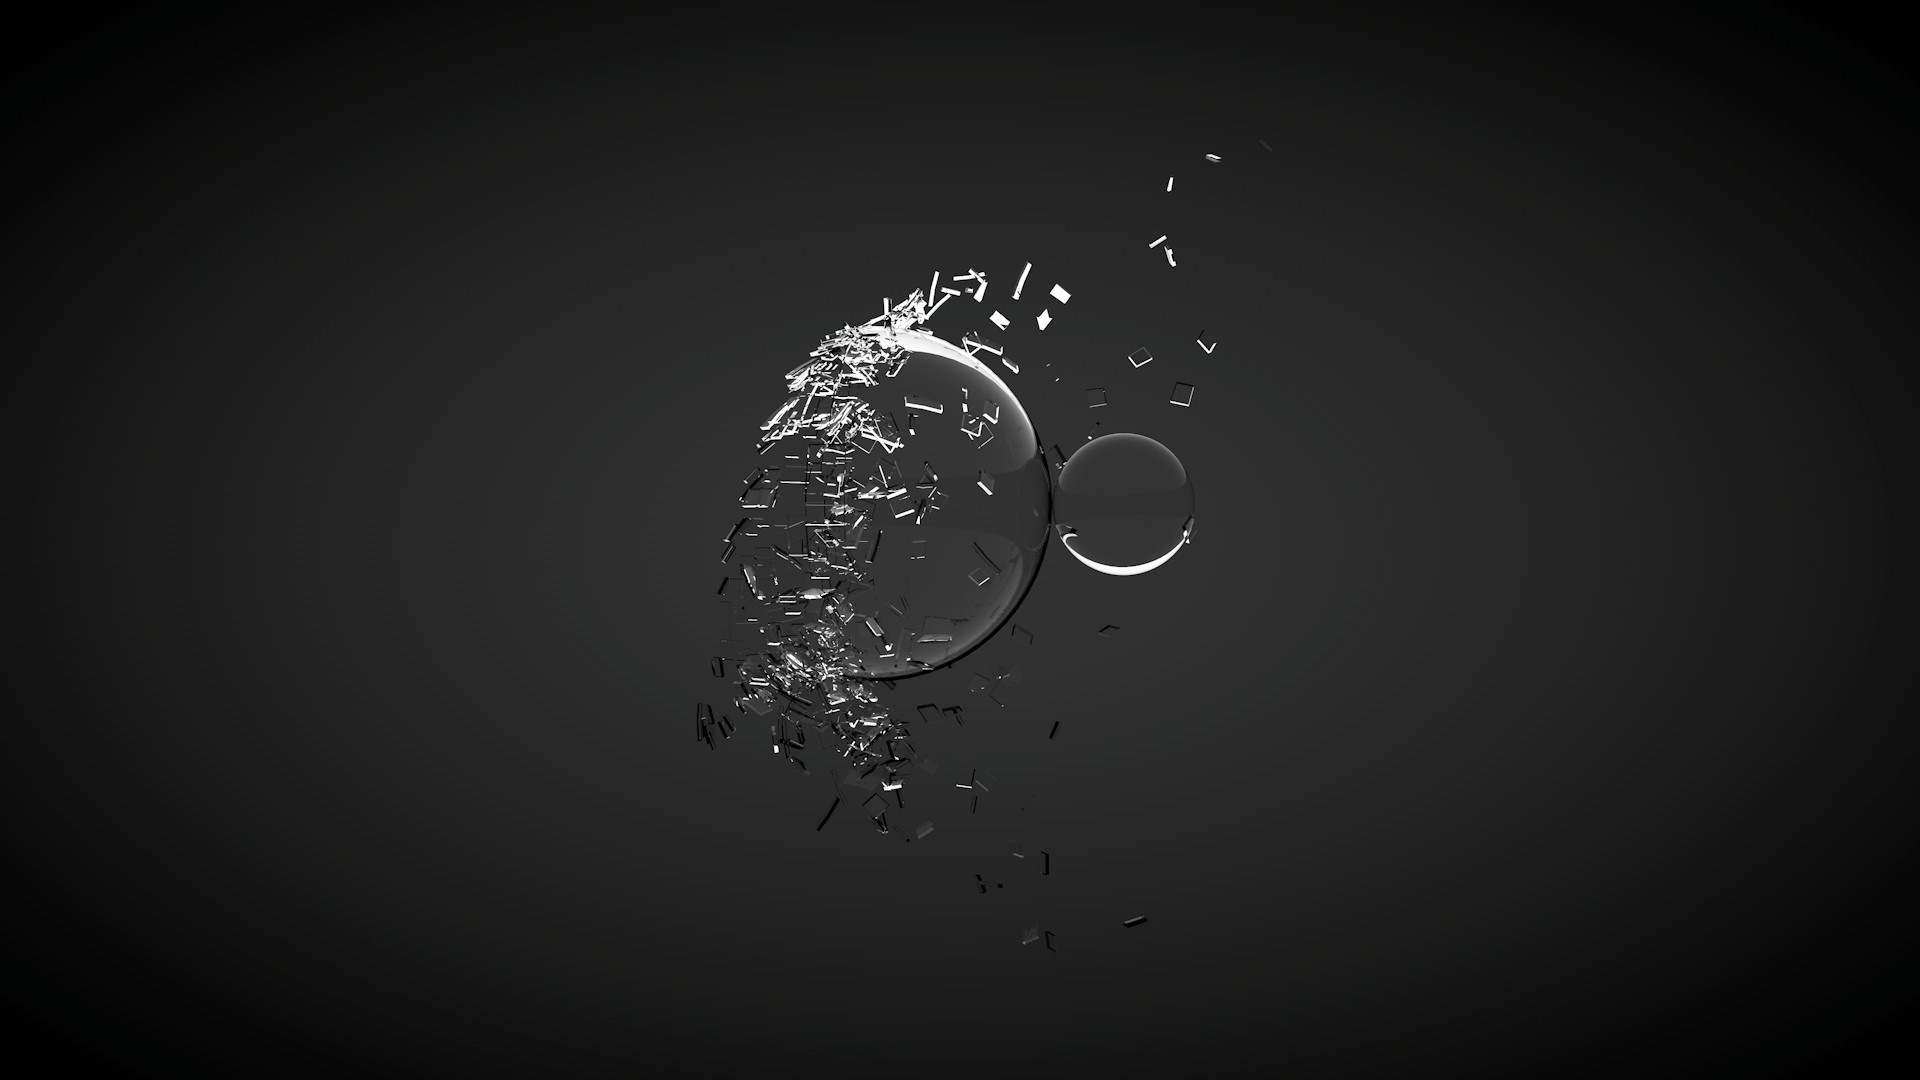
Further parts were about the animating, creating and placing a camera and other processes, which I’ll have a look at on a different occasion. At this point, I’m just focusing on the still models. I took a chance to experiment with the light and material specifications. I’ve made a few versions of the crystal, getting more familiar with render settings on my own.

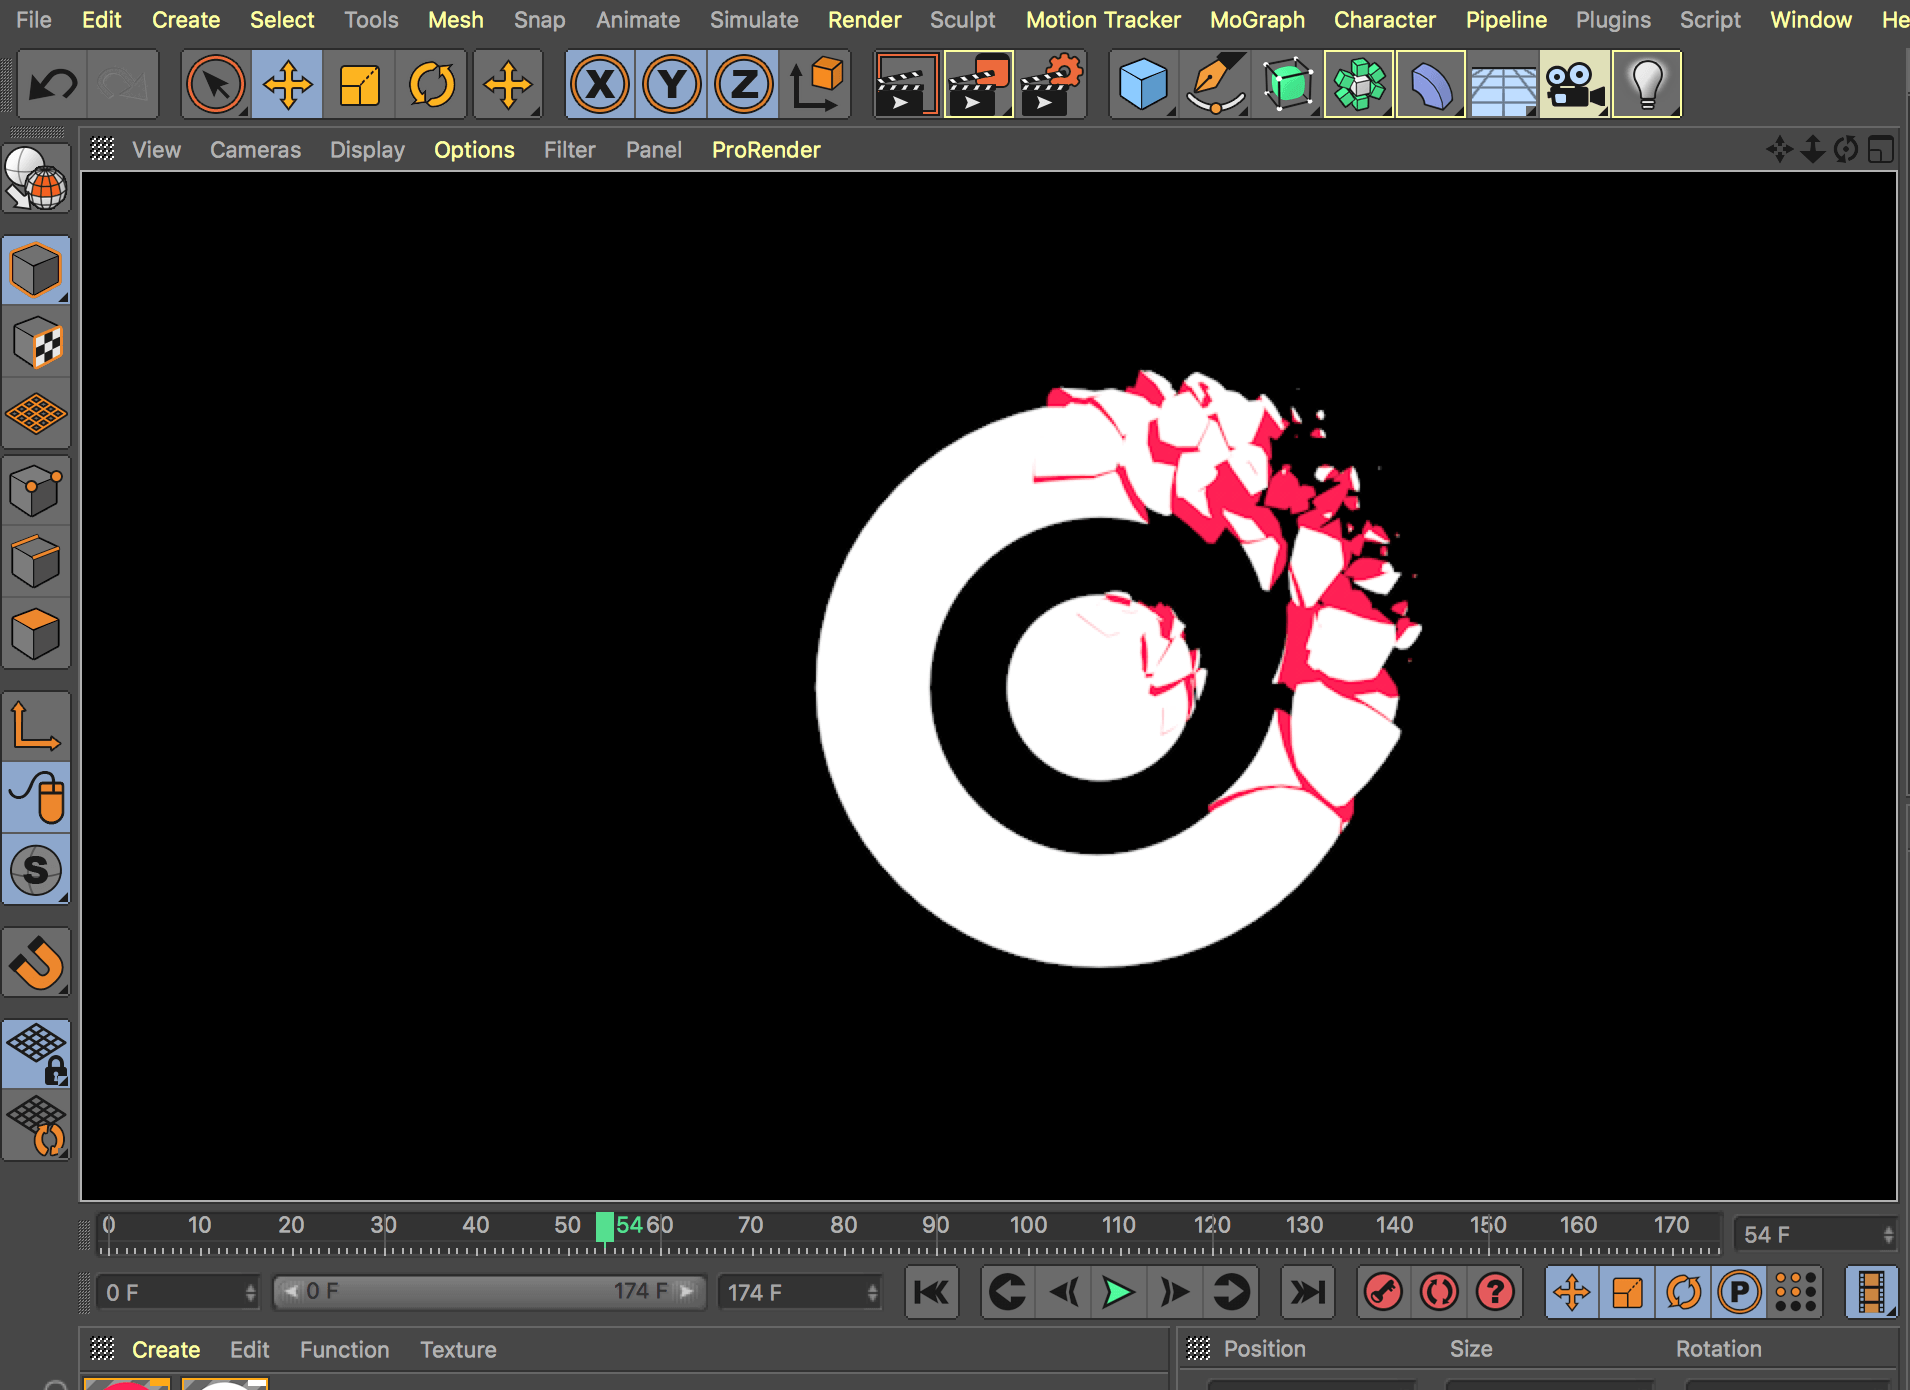
Following images are frames of my workflow and experimental renders, which I also edited in Adobe Lightroom.

crystalstutorial4 Zrzut ekranu 2017-11-04 o 15.21.46 Zrzut ekranu 2017-11-04 o 17.34.02 Zrzut ekranu 2017-11-04 o 18.03.10 Zrzut ekranu 2017-11-04 o 20.21.28 Zrzut ekranu 2017-11-05 o 12.52.51 Zrzut ekranu 2017-11-05 o 15.14.49 Zrzut ekranu 2017-11-05 o 15.28.01 crystalstutorial3-2 crystalstutorial crystalstutorial3


Theme and artists

I found it really hard to decide on the theme of my work. When I struggle with ideas, I always go through galleries with the best projects on Behance. There are a few categories, such like Advertising, Illustrations, Photography etc., with the best picks by Adobe team. I knew that my goal is to create photo realistic materials and models in Cinema 4D, but wasn’t sure what will be the structure.

When I came across this work by Moris Schwind: https://www.behance.net/gallery/19136623/Quartz, I finally made up my mind. I will create 3-4 images representing my favourite rappers as compositions of objects made of crystal-like materials. It also gives me a good chance to play and experiment with light and reflections. There’s a really good tutorial about creating crystals in Cinema 4D: https://vimeo.com/161571318 . Most likely, I will also apply dirt and scratches on the surfaces.

crystals

Then I picked 4 artists that are shaping the Hip-Hop culture in the USA and who are my idols of the music industry. I will create images of Travis Scott, A$AP Rocky, Tyler the Creator and Kendrick Lamar. They also have strong, established styles and characteristic creative features which provide many promising ideas for the project.

Travis Scott

Travis Scott

A$AP Rocky

A$AP Rocky

Tyler the Creator

Tyler the Creator

Kendrick Lamar

Kendrick Lamar

MoGraph tutorial

This week, I’ve had more of an insight into the MoGraph feature in Cinema 4D. As I mentioned before, it has to do with all motion and animation purposes.

First thing that I’ve learned is the Time Effector, which works in a very similar manner to the time in Adobe After Effects, allowing us to add an animation to any parameter (scale, movement etc.).

It also contains effectors such like ‘Random’, adding random variations to elements of the object/animation and ‘Plain’, which gives us control over defining which parameters it affects.

Although, the most important aspect of MoGraph in this tutorial, was Voronoi Fracture, which divides the object into elements and adds points, defining how fractured it is and how the points are spread. Setting the Falloff to ‘Linear’ and placing it where we want our fractured elements to move, defines the area within which they interact.

Tutorial also explained how to apply the inside and outside materials to the model and fractured particles, with a use of various kinds of noises and blending modes (similar to those in Photoshop). It also presented how the Area Light affects the scene.

The next tutorial I’m planning to go through focuses on filling an object with a bunch of other objects using cloners and Cinema 4D dynamics and elements of Photoshop editing.

Some of the images from my practice:

Ring Zrzut ekranu 2017-10-29 o 19.10.56 Zrzut ekranu 2017-10-29 o 12.51.15 Zrzut ekranu 2017-10-29 o 11.52.51

Cinema 4D – shattered glass ball

After the house-building tutorial I went through another one. It was quite similar so instead of building along (which takes much longer), I just followed it to see if I can learn anything new.

For most part, it was about the same principles, but I also learned about:

– editing edges and Loop/Path Cut option

– adding text to 3D models

– smoothening the edges with the Fillet

– rendering with the Ambient Occlusion

– various times of the year and day influencing the lighting

– creating a spotlight

– locking the camera

After that, I moved to something a bit closer to the needs of my project. The tutorial I chose was about a more realistic – photo like object – shattered glass ball. The image looks complex, but the creative process is actually quite simple. It starts with setting the camera correctly and creating a sphere, with a higher number of segments. The whole composition consists of a disc (invisible to the camera) providing a glow, black background and a glass like material created and applied o the sphere.

In fact, this tutorial shows how important the materials are. The luminance from the disc replaced the need for a spotlight and created a studio – like mood for the image. My final render differs from the tutorial one a tiny bit, because I experimented with the Explosion FX settings and tried to figure out how it actually works apart from just following the steps.

GLASSBALL Zrzut ekranu 2017-10-23 o 13.16.10 Zrzut ekranu 2017-10-23 o 13.15.56

What I didn’t like about the fractured elements is a lack of random shapes. All of them seem to be shaped as cuboids, so one of my further goals will be learning how to change that.

Cinema 4D – what I’ve learned so far

I’ve approached two tutorials so far.

The first one was linked in the welcome screen, as soon as I opened Cinema 4D for the first time. Cineversity.com is a good source for the beginners, like me. Going through a few episodes of “Getting started with Cinema 4D” taught me how to navigate, interpret the data and object information, scale, resize and get familiar with the most basic object editing.

As soon as I got a grip of the navigation and main principles, I decided that the best way to learn would be creating some actual compositions. Even though Mograph (mentioned in the previous post) is potentially my main point of  focus for this project, skills within modeling are essential to start with.

Twistereli, YouTuber who provides high quality tutorials created a video aimed at people who only just started with C4D:

It was extremely useful and I learned how axis mode works, how display options differ from one another, how to use inner extrusion and extrude tools, group elements and much more. After the modelling part, the audience is being introduced to the lighting of the scene, based on adding a physical sky, experimenting with time parameter (shadows length/brightness/mood). The last part of it were materials, which give the elements of the environment texture and colours.

I’m quite happy with how my practice went. Only the drive way could be fixed, but instead, moving forward seemed to be a better idea.

Zrzut ekranu 2017-10-16 o 23.34.24 Zrzut ekranu 2017-10-16 o 23.34.13