
I’ve spent past 4 days on practicing and establishing my texturing workflow. The main point of operating within Substance Painter was to learn how to apply effective materials, but also to be able to bring them back to Cinema 4D, arrange the scene, light and other important elements. It took me some time and a few tutorials to decide what exactly I have to do to achieve it, but I finally figured out which steps will be essential.
1. Export a model from Cinema 4D into Substance Painter
2. Create/apply the texture within SP (baking the mesh map prior to that)
3. Export the textures as sets consisting of diffuse, glossiness, height, normal and specular
4. Go back to the model in Cinema 4D and create a material with appropriate channels
I exported the model in an .obj format with colour mapping to separate the head basis, ears and hair. One of the smart materials available in Substance Painter turned out to be great for my model purposes and a subtle alteration of it could be what I use in my final composition. It is called Steel Dark Stained and greatly represents the dark/mysterious vibe that I will be aiming for (dark material contrasting with emissive lights). After seeing how good it looks on the model, I decided to leave out the crystal material idea, as it would be too time consuming.
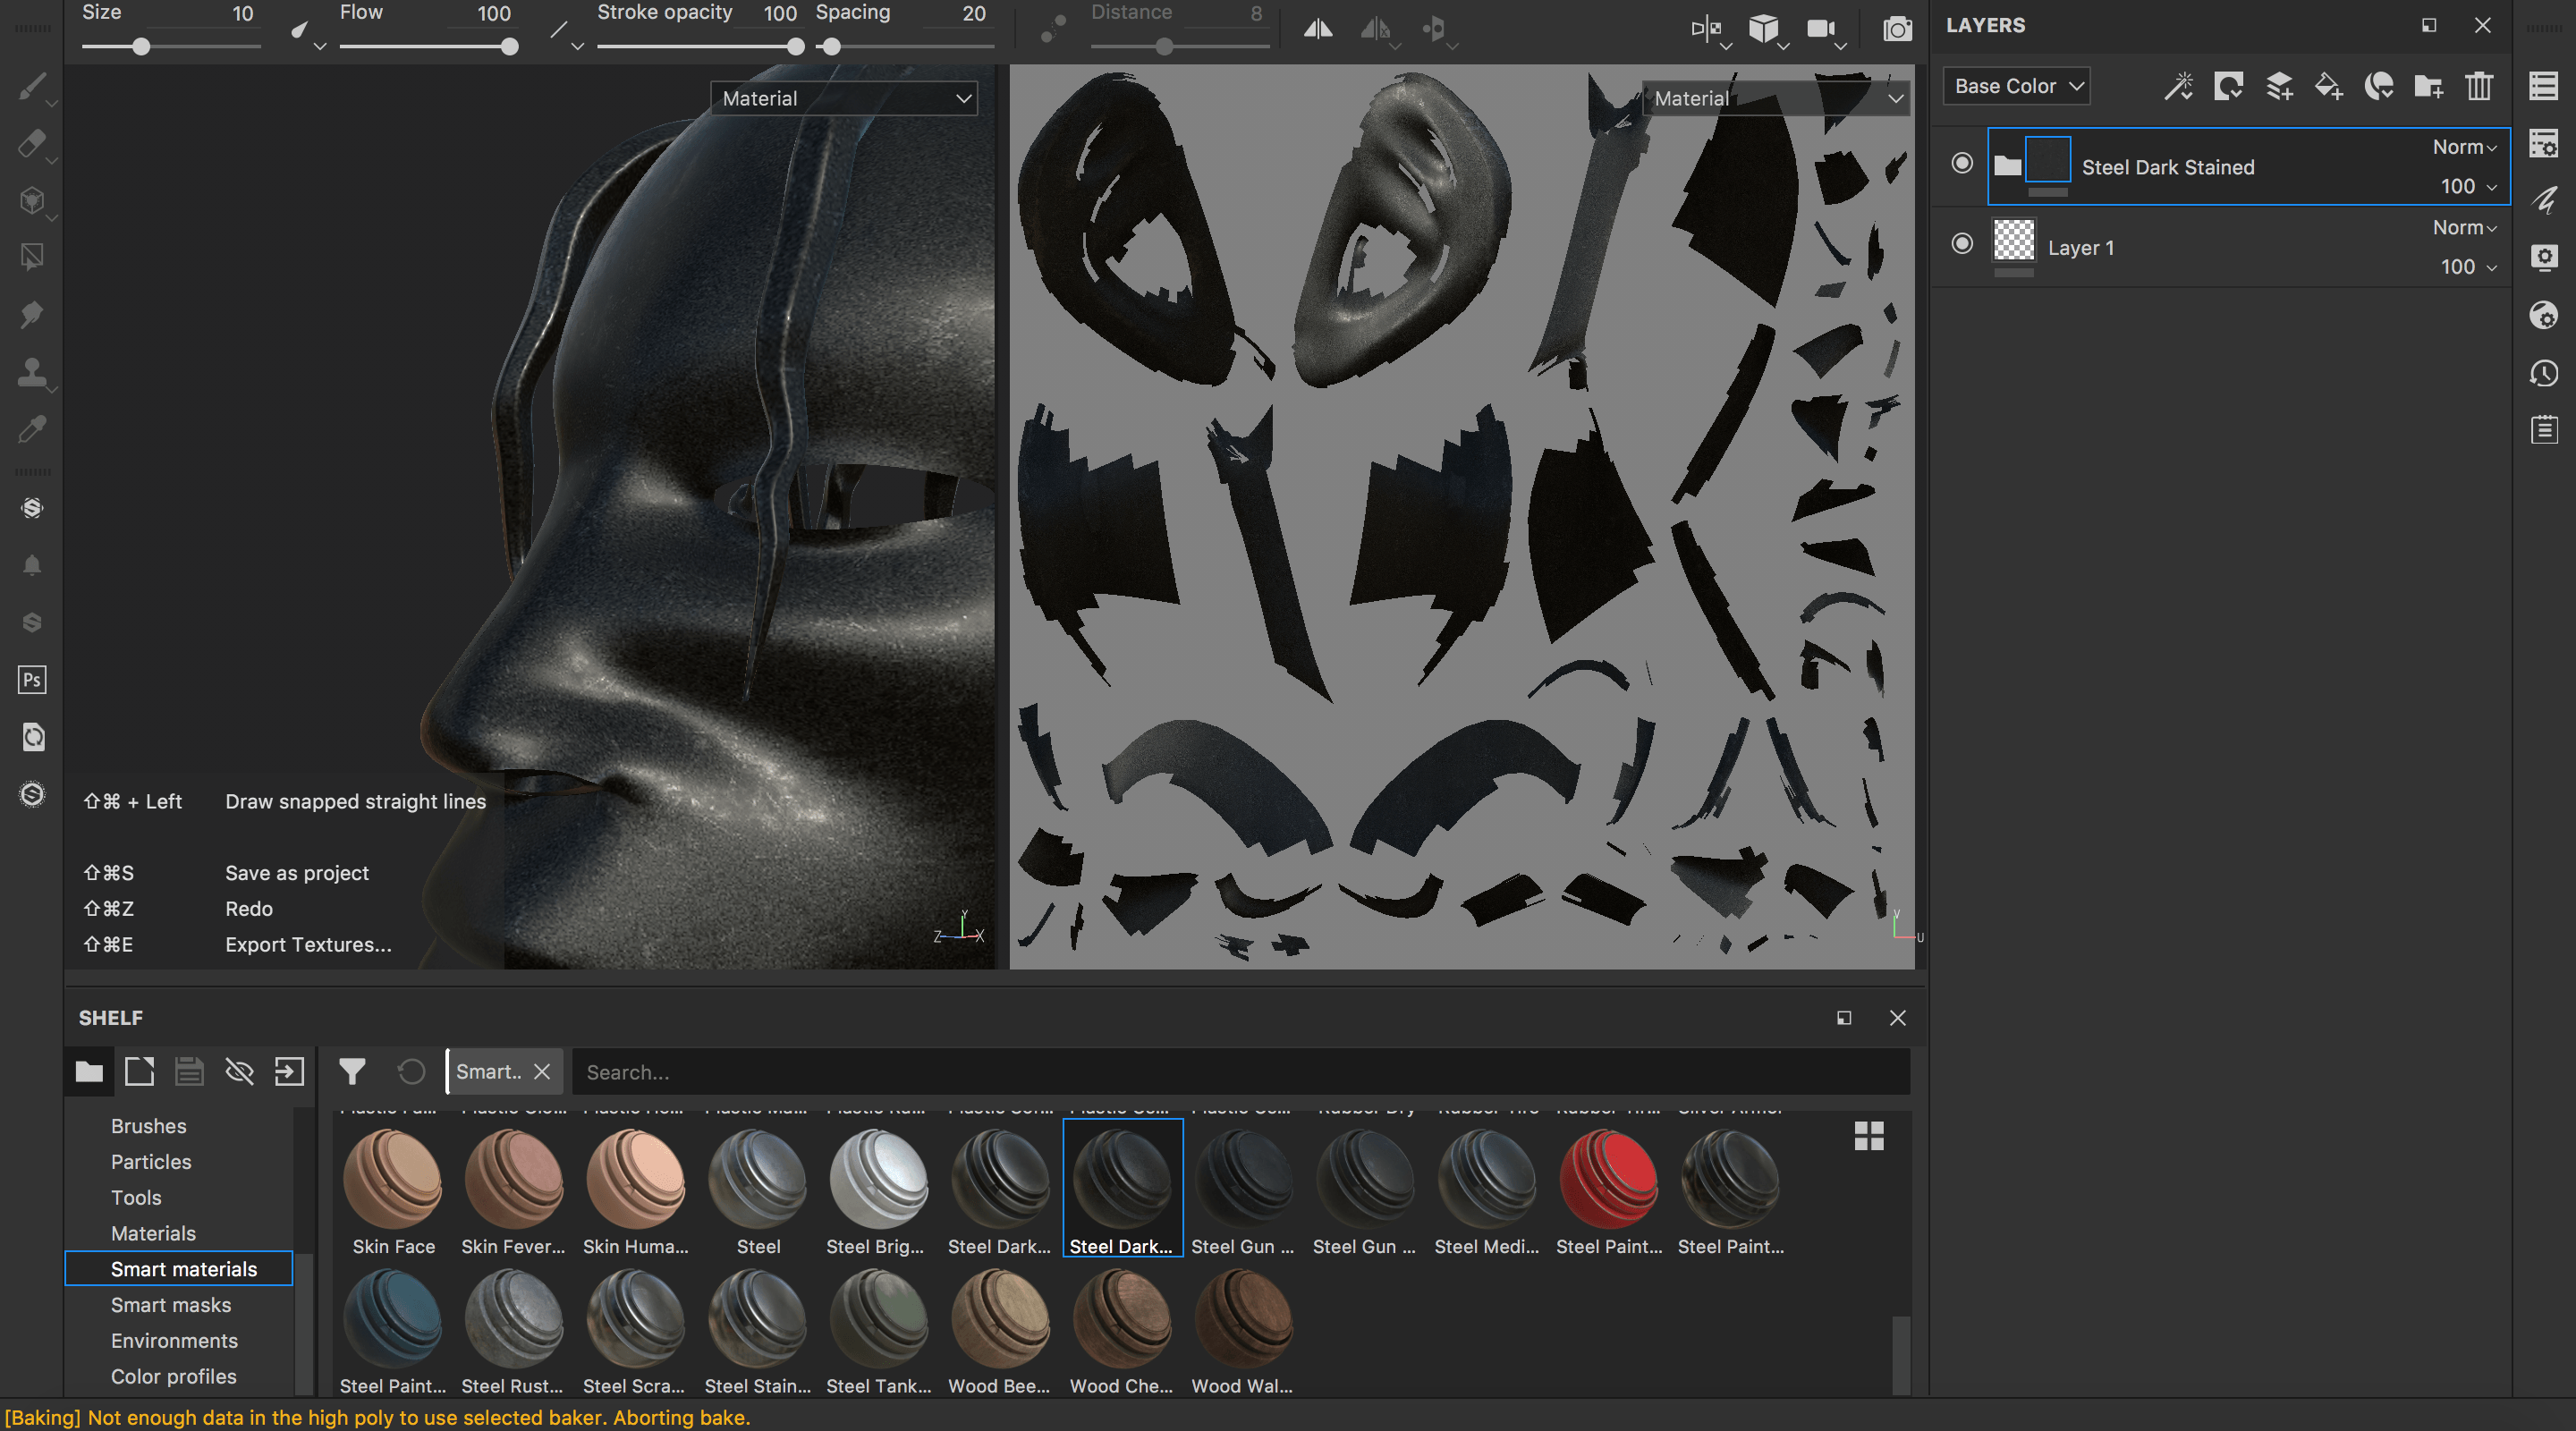
There was one great tutorial, which helped me to solve all my problems with fitting exported materials into correct channels:
I took screenshots of all necessary steps:


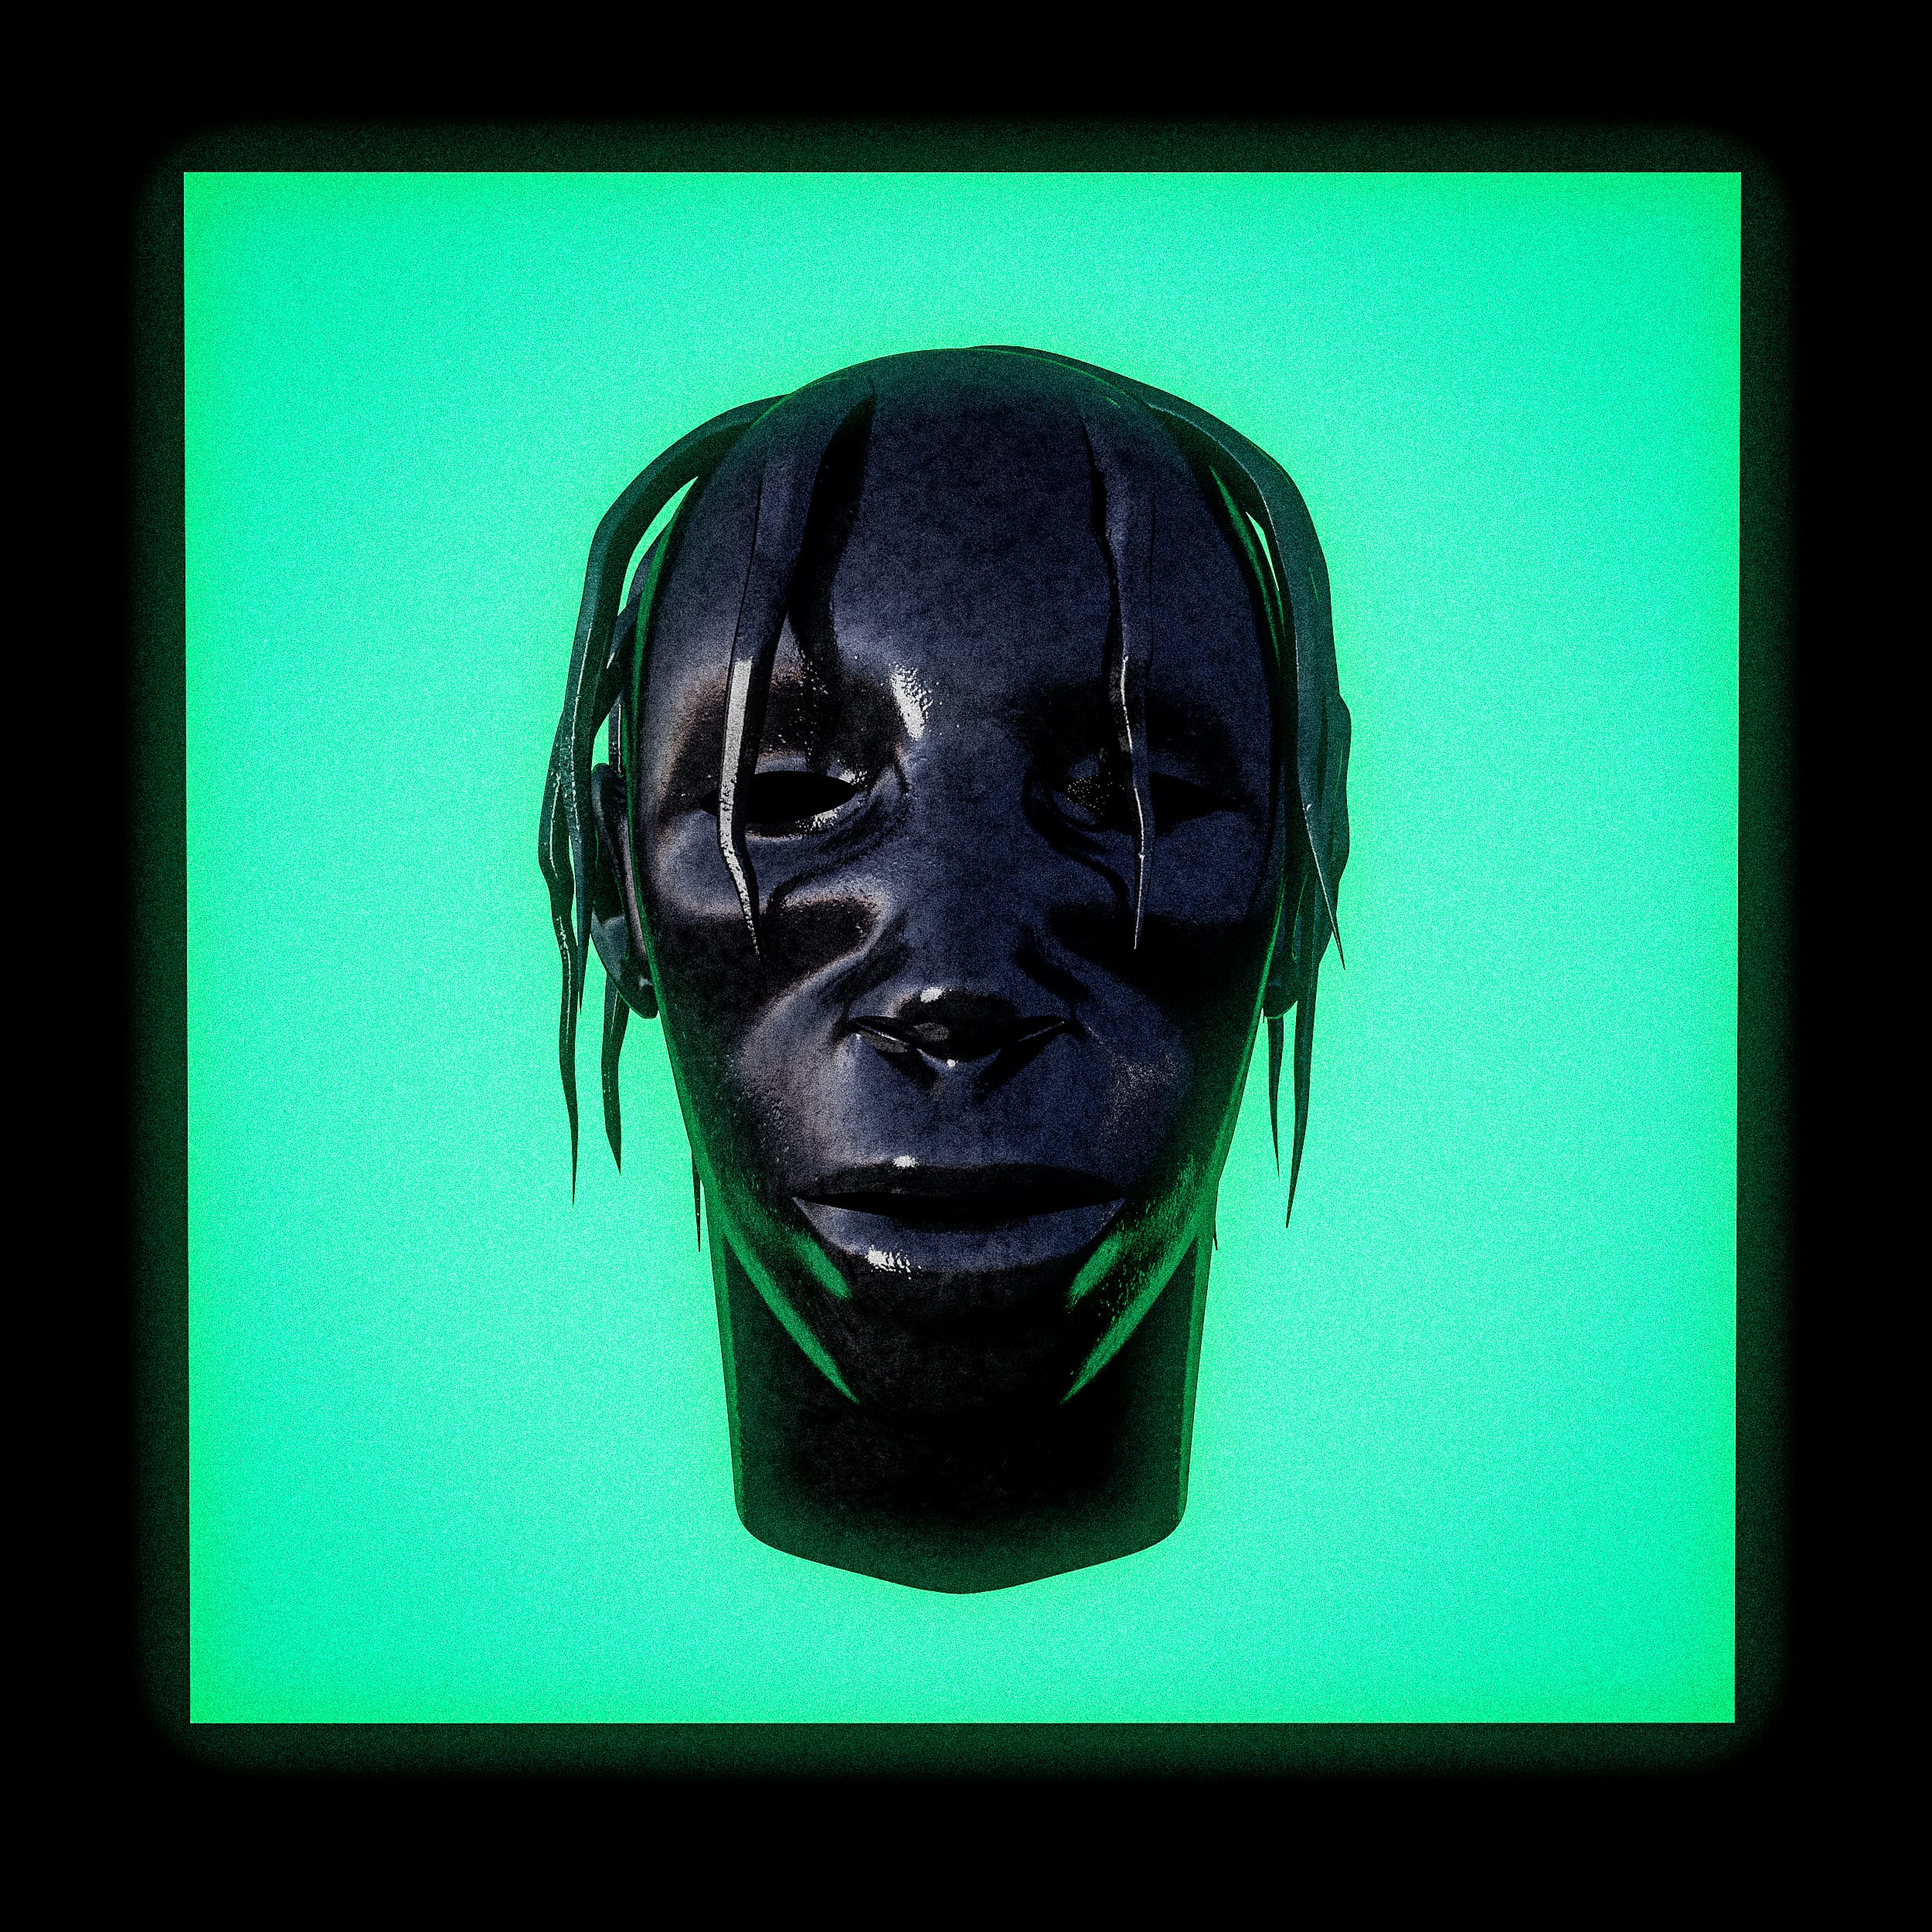
Material came out really well and I contrasted it with an emissive source of light from behind, a dark HDR map and a disc with luminance channel from the front. The final render was retouched in Adobe Lightroom:
The process of texturing was really important for my models. Knowing that I’m now capable of applying realistic materials and converting them back to Cinema 4D allows me to focus on the rest of 3D models.
It’s worth mentioning that I have also found a Substance Painter plugin for C4D, which allows me to quickly open SP assets and convert them into C4D materials. Although the workflow explained above provides much better results, as it breaks down the UV maps.