Relating to my aims for this project, I got a new task of exploring the area of the emissive colour aspects. First of all, search results seemed to concentrate on emissive material feature in Unreal Engine. It worked exactly how I’d need it in Cinema 4D (making the object emit the light first and then adjusting how it affects the environment). Then, when I tried to specify it more into Cinema 4D results, the tutorials required Octane Render, which also has a similar feature, emissive colour.
I’ve decided to move emissive colour/material on the side for a second and firstly understand more basic structure of light. In one of the previous posts, I explained what types of light are available in 3D software, but I still wasn’t exactly sure about the definitions and meaning of terms like Global Illumination or Ambient Occlusion, so let’s explain that first.
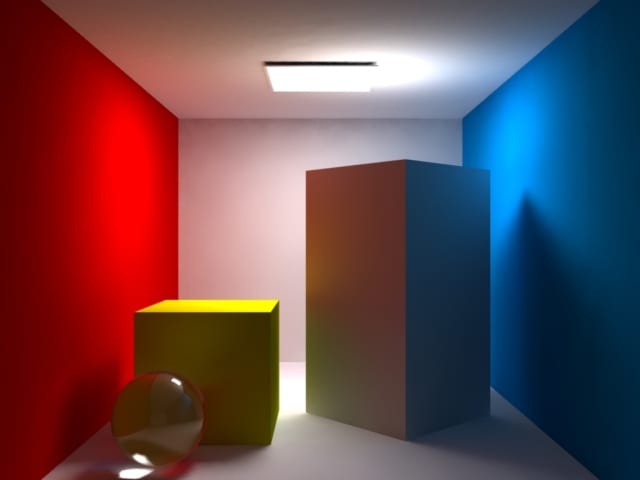
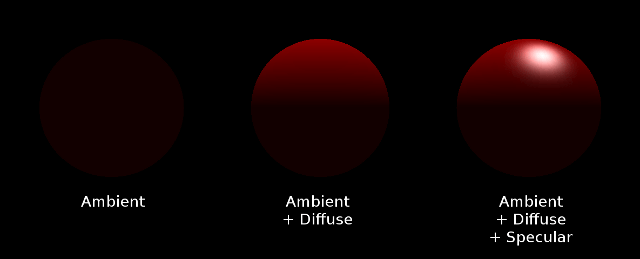
Global Illumination = Ambient Light + Diffuse Light + Specular Light + Emissive Light
Each of these terms is explained in the source article, but in essence, realistic look involves all types of lighting balanced together.
Looking for all that information led me to an extremely useful discovery – helper built into Cinema 4D. It allows us to right click on pretty much any option or feature and get a detailed explanation of how it works with examples.
It helped me a lot to explain the difference between two different glows – material based and the one in render settings:
Do not confuse the Glow filter with the Glow channel for materials. Glowing materials always create glow, whereas the Glow filter adds glow according to the brightness of rendered pixels. Suppose you have a scene with no lighting— a glowing material would still generate glow, the Glow filter would not.
I also got a clear answer for what an Ambient Occlusion is:
Ambient Occlusion (AO) determines the degree to which each visible surface point is exposed and darkens it accordingly. Imagine a scene without a floor that is evenly lit by the sky surrounding it. For each visible area, AO will determine the degree to which it sees the sky (more precisely: the degree to which each visible point within a hemisphere (with adjustable radius) has an unobstructed view of the sky).
Knowing the basics of various types of lighting, I moved onto the main task: Emissive colour
As mentioned, first results were mainly Unreal Engine 4 related, but I thought it’s still worth having a look. In this particular video, emissive material didn’t light up the area around the object at first. It had to be set as a static source of light to start working like a real source of emissive light (such like a lightbulb).
I started wondering how to practice and study emissive colour within Cinema 4D and I found a few useful tutorials. The first, brief video explained how to use an object as a light.
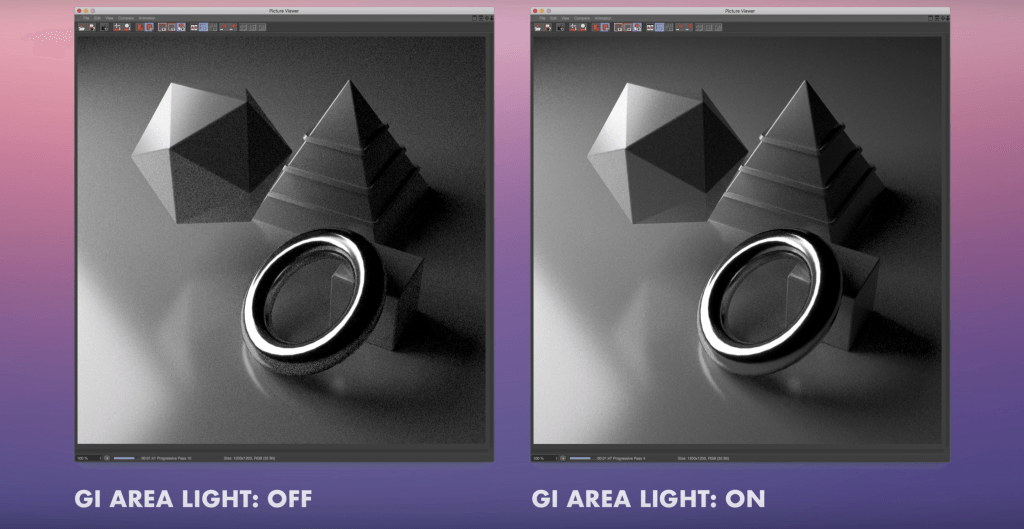
It was based on creating a regular object such like a cube, adding Global Illumination in Render Settings and applying luminance only material onto the cube. It also showed adding GI Area Light (which I’m yet to learn more about) in Illumination setting, which seemed to create a higher quality reflectance on the floor.
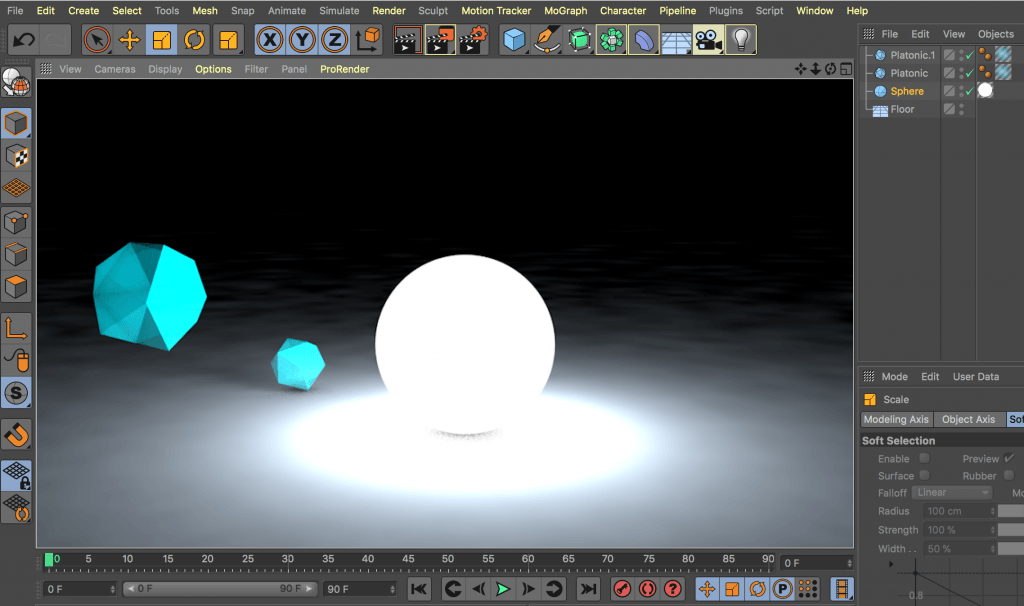
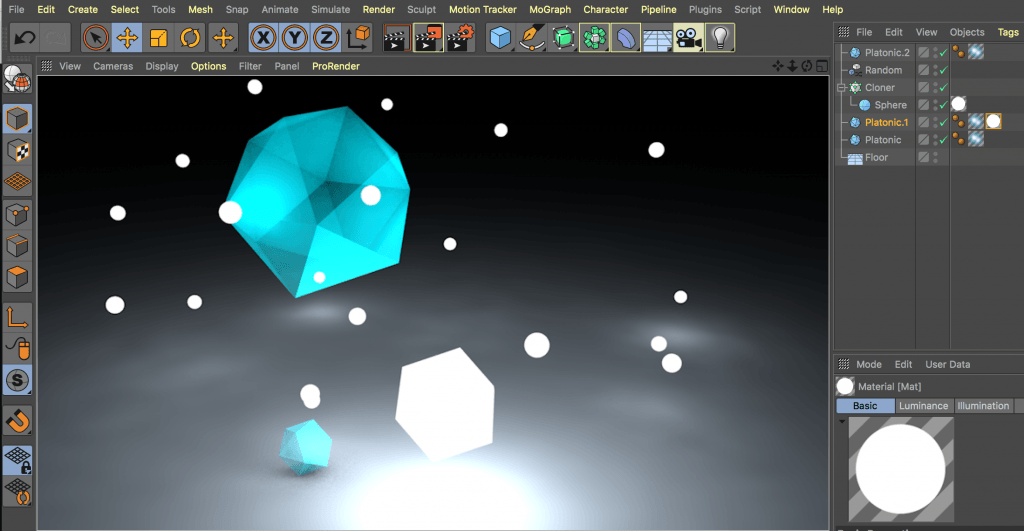
I then took time to make my own experiments in Cinema 4D with transparent objects and many small luminance spheres mixed with cloner and random effectors.
I also watched a video which explained how to create an object glowing through transparency.
When we create a regular object with glow and luminance material, it won’t have the effect inside a transparent sphere. First step to making the glass ball visible was going into transparency settings and using refraction preset specific for glass and then applying an HDRI image to the texture (we can make it invisible by ticking off “seen by camera” in the Compositing Cinema 4D tag and then also untick “seen by refraction” not to see the elements of the sky). Sphere is blocking the glow as it’s a post effect, so we switch it off for the object and use it from the render settings instead.
Another useful tip was assigning ID number to object. This way, we can choose which objects are affected by the glow setting and which aren’t.
One final video that I learned from was rather emissive material unrelated, but it greatly explained how to render light realistically using native render engine in an easy way.
It saves us a lot of problems with the renderer settings and complicated processes in favour of extended render time. The two main elements we apply are:
– reflectance based materials
– luminant surfaces
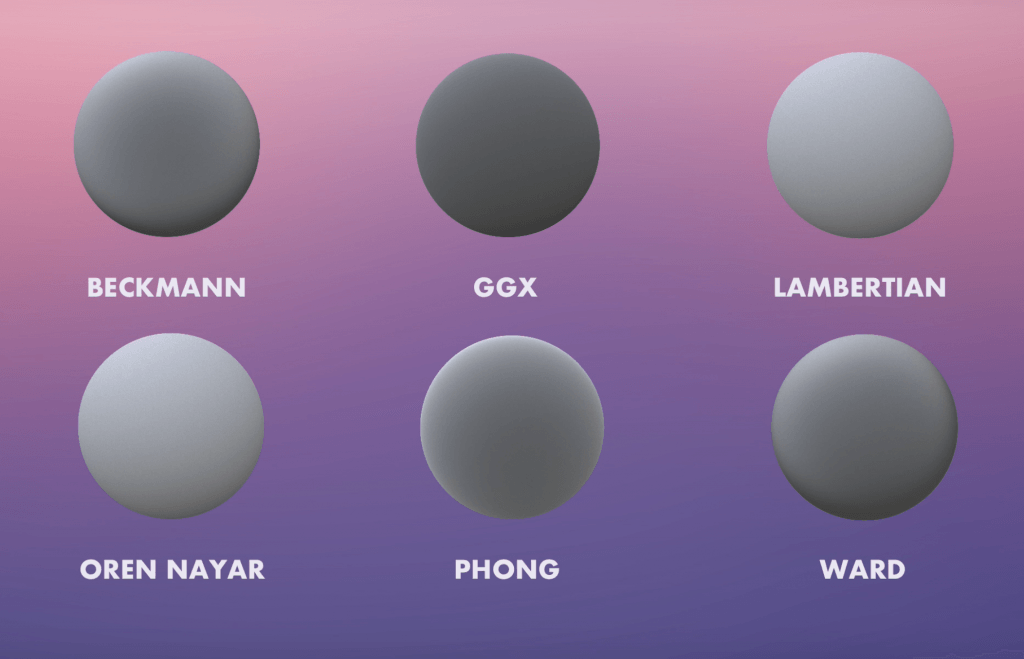
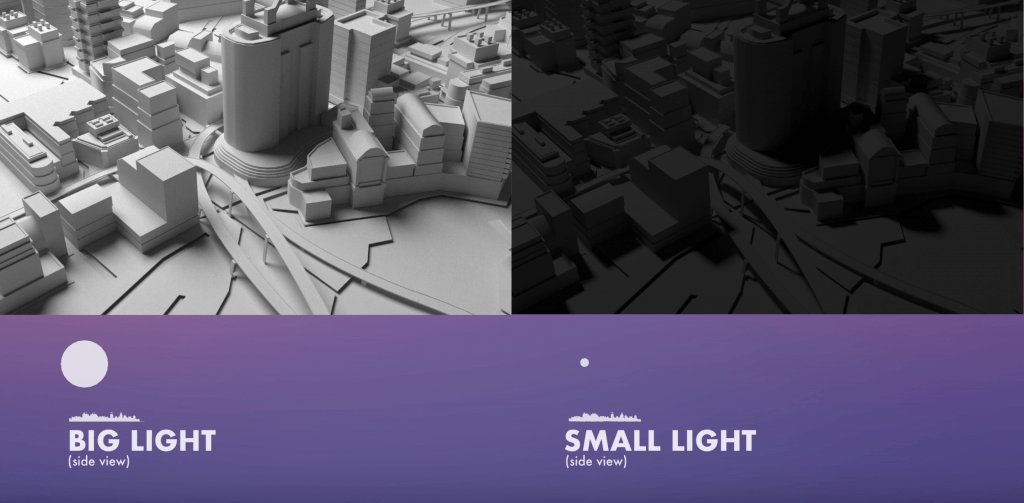
It explains the parameters of the materials applied to the mesh and to the sphere + plane (soft box) which cast the light and make the shadows softer at the same time.
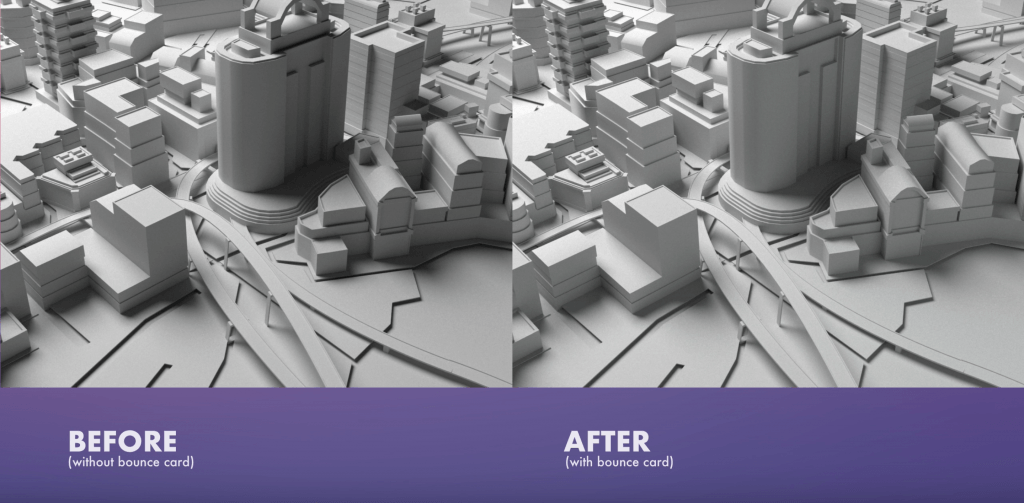
Some screen grabs from the tutorial presenting useful lighting and material comparisons:
(Bounce card is the plain complementing the softbox set with the sphere + luminance material)

