Initially, I didn’t plan to create this post, as it’s just a number of small bits of information that I needed to assemble for a better understanding of how to achieve a more realistic look of the scene in Cinema 4D, but in the end, I’ve decided that it’s too much not to be mentioned.
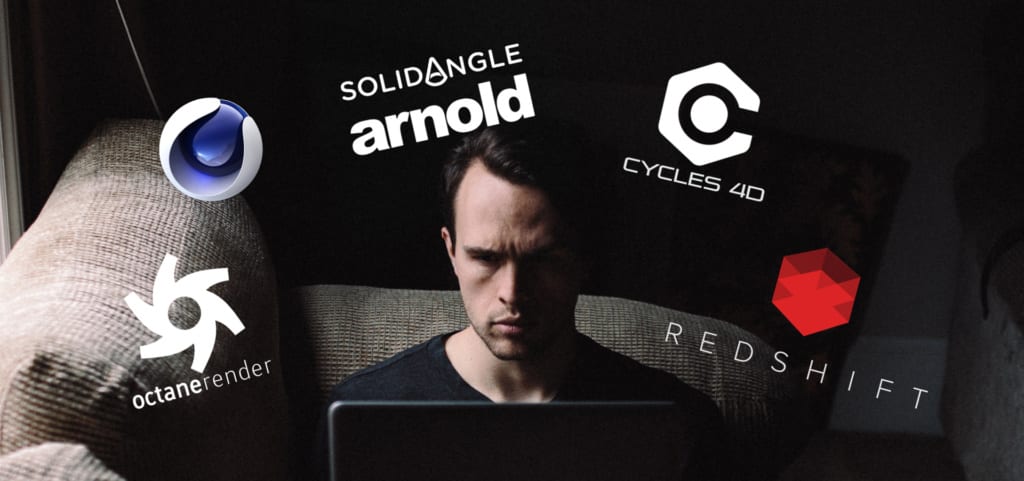
First of all, what confused me a lot was the fact that in many tutorials, there was 3rd party content and render engines used. In particular, I found names like Octane, Arnold, Cycles, Redshift mentioned frequently. I was wondering what are the differences and why are they being mentioned so often. Does it mean that the built-in renderer is not good enough?
What was even worse, most of this content are very expensive plugins. It seemed almost like there’s additional features in any more complex tutorial. I decided to go through some theoretical aspects of Cinema 4D and found this article comparing those engines. In essence, all of them offer features best for different purposes. Physical is the renderer included in Cinema 4D for free:
“I suggest you stick with Physical if you are tied down by hardware/OS and haven’t a budget to upgrade to anything else. It’s also entirely satisfactory if you don’t find yourself rendering any complex photo-realistic animations on a regular basis. It’s quite adequate on stills and can even handle distributed rendering with Team Render to Picture Viewer.”
While Octane is way faster and provides easier photorealism, it’s also too expensive for me to afford at the moment. With what I’ve found out, it seems that the original C4D engine will be good enough for my project. Also, some of the tutorials are made by companies which created those plugins, so they try to implement them and encourage to buy their content.
Another feature that is often mentioned as an additional plugin, is a HDRI rig plugin providing a studio-like photorealistic lighting. It allows the user to quickly use presets and photos to set up a professional looking light surroundings.
HDRI (High Dynamic Range Imaging) is a technology that expands the dynamic range of an image and shows details in both shadows and highlights.
Dynamic Range is a range of brightness values that can be recorded on media (film, photographic plate, photographic paper) or on the matrix of a digital camera. (source)
I also found a few useful tutorials that I will put more focus on closer to my first rendering experiments, which help to create a similar setup by ourselves, without a need to pay extra + a free alternative for a ready made preset (4th video):
https://www.youtube.com/watch?v=pmkiAjwkCzk&list=LLgafps0DtmkFyvjgZAqdl6g&index=3

