Various render engines and scene lighting

Initially, I didn’t plan to create this post, as it’s just a number of small bits of information that I needed to assemble for a better understanding of how to achieve a more realistic look of the scene in Cinema 4D, but in the end, I’ve decided that it’s too much not to be mentioned.

First of all, what confused me a lot was the fact that in many tutorials, there was 3rd party content and render engines used. In particular, I found names like Octane, Arnold, Cycles, Redshift mentioned frequently. I was wondering what are the differences and why are they being mentioned so often. Does it mean that the built-in renderer is not good enough?

renderes

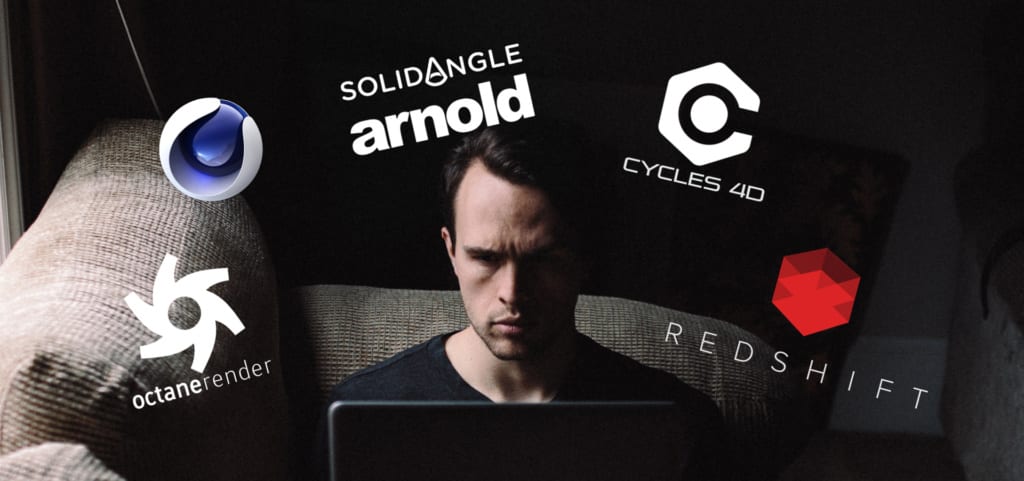
What was even worse, most of this content are very expensive plugins. It seemed almost like there’s additional features in any more complex tutorial. I decided to go through some theoretical aspects of Cinema 4D and found this article comparing those engines. In essence, all of them offer features best for different purposes. Physical is the renderer included in Cinema 4D for free:

“I suggest you stick with Physical if you are tied down by hardware/OS and haven’t a budget to upgrade to anything else. It’s also entirely satisfactory if you don’t find yourself rendering any complex photo-realistic animations on a regular basis. It’s quite adequate on stills and can even handle distributed rendering with Team Render to Picture Viewer.”

While Octane is way faster and provides easier photorealism, it’s also too expensive for me to afford at the moment. With what I’ve found out, it seems that the original C4D engine will be good enough for my project. Also, some of the tutorials are made by companies which created those plugins, so they try to implement them and encourage to buy their content.

Another feature that is often mentioned as an additional plugin, is a HDRI rig plugin providing a studio-like photorealistic lighting. It allows the user to quickly use presets and photos to set up a professional looking light surroundings.

HDRI (High Dynamic Range Imaging) is a technology that expands the dynamic range of an image and shows details in both shadows and highlights.

Dynamic Range is a range of brightness values that can be recorded on media (film, photographic plate, photographic paper) or on the matrix of a digital camera. (source)

I also found a few useful tutorials that I will put more focus on closer to my first rendering experiments, which help to create a similar setup by ourselves, without a need to pay extra + a free alternative for a ready made preset (4th video):

https://www.youtube.com/watch?v=pmkiAjwkCzk&list=LLgafps0DtmkFyvjgZAqdl6g&index=3


Cinema 4D – further practice

This week I tried experimenting in Cinema 4D on my own, but first, I went through another tutorial. It came out very useful. For my project and the crystal form, a low poly style seems to be the right direction, so I found a video about creating a low poly animal. In this case, I didn’t follow along, but just made notes for the future reference.

First new thing that I’ve learned was importing a reference image. Even though it’s not a realistic shape, it needs some sort of guidelines. Keys F1-F4 help to switch between different camera views. Going to Attributes and View Settings lets us import an image from our documents. We can import different images for different camera views, so it’s an easy way to make profile and front references.

The second feature introduced in the video was using Loft and parenting it with a shape outline, which then can be duplicated. The duplicate instantly connects with the original, even if we rotate, scale or move it, making a consistent, progressive shape.

After tweaking the shapes in between camera views and connecting them, we can apply Polygon Reduction, which makes it a bit more of a primitive object, perfect for the low poly purposes. There are also a few other techniques like switching off the Phong Tags, switching on Linear Interpolation in Loft settings and applying Displacer (noise height variation).

Bezier (which is similar to a pen tool in Illustrator or Photoshop, making a path) with Sweep (which fills the path) are perfect for the antlers modeling. The end of the video was just about creating a floor object and a material + lighting.

As I said, I went through the video and made notes to then apply some of the techniques in my own model. I tried to re-create (at least to certain extent) the model of Travis Scott from the article. I tried it with the Loft strategy first, but then decided to create a capsule and edit it, which came out much better. Although, Loft and Symmetry tools were perfect for the hair. I used a Boole (which is adequate to Path Finder in Adobe Illustrator) to make the mouth intersected into the capsule.

Zrzut ekranu 2017-11-15 o 21.13.44

I’m yet to apply the materials and edit it in Substance Painter. Even though it’s not perfect, I’m happy with the outcome as for my first ever model without a tutorial.


Reference photos + how much of the artists I will model

Two of the tasks given by my tutor related to finding good reference images for my composition and deciding on how much of the artists I’m going to model. I have decided to only focus on their heads, as modeling the rest of the body could be too time consuming considering the level of the detail that I want to apply to my work. I will also work on objects and features surrounding the head.

I also really liked the concepts applied to materials related to Travis Scott. The eagle is the interactive part of his website, which the user can rotate around. Travis’ head made of a rock-like material was used in the article mentioned in one of my previous posts. It had a big impact on the direction of my project.

Zrzut ekranu 2017-11-13 o 16.49.05 Zrzut ekranu 2017-11-13 o 16.47.07

In terms of reference photos, I had to find frontal and profile ones which would present the artist with similar hair style (they change a lot) and neutral facial expressions. In the end, the models won’t be photo realistic versions of them, and more likely relate to low-poly structures above, which gives me a bit of a creative freedom and won’t force to follow the reference images in a great detail.

tyler1 tyler2 asaprocky2 asaprocky1 Kendrick2 Kendrick1 trav1 trav2

MoExtrude & Mesh Deformer tutorial

This tutorial involved some practices I’ve already been doing in the past, like MoExtrude, but also introduced me to Polygon Deformation, xPresso tag and Mesh Deformer.

I haven’t reached the final result from the video, because it included a material created in another tutorial (which I will get back to at some point too). Although, it was still a good practice, because it taught me that there is a way to connect a few effectors, using one of the Cinema 4D tags, called xPresso tag. It opens a window similar to the one where the Material Nodes are in Blender:

Zrzut ekranu 2017-11-09 o 11.07.43

Making Global Matrix an output in the first material and an input in the other, connects them, making any variations within scale, position and rotation mutual.

Another step in the video was improving the geometry. There were two methods mentioned (which I will have to learn about) – subdivision surface and bevel deformer. Although, in this case, there’s a better way – duplicating the sphere to make it a high res target sphere, adding more segments to it and adding a mesh deformer. MoExtrude changing the mesh of the low mesh sphere, confuses the mesh deformer. Solution for this was creating Connect Object (like in one of the previous tutorials) and making the sphere a child of it. In the Mesh Deformer, putting Connect Object in the cage and clicking initialize completes the process.

I’m planning to complete one more tutorial and start experimenting on my own.

Zrzut ekranu 2017-11-09 o 11.46.11

Light types in 3D software

Understanding how various types of lighting work is essential in 3D modeling. It gives the renders a realistic look and used appropriately, adds unique mood to the scene.

Everything that I’ll include in this post is based on information from the Pluralsight article: https://www.pluralsight.com/blog/film-games/understanding-different-light-types Although, I narrowed it down and listed the features of each light:

Spot Lights:

– directionality

– emitted through a cone (we can control how wide the angle is)

– depending on how wide it is – either softer or harder

– objects closer to it will be brighter

– you can create unique light illumination (light coming through a crack in the door/conical light shape that a flash light provides)

– commonly used to create three point lighting (creating studio lighting effects)


Point Light:

– most common light types found in 3D software

– very similar to incandescent light bulb that emits light in all directions

– sphere of light filling an area

– great when you need to illuminate areas with a smooth falloff in all directions, or create a light that was a single point as its source, like a lamp or candle

– in case of Cinema 4D it’s just called “Light”


Area Light:

– casts directional light rays from within a set boundary, either a rectangle or circle

– perfect for recreating florescent lights or something that is rectangular

– ceiling light: for example florescent ceiling lighting or light shining through a window

– unlike other light types, it doesn’t emit light from a single point

– generally more realistic

– leads to extended render time (more points = more complex structure)


Directional Light:

– mimics lighting from the sun

– emits parallel light rays in a single direction but the light reaches out into infinity

– like a giant flash light very far away from the objects

– always centred and never dies off

– city light: perfect to illuminate a city or large open spaces

– in Cinema 4D: infinite lights


Volume Light: 

– creates a volumetric light

– only Maya calls it that, but other 3D applications do it through different light settings for any given light type

– used for creating volumetric light patterns (showing beams of light shining through the environment, like fog, or streaming through an open window


Ambient Light:

– casts soft light rays in every direction

– doesn’t cast shadow or shading

– simulates more of a secondary light that is coming from all different angles and is applied to all objects in the scene

– great for filling in areas on a render that do not have enough illumination

– ambient cartoon light: great for creating cartoony like light effects


Best results come when various types of light are balanced and mixed together.