Before entering the last week of my project development and summing up what I have learned, I decided to go through tutorials explaining different fundamental techniques of modeling. Spline modeling was the first one.
Spline Modeling:
– Non-uniform objects
– Organic shaped objects
– Advanced base objects
Using 3D spline to create NURBS-object
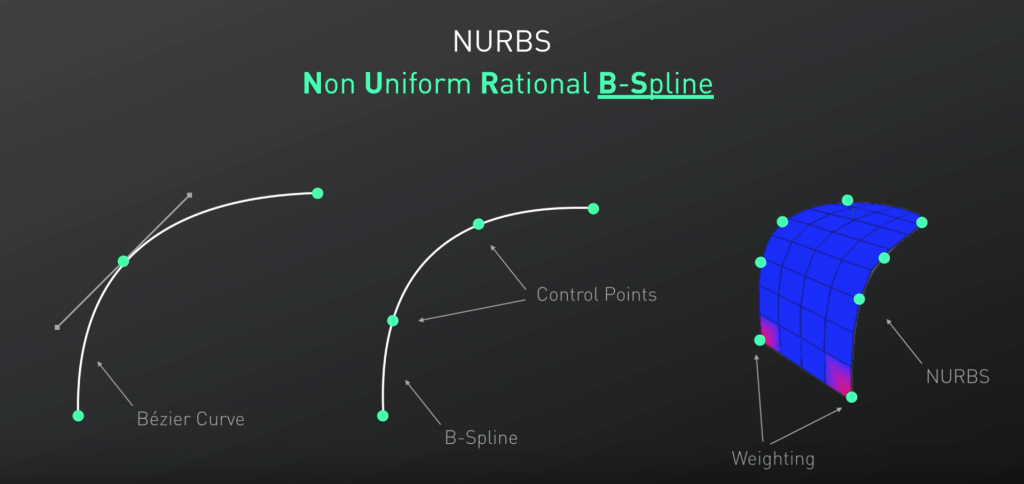
NURB – Non Uniform Rational B-Spline
It’s important to understand B-Splines in order to understand sub-division modeling.
When we use the B-Splines, it’s essential to use one of the side views or the front view.
Control points in the B-spline are not integrated with the spline (difference between Bezier and B-Spline).
First practice: Using the Line Cut tool (in tutorial a “Knife Tool” is being used, but it seems to be an older version of Line Cut), I added two points to a perfect 90 degree corner. When I then changed the spline type from Linear to B-spline, the points created a rounded angle.
When the edge is hard and we want a more subtle transition between the points, we can right click and select “Soft Interpolation”
We can also right click and select “Equal Tangent Length”.
We can also use “Create Outline” to make a perfect outline of our spline:
You always have to make the splines children of the generators.
When we use the Extrude generator, we can still make the spline editable and move the points (or for example use the Line Cut and apply Soft Interpolation).
I have already used a Lathe tool in the past, but I felt that revision is necessary. First off, we have to make sure that the start point is perfectly positioned in the middle.
We can then complete the half of the glass shape and give it some thickness by creating an outline. Adding the Lathe tool and making the spline a child of it will create a perfectly rounded shape. I thought it’s a good chance to create a composition connecting a few other tutorials.
Apart from the wine glass shape made of the Lathe + Spline, I applied a gradient-based background and the Voronoi Fracture (with Time effector).
The last parts of the video focused on using Sweep, where we create one base shape (like a circle) and make it children of the Sweep with our spline. Then, it explained something I have already practiced in the Travis Scott head model (hair) – using the Loft to connect the splines.
Round up:


