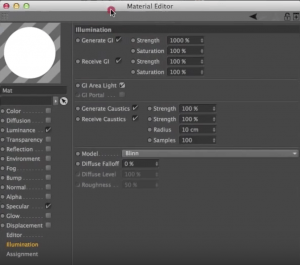
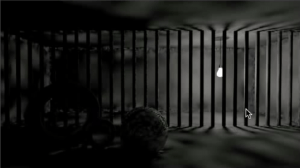
To make objects cast more light in the renders, go to the Illumination tab in the material settings -> Generate GI Strength -> make much higher. Turn GI Area Light on in the same tab to avoid odd odd shadows
This makes the GI to “pay more attention” to the objects meant to be the source of the light.
Difference:
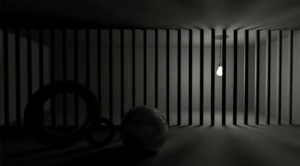
The shadows are still not defined very well. The next step to fix this is going to Render Settings -> GI -> Irradiance Cache -> Color Refinement 100% (or less – find the balance)
Result:
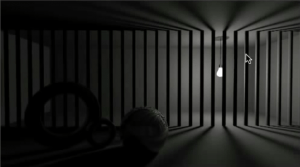
Applying Secondary Method in the settings adds light that bounces off the objects -> Light Mapping (tweak the Maximum Depth)
Result:
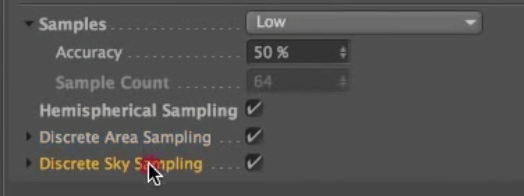
To make further improvements to the scene, go below the First and Secondary methods of lightning and focus on the Samples section. Best way to alter this is to set Custom Sample Count. Rise the Sample Count for more accurate results. It will extend the render time.
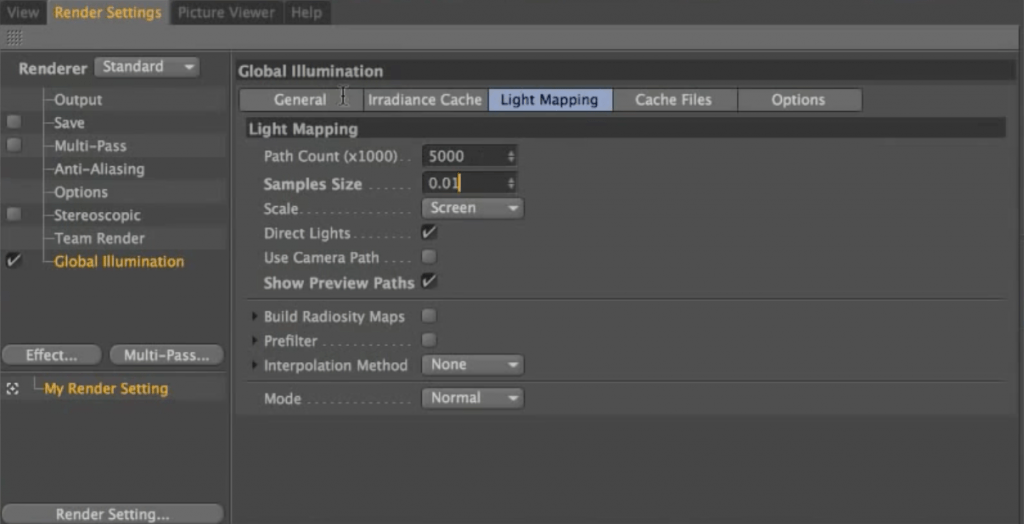
In the Light Mapping tab decrease the Samples Size for better quality. You can also increase the Path Count for more samples, but it extends the rendering time drastically.
Hemispherical Sampling box in general settings should always be on. Discrete Area Sampling and Discrete Sky Sampling focus more energy on the lights that we tell to be the area lights.
Quasi-Monte Carlo (QMC) – a brute force GI that samples every pixel. Good for fine detail, can be slow. IR+QMC = first GI bounce uses the irradiance method, extra bounces set using high diffuse depths use a special version of QMC. Quite a fast method for rendering GI and you get sharper results in the GI solution (so GI shadows are better defined)
Sample count up in QMC = less grain
Full video tutorial:

