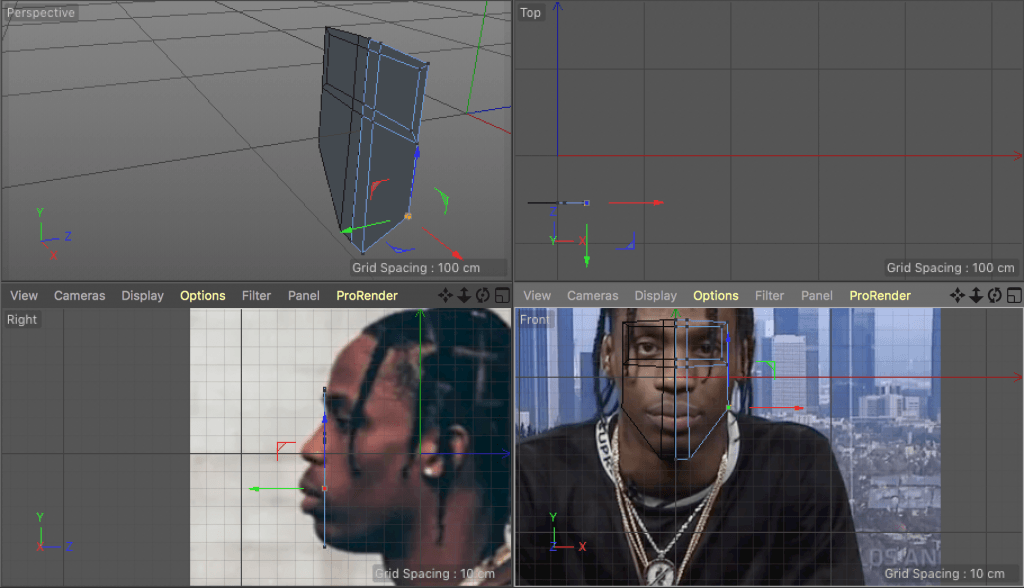
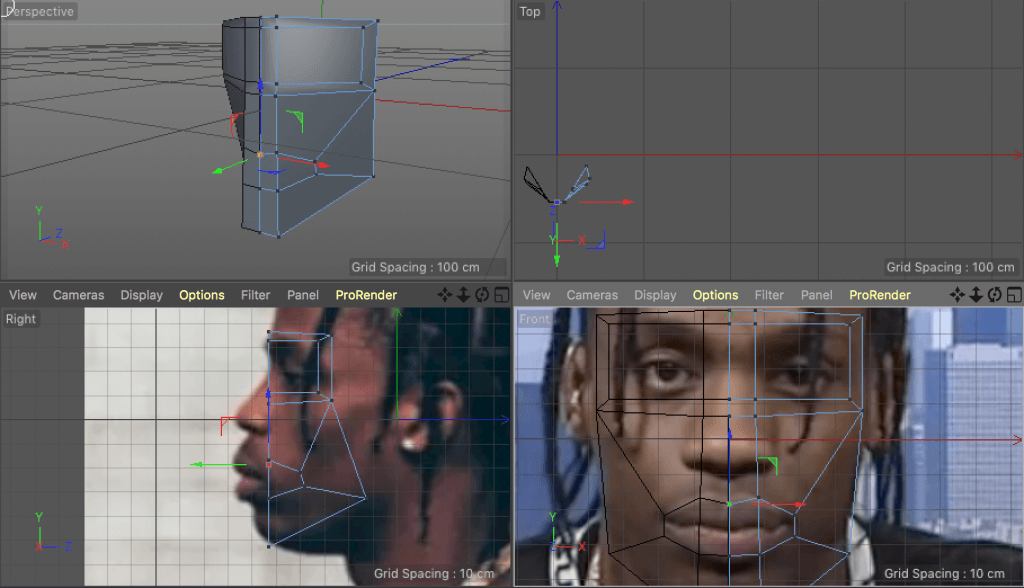
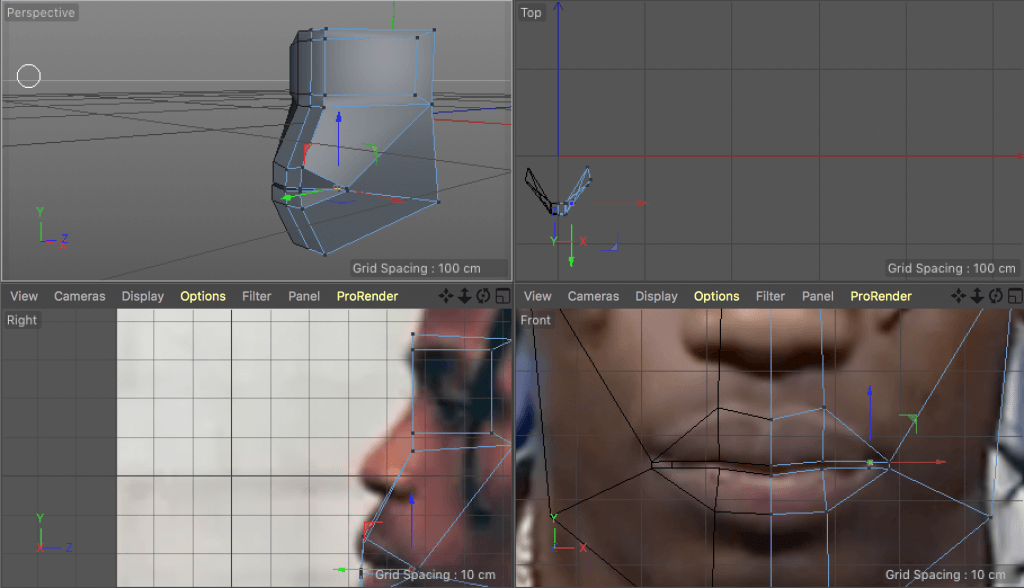
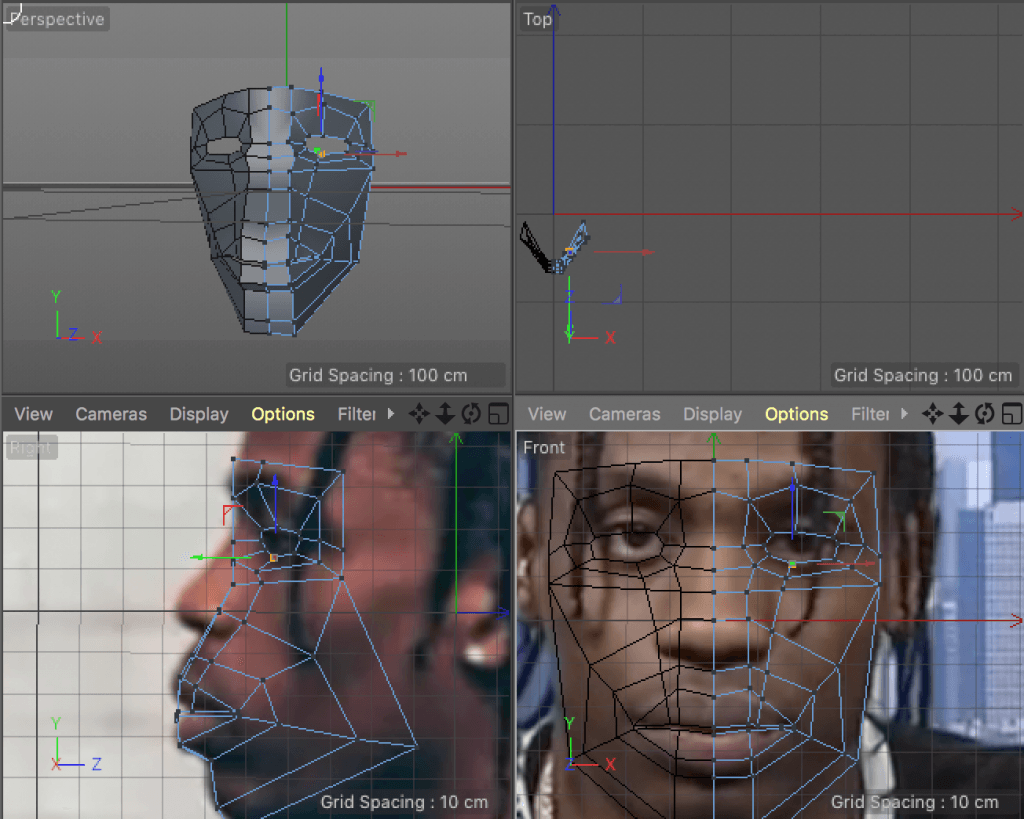
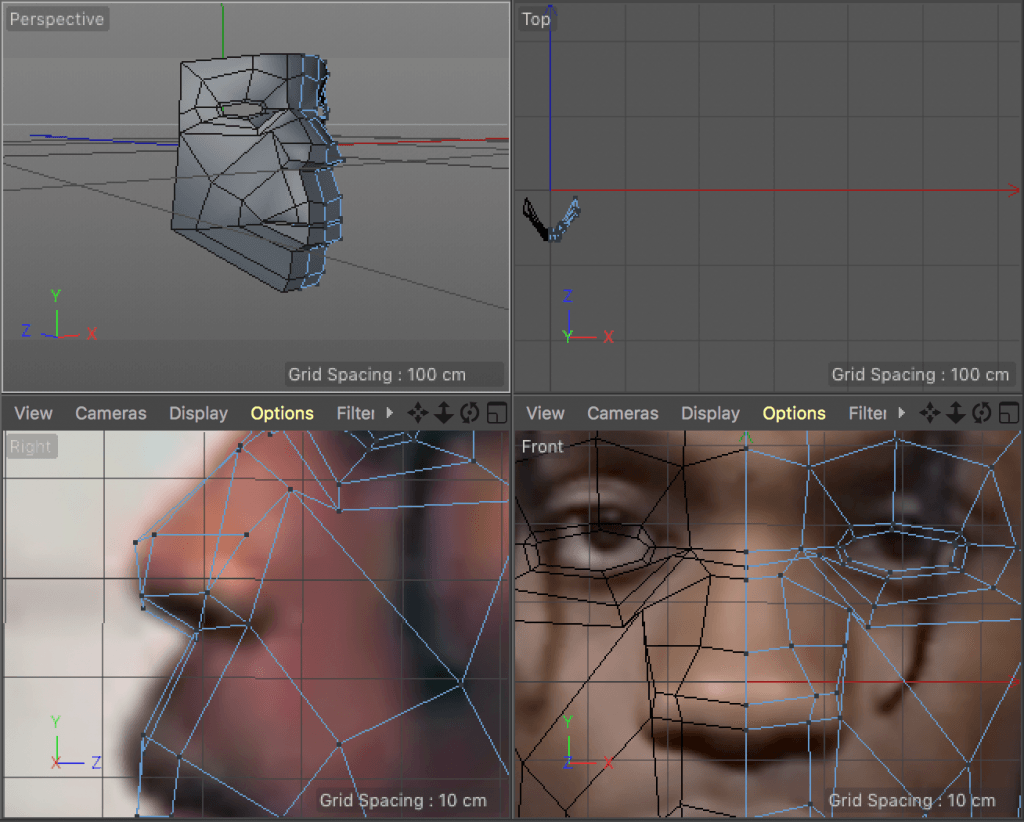
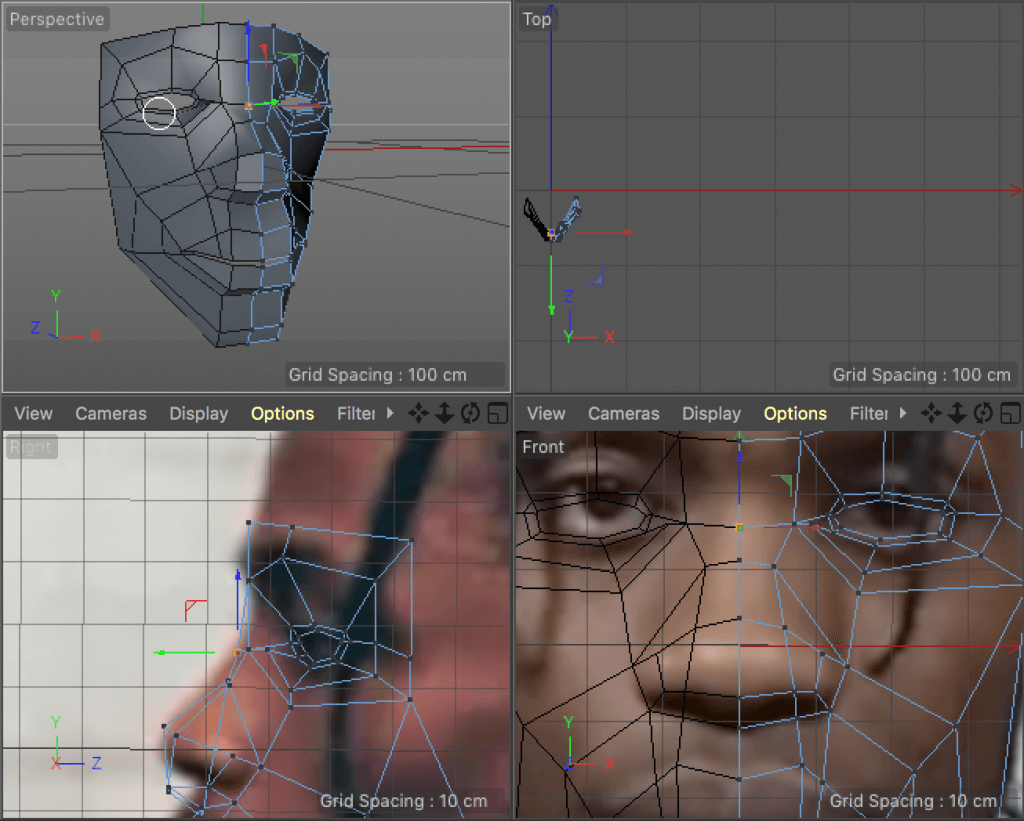
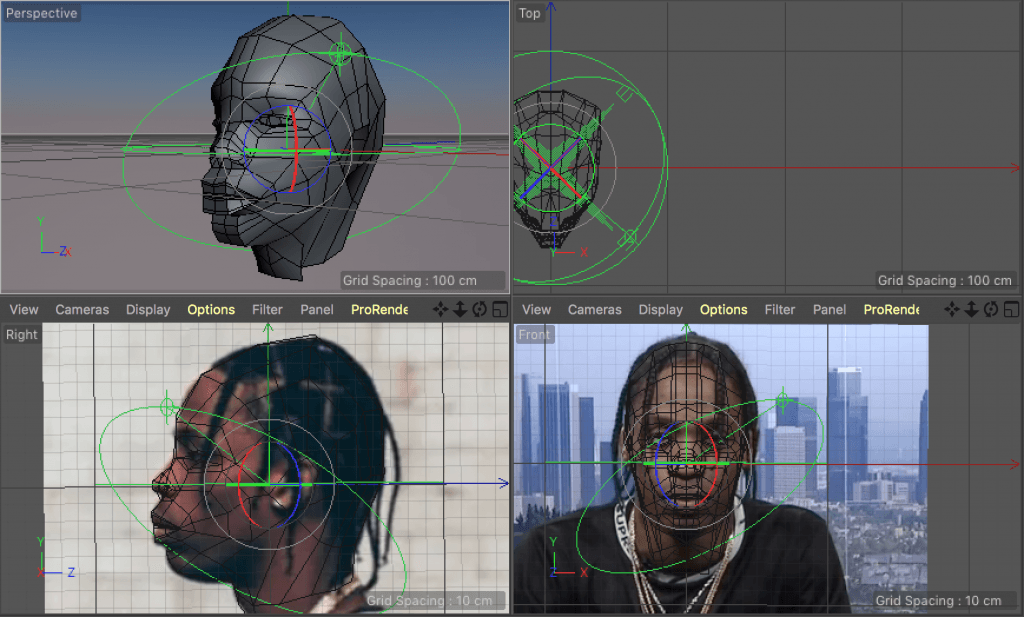
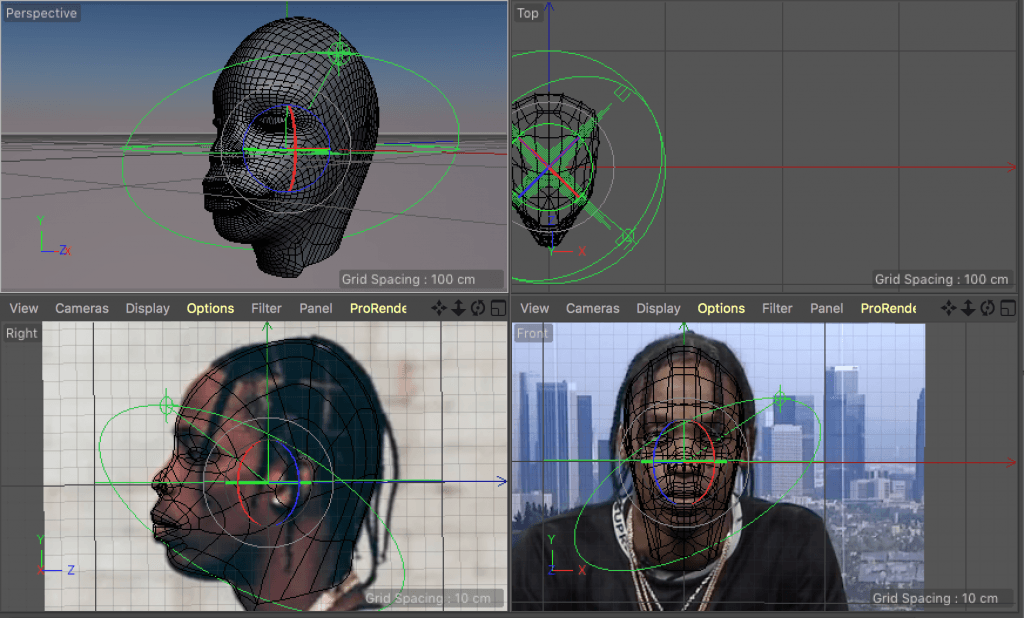
After the first attempt, I followed a different tutorial. This time I chose a YouTube video instead of a tutorial from a book. The main difference would structuring the model with a plain instead of a cube. Even though it was easier to follow, I still had some problems – the tutorial was designed for Blender, so I had to find tools in Cinema 4D, which replaced the Blender functions. For example, ‘Weld’ works like Blender’s ‘Merge’ and Symmetry tool works like ‘Mirror’. I also had a problem with extrusions at points, but I used a ‘Knife’ tool instead and aligned the vertices accordingly.
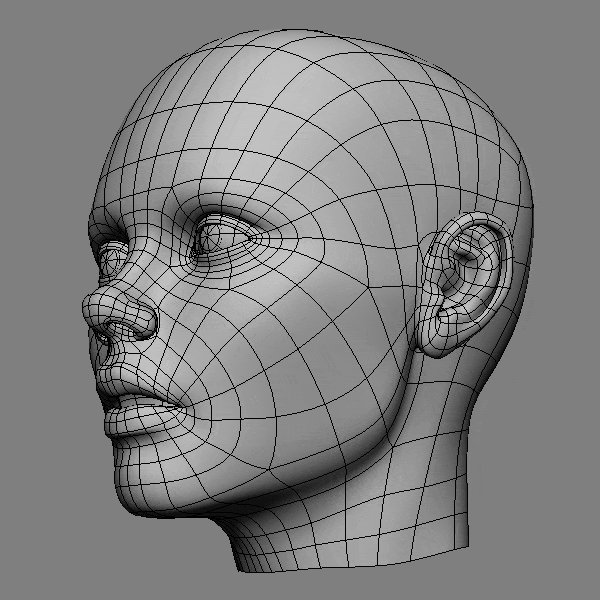
It is essential to operate in between side and front views. Aligning the points systematically helps to avoid a mess and keep the model clean. Another important thing I’ve learned are the rules of good topology around the mouth, nose and the eyes:
Good topology provides accurate model after applying Subdivision Surface, which smoothens the mesh.
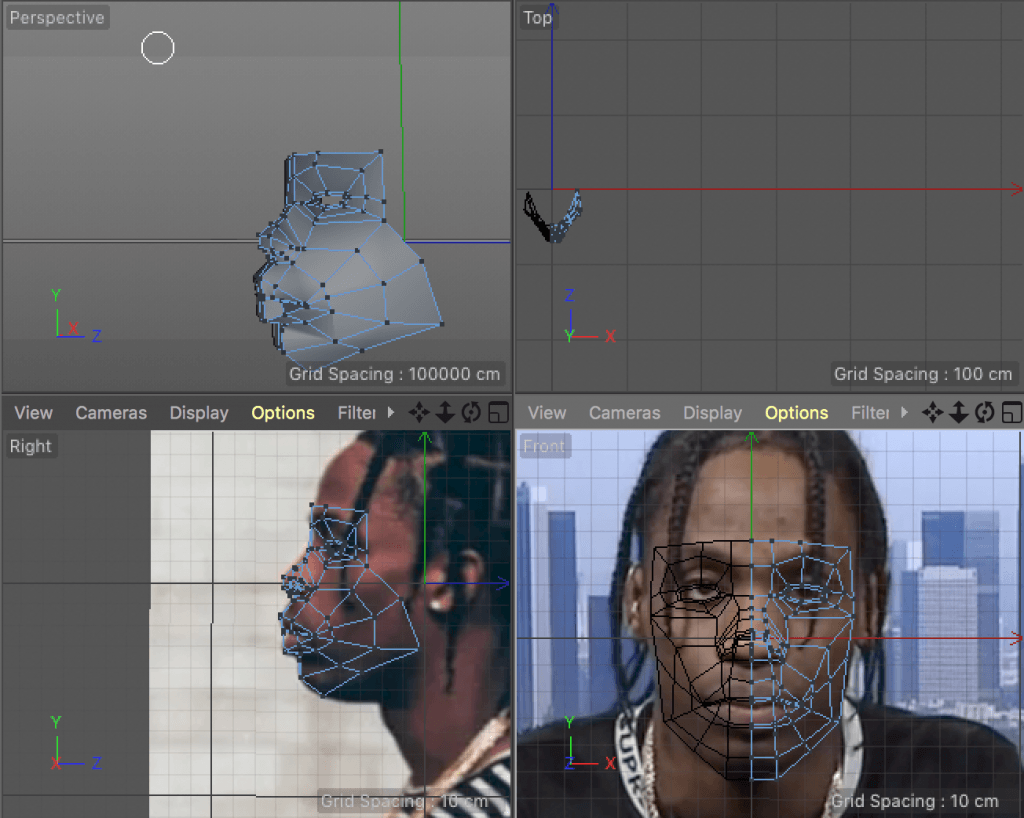
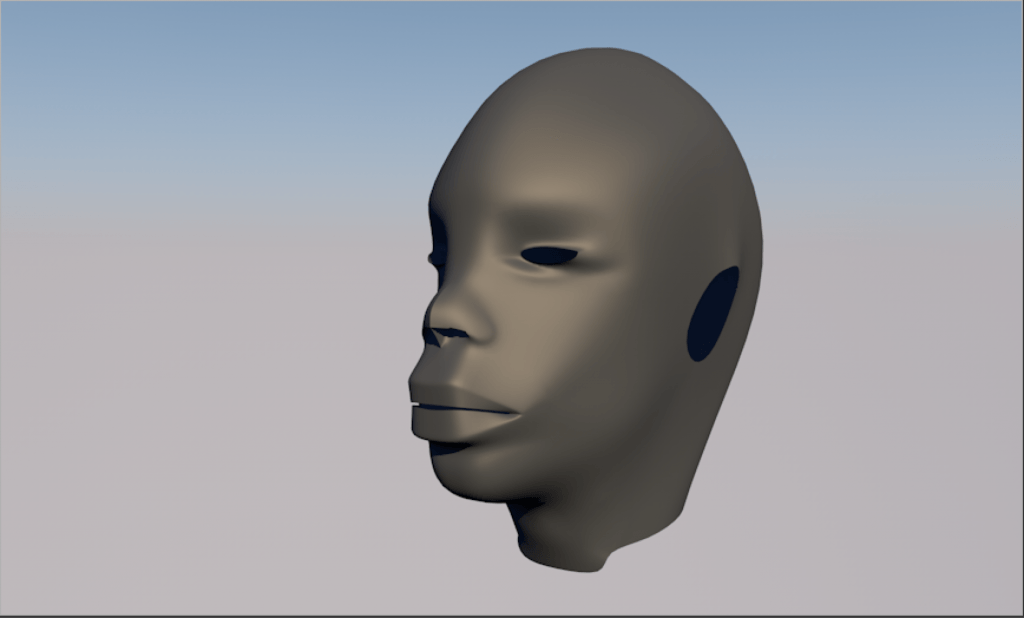
In the last post I mentioned the non-planar polygons. I learned that it is basically impossible to create a human head model without spreading some points apart from a single plain. Although, it is not a big issue when Subdivision Surface is applied, as it fixes incorrect shadows. Here’s the process of my second approach and the result in progress:
This mesh obviously hasn’t been finished and I will keep developing this model. The complicated process could result in too much work over a few models. What my tutor suggested was focusing on just one artist, but mastering the models and the composition. I’m yet to decide how to approach it, but it seems like a good solution.
Here’s the video I’ve used for this model:

